2Turn your machine upside down. Connect the power supply cable (1) to the socket (2).
Insert the power supply cord (3) to the guide groove (4).
Turn your machine back over.
Connect the mains plug to a wall socket.
3When the mains power is switched on the display shows CHECK DATE to prompt you to set the correct date and time. ‘Setting the date and time’ on page 13 shows you how to do this.
3 Inserting the output paper
1Open the sheet feeder flap by lifting it up at the side.
2Lift the paper support bar.
Setting up
3Insert up to 30 sheets of paper between
the paper guides and adjust the left paper guide
(a)to the width of the paper. Press the clip (b) and allow the paper to fall down into position.
*Keep the document support bar raised when printing
a
b
IMPORTANT
It is important to have the document support bar raised during printing to prevent paper feeding back into the machine.
IMPORTANT
Use A4 paper of 80gsm. The paper should be non- transparent and not torn or crumpled.
4 Charging the handset
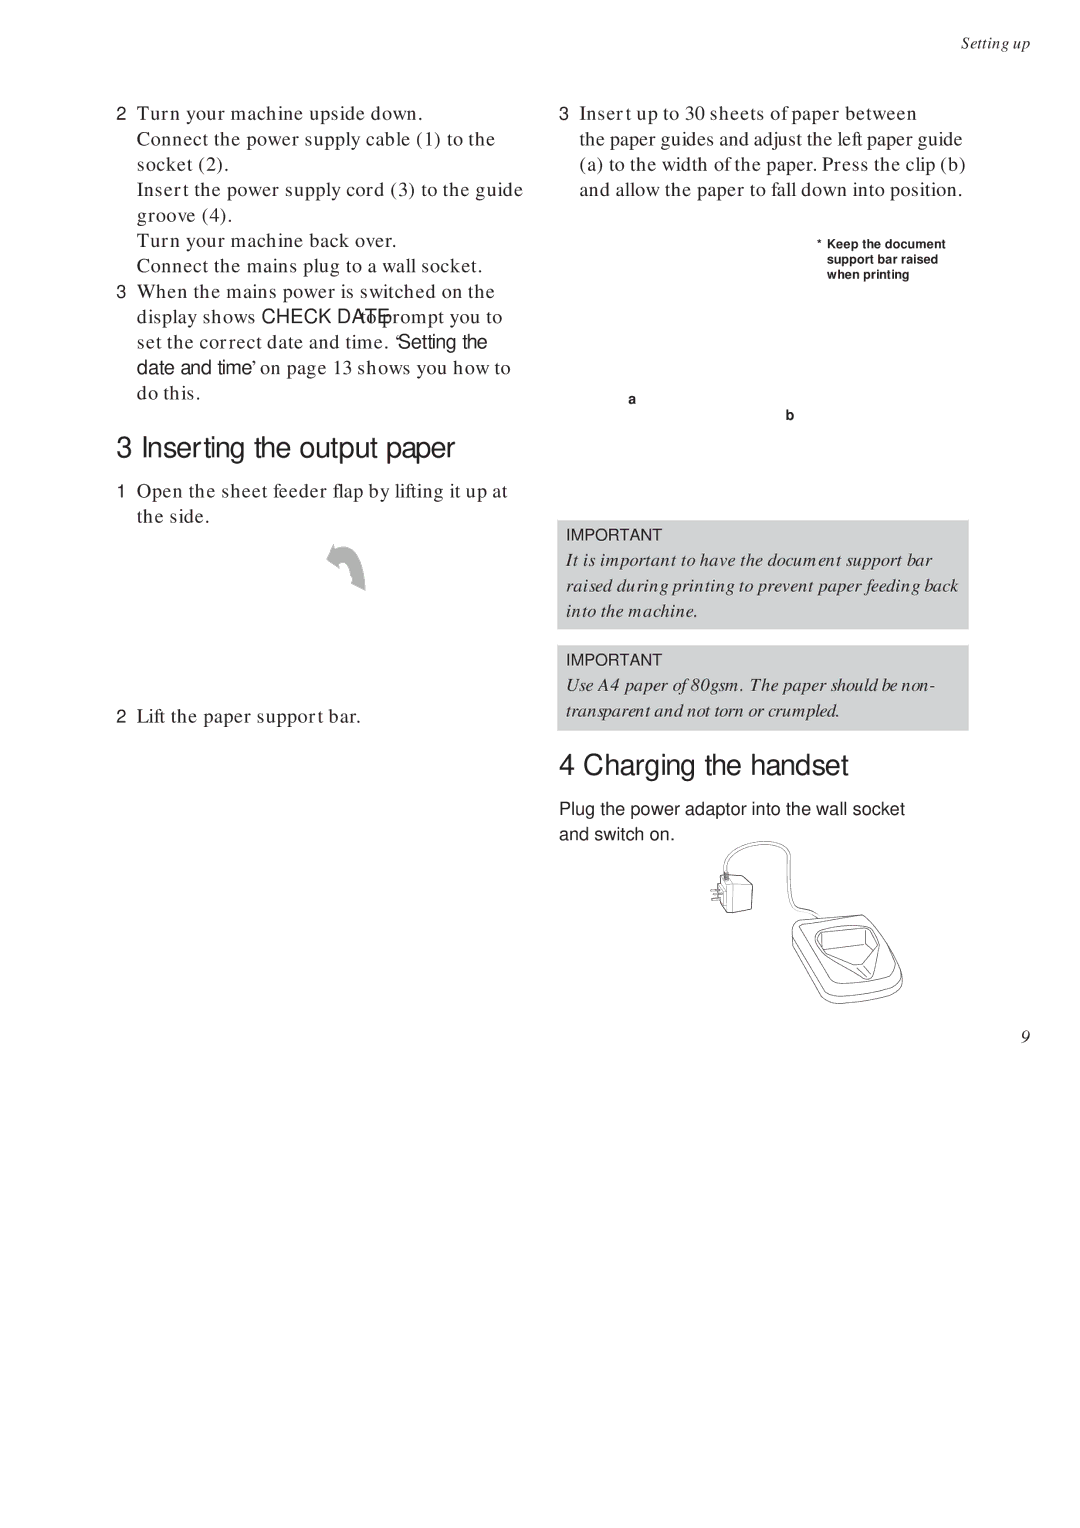
Plug the power adaptor into the wall socket and switch on.
9
