Maintenance Information
Step 7 Place the removed DIMM on an antistatic mat, and store it in an antistatic container to protect it from ESD damage.
Step 8 Repeat Step 4 through Step 7 for the remaining DIMM, if required for your upgrade.
This completes the DIMM removal procedure. Proceed to the next section to install the new DIMMs.
Installing New DIMMs
This section discusses the procedure for installing DIMMs on your RSP.
Use this procedure to install new DIMMs.
Note Do not mix memory sizes. If installing two DIMMs, both DIMMs must be the same size.
Step 1 Remove the new DIMM from its antistatic container.
Step 2 Hold the DIMM between your thumbs and forefingers. (See Figure 13.)
Note The DIMM should be facing
Step 3 Insert the connector edge of the DIMM straight into the socket.
Caution When inserting the DIMM, use firm but not excessive pressure. If you damage a socket, you will have to return the RSP to the factory for repair.
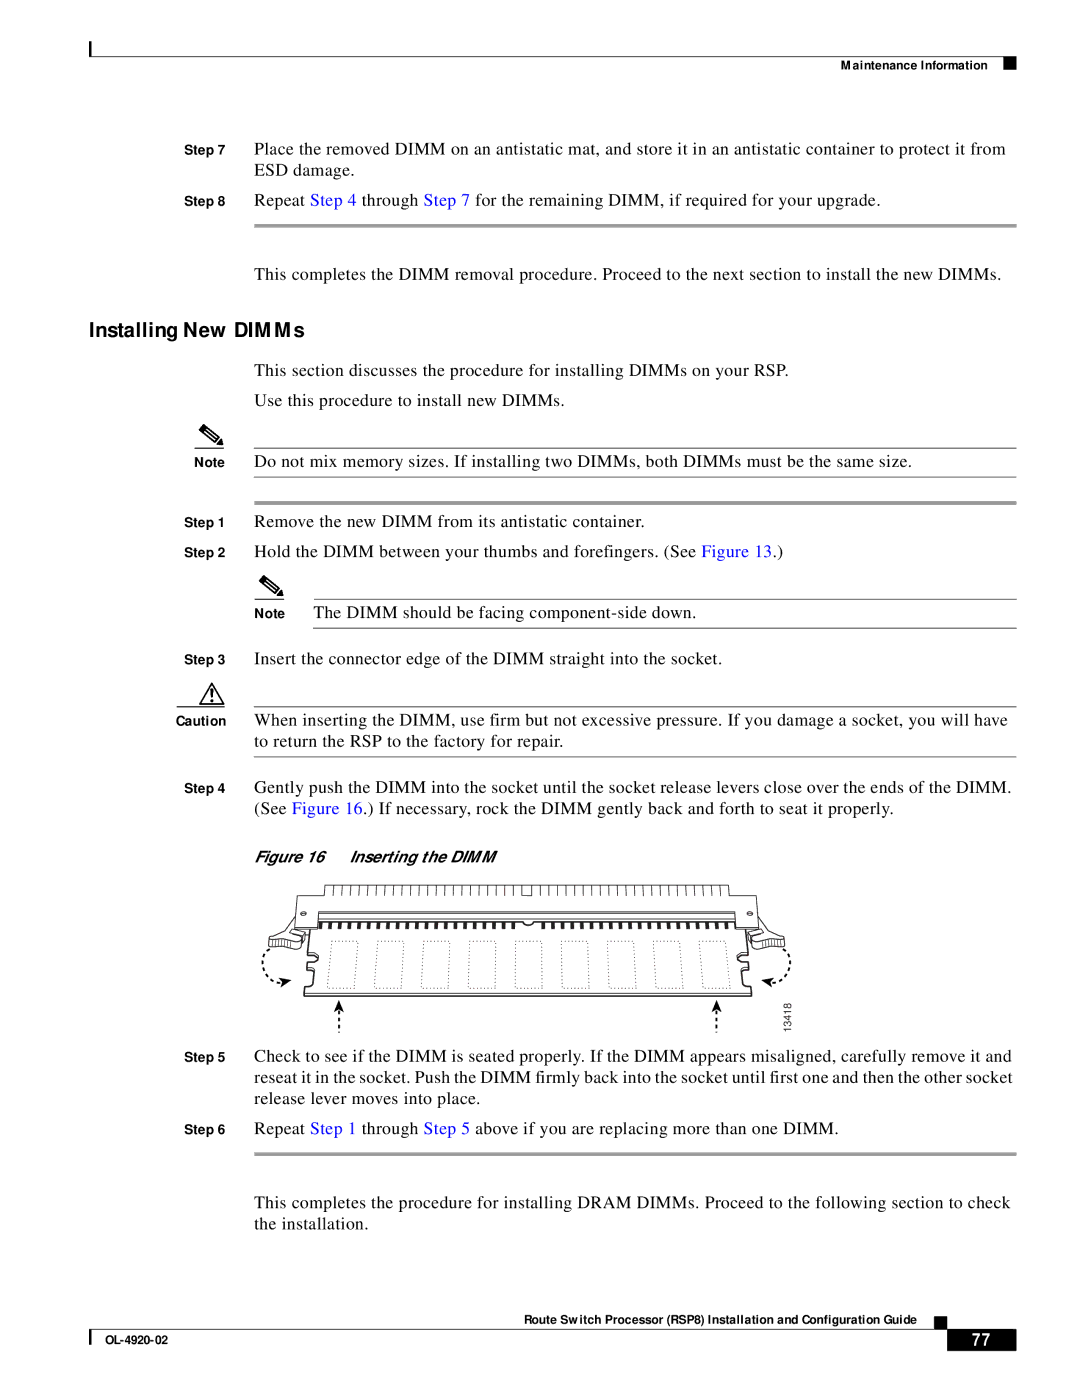
Step 4 Gently push the DIMM into the socket until the socket release levers close over the ends of the DIMM. (See Figure 16.) If necessary, rock the DIMM gently back and forth to seat it properly.
Figure 16 Inserting the DIMM
13418
Step 5 Check to see if the DIMM is seated properly. If the DIMM appears misaligned, carefully remove it and reseat it in the socket. Push the DIMM firmly back into the socket until first one and then the other socket release lever moves into place.
Step 6 Repeat Step 1 through Step 5 above if you are replacing more than one DIMM.
This completes the procedure for installing DRAM DIMMs. Proceed to the following section to check the installation.
Route Switch Processor (RSP8) Installation and Configuration Guide
| 77 |
| |
|
|