Chapter 3 Installing the Cisco XR 12410 Router
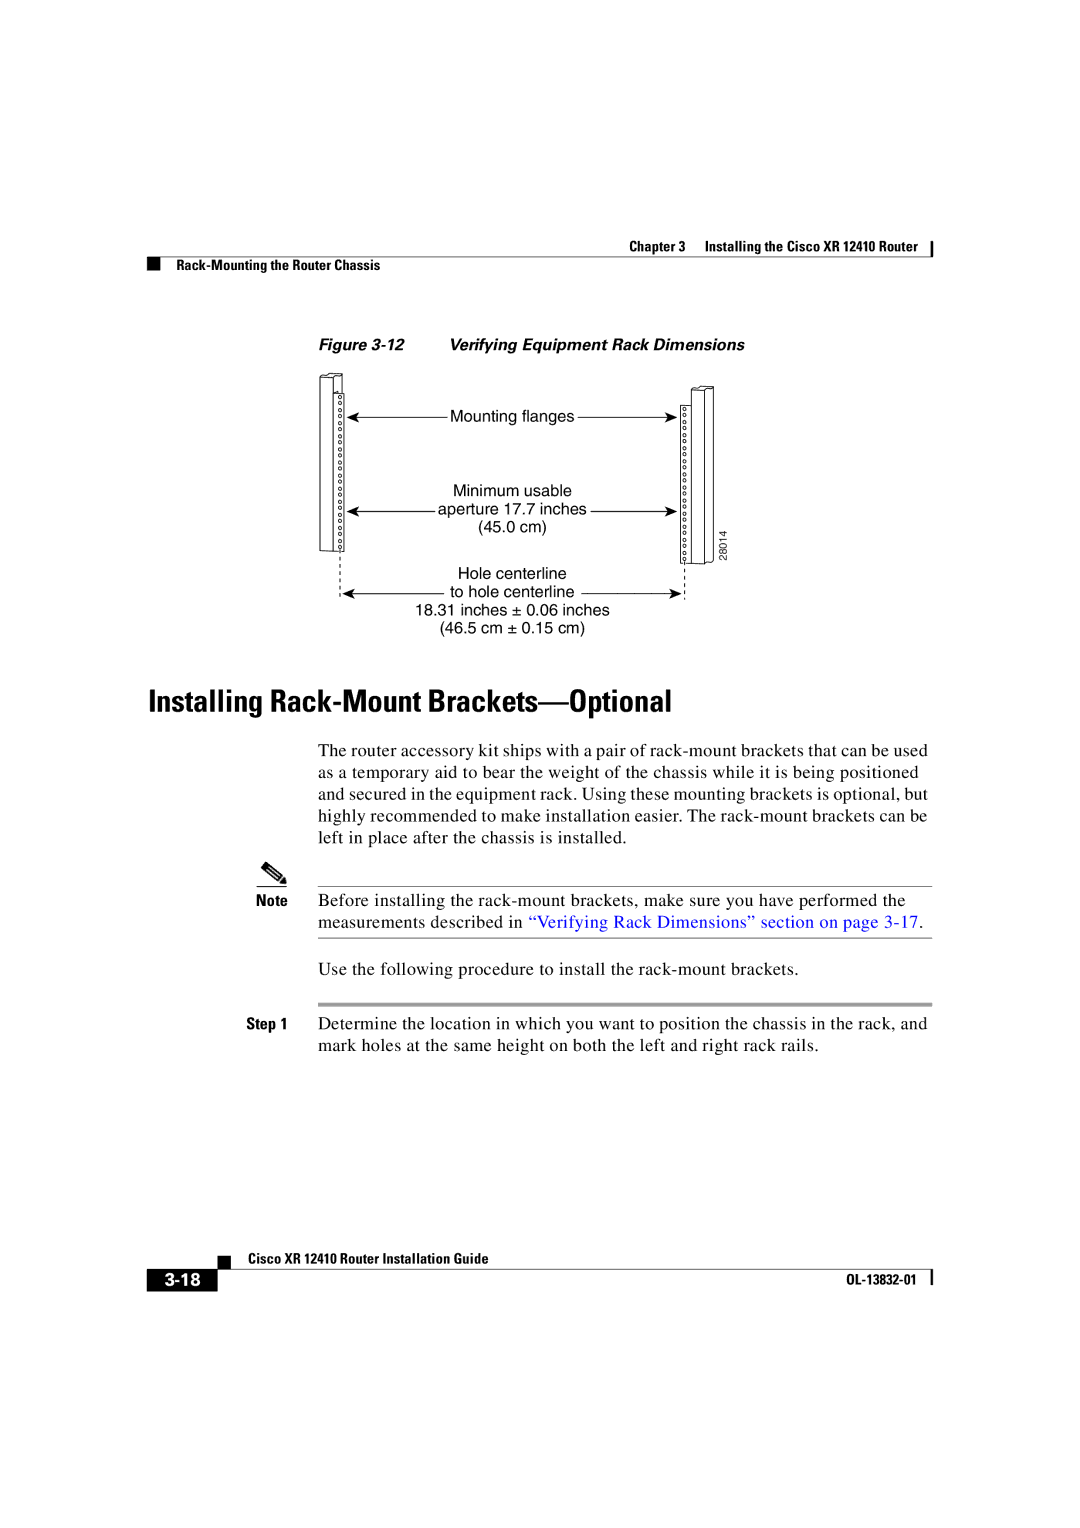
Figure 3-12 Verifying Equipment Rack Dimensions
![]() Mounting flanges
Mounting flanges ![]()
Minimum usable
![]() aperture 17.7 inches
aperture 17.7 inches ![]()
(45.0 cm)
Hole centerline
![]() to hole centerline
to hole centerline ![]()
18.31inches ± 0.06 inches (46.5 cm ± 0.15 cm)
28014
Installing Rack-Mount Brackets—Optional
The router accessory kit ships with a pair of
Note Before installing the
Use the following procedure to install the
Step 1 Determine the location in which you want to position the chassis in the rack, and mark holes at the same height on both the left and right rack rails.
| Cisco XR 12410 Router Installation Guide |
|
