58 | System Configuration ~ Telco Transmit and Receive |
| Telco Receive | |
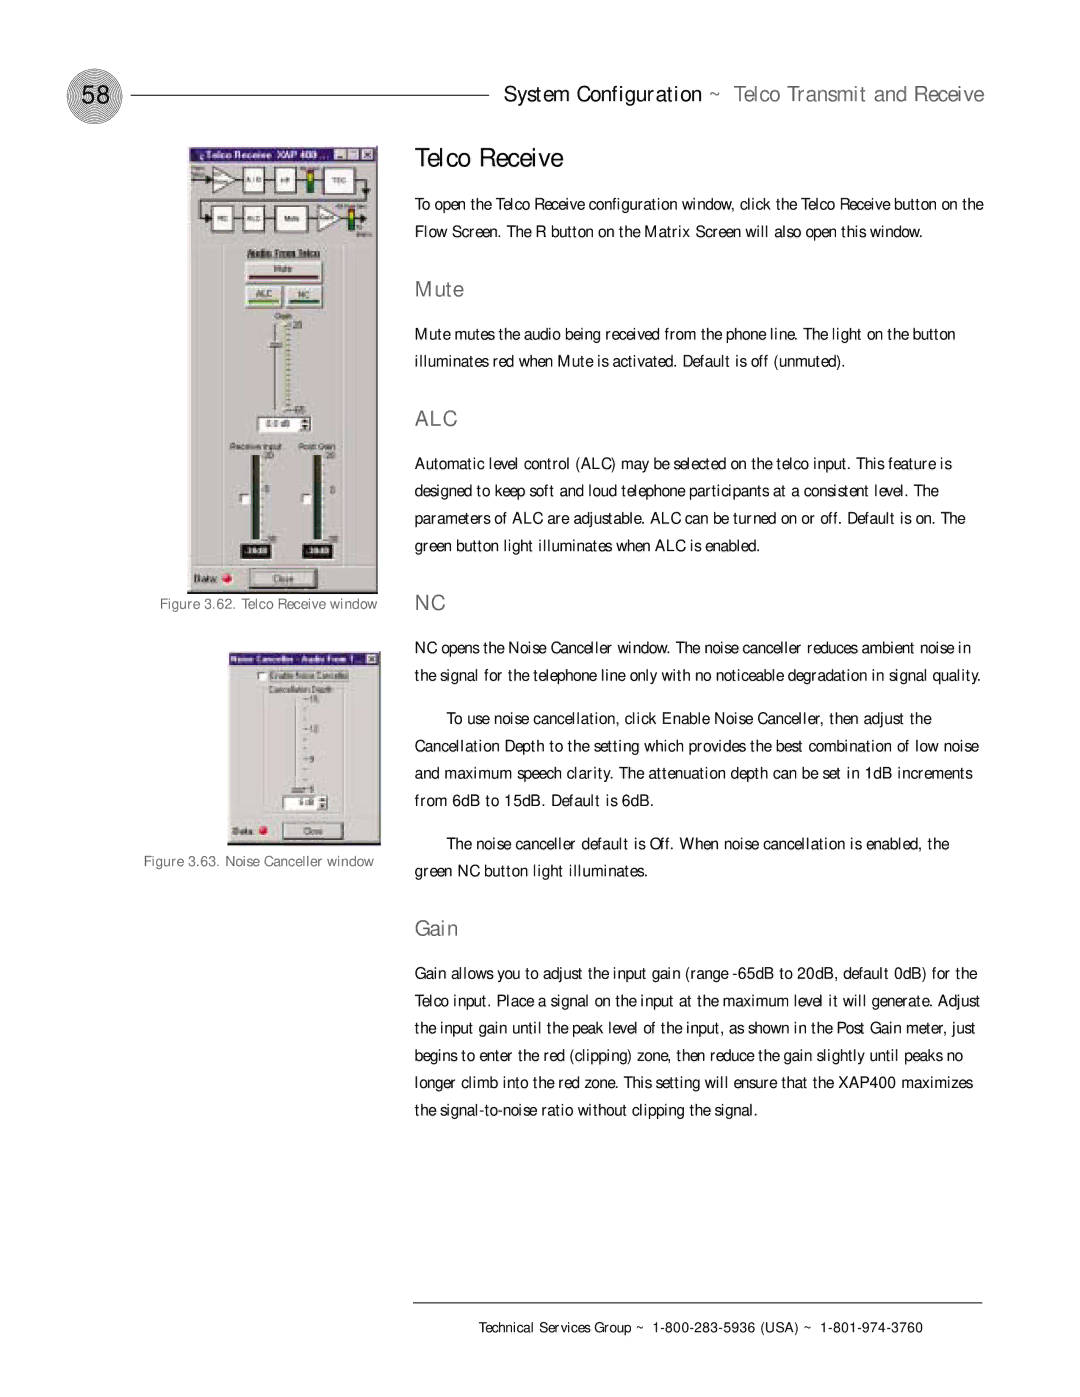
| To open the Telco Receive configuration window, click the Telco Receive button on the | |
| Flow Screen. The R button on the Matrix Screen will also open this window. | |
| Mute | |
| Mute mutes the audio being received from the phone line. The light on the button | |
| illuminates red when Mute is activated. Default is off (unmuted). | |
| ALC | |
| Automatic level control (ALC) may be selected on the telco input. This feature is | |
| designed to keep soft and loud telephone participants at a consistent level. The | |
| parameters of ALC are adjustable. ALC can be turned on or off. Default is on. The | |
| green button light illuminates when ALC is enabled. | |
Figure 3.62. Telco Receive window | NC | |
| NC opens the Noise Canceller window. The noise canceller reduces ambient noise in | |
| the signal for the telephone line only with no noticeable degradation in signal quality. | |
| To use noise cancellation, click Enable Noise Canceller, then adjust the | |
| Cancellation Depth to the setting which provides the best combination of low noise | |
| and maximum speech clarity. The attenuation depth can be set in 1dB increments | |
| from 6dB to 15dB. Default is 6dB. | |
Figure 3.63. Noise Canceller window | The noise canceller default is Off. When noise cancellation is enabled, the | |
green NC button light illuminates. | ||
| ||
| Gain | |
| Gain allows you to adjust the input gain (range | |
| Telco input. Place a signal on the input at the maximum level it will generate. Adjust | |
| the input gain until the peak level of the input, as shown in the Post Gain meter, just | |
| begins to enter the red (clipping) zone, then reduce the gain slightly until peaks no | |
| longer climb into the red zone. This setting will ensure that the XAP400 maximizes | |
| the |
