For
Print Servers CD-ROM User’s Guide
Legal
Trademark Rights
Table of Contents
Installing and Printing on NetWare
Installing and Printing on a Unix Environment
Installing and Printing on an Apple Network
Print Management Features of FastPort
FastManage Installation
Discovery Application
Ping and Bootp Server
Appendix a Resetting FastPort to Factory Defaults
FastPort Application
Appendix B Troubleshooting MS Windows
Appendix C Troubleshooting NetWare
Appendix D Troubleshooting Unix
Appendix E Troubleshooting AppleTalk
Appendix F Upgrading Flash EEPROMs
Appendix H Troubleshooting FastManage
Appendix I Technical Support Services
Index
Physical Features
Introduction and Installation
Features of the Print Servers
2 Configuration Features
Firmware Update
Shared Printer Features
Utilities
Installation Requirements
First Time Users
0040c8XXXXXX
Installing FastPort
Mode Description
Default Settings
MIL-3000FTX Series of FastPort Print Servers
Setting the IP Address
Assigning the IP Address
Setting an IP Address with Install Script
Setting the IP Address using Telnet on Unix
Alpha Save this file
Setting IP Address with Windows 95, 98, and NT
Setting the IP Address Using Rarp
Usr/etc/bootp
Setting the IP Address Dynamically with Bootp
Setting the IP address with Bootp on Sun
Setting the IP address using Bootp on HP/UX
Setting an IP Address Using the Dhcp Manager
Dhcp Support NT 4.0 server
Add Reserved Clients Menu
Using Digis ACT to Assign an IP Address
Using Appletalk to Assign an IP Address
Open the Apple Printer Utility
Using Digi’s NetBIOS to Assign IP Address
10.2Using The Digi Utilities
10.1About the Digi Utilities
D1 or -d2 or -d3, etc
Command ?, C, D, E, F,...., Z
Showprn.exe -d1
Nbmon.exe FP0F0FBA
Verifying IP Address is Set Properly
Enter new IP address
Printing From a NetBIOS Workstation
Introduction
Printing from Windows for Workgroups
Printing from Windows NT
Open the Print Manager
Printing from Windows 95/98 or Windows NT 4.x via SMB
Open Network Neighborhood
Printing From NetBIOS-supported DOS Workstation
Net View
Net Use
Spooling Versus Non-Spooling Printing Introduction
6.2 Configuring Windows 95/NT to Mimic Spooling
DOS and OS/2
Installing LPD Support on Windows NT
Printing from a TCP/IP Workstation
Select Create Printers
Installing a Printer on Windows NT
Adding an LPD Printer to Windows NT
Select Microsoft TCP/IP Printing and click Ok
Printing using a Third Party TCP LPR/LPD Stack
Click on Add Port--LPR Port--New Port
Choose a Destination Directory
Adding Queues in DigiLpr
Add New Queue Menu
Adding a New Printer
Next
Management Tools Used with NetBIOS and TCP/IP
Printing from NT using the HP DLC Protocol
Printing from Windows using Tftp Client
NetBIOS-DOS Tools Nbmon and showprn
Installing and Printing on NetWare
Introduction
Using Act to Install the Print Server
Configuring in a Bindery Environment
Choose Currently Attached Print Servers
Adding Users to the Notify List with Pconsole
Installing a Print Server in an NDS Environment
Using Pconsole to Install a Print Server
Select Notify List for Printer
Select Other/Unknown
Installing a Print Server on NDS using Pconsole
Pconsole
1.1Additional Queues
Installing Print Server in NDS Using NWadmin
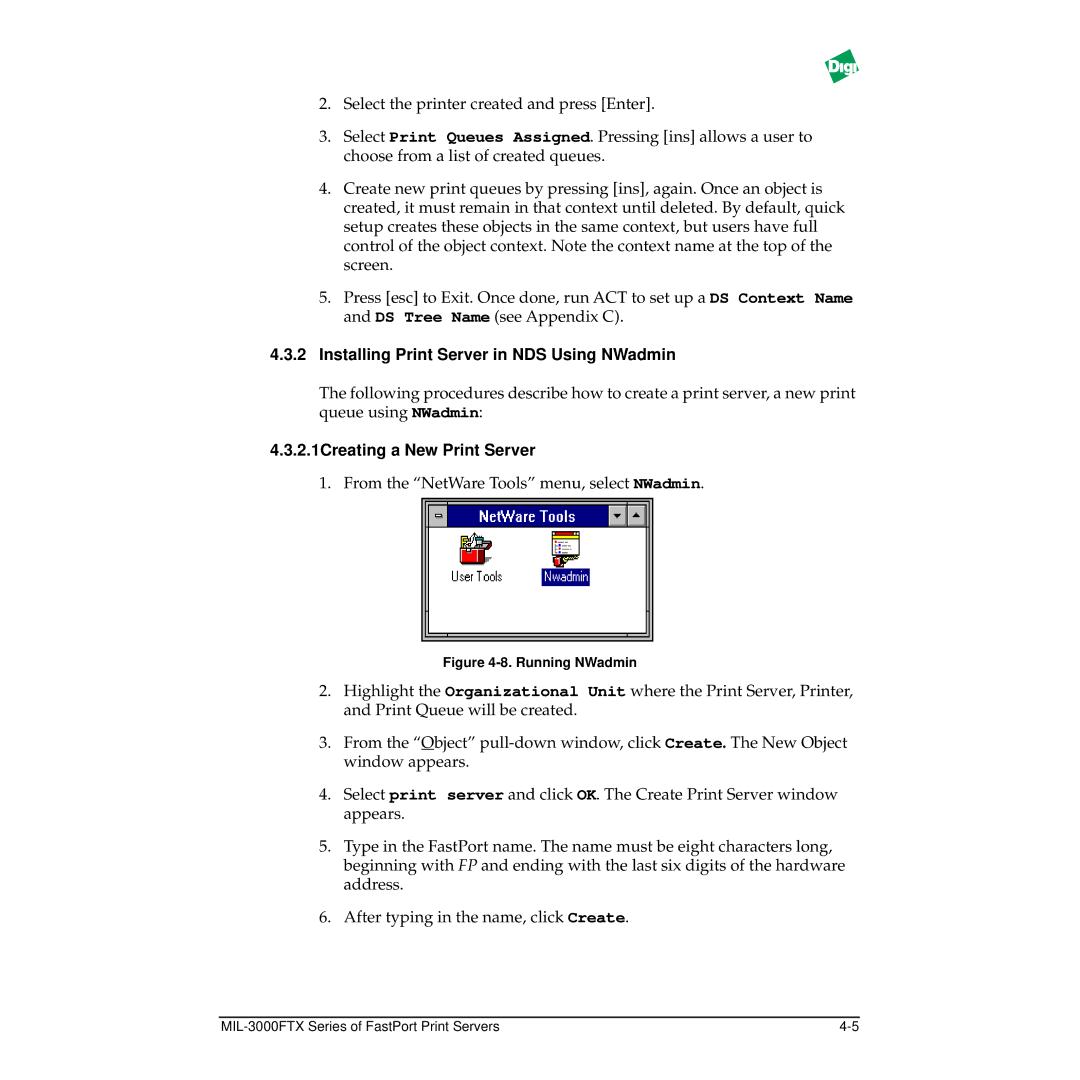
2.1Creating a New Print Server
2.4Connecting the print server to a Printer
2.2Creating a New Printer
2.3Creating a Print Queue
2.5Assigning a Print Queue to FastPort
Print Server
Configuring in a Bindery and NDS Environment
Capture /S=raisa /Q=lp1
Printing to FastPort
Printing Specific File Formats
Nprint myfile /S=raisa /Q=lp1
Installing and Printing on a Unix Environment
Host Software Versus LPD
Digi Installation Software
Installing Logical Printers
Installing on System V Unix
Install Script on IBM RS/6000
Choose Option #2. qdaemon-based systems
Manual Installation on LPD Systems
Installation on BSD Unix Systems
Choose Option #1, LPD-based systems
Getting Started on an LPD System
Pre-defined Queue Names
LPR Options
Manual Installation With LPD on a BSD Unix System
User Defined Queue Names
BetaFastPort LPD printer\ lp=\
Manual Installation with LPD on System V Machines
Usr/lib/lpsched
Fpfilter Command Line Options
Manual Installation Using Host SoftWare fpfilter
Manual Installation with LPD on RS/6000
Device = sample host = alpha rq = ps
Fpfilter -P alpha -m -f /etc/hosts
Printer Options File .fpconfig
2.1About Option Classes
Class hostname port list
Manual Installation for System V Machines
2.2About Options Startstring and Endstring
Usr/lib/lpshut
Device = lp0
Manual Installation on IBM RS/6000
Usr/local/milan
Backend = /usr/local/milan/commfilter.sh
Manual Installation on BSD Unix Systems
BetaFastPort host software printer\ lp=/dev/beta\
Chmod 755 /usr/local/Digi/fp
Parallel hostname alpha mapcrlf formfeed
Serial hostname alpha ctrld
5.1Printing to FastPort
5.2Customizing BSD Installation
Lpr -Pbeta filename, or lp -dbeta filename
5.2.1Banner Pages and Accounting Information
Installing and Printing from Data Generals DG/UX
Assigning Host Name and IP Address
Installing and Printing with DG/UX
Additional Unix Utilities Using pstext and NeWSprint
Deleting Printers
Printer Description Laser Printer on doc hallway
Introduction to the Apple Workstation
Installing and Printing on an Apple Network
EtherTalk Features
1.1Newly Supported Apple Printer Utility Functionality
Printer Communications Handling
Plug & Play Operation Printing to FastPort
Apple Applications How FastPort Operates
MiLAN-XXXXXX
Using the Apple Printer Utility to Download a Config. Files
Using the Apple Printer Utility for Configuration
Tips on Using the Configuration File
Advanced Utilities
1.1Using Setup Printer Information File
1.2Using Setup Defaults File
Select Download PostScript File from this menu
1.3Using Setup Font List
Option Choice Description Serial Port Parameters
Printing PostScript Binary Files
Using Namer to Rename the FastPort Printer
Renaming FastPort Using Namer
Selecting Binary PostScript Encoding
No Binary / Binary adobe / Binary tek / Binary hp
%ParallelNV%
Enable BiDirectional Interface = No
Enable BiDirectional Interface = Yes
Bi-directional Printing from Macintosh Systems
Issues Regarding Bi-Directional Macintosh Printing
Serial Port Console Monitoring
Print Manag ement Features of FastPor t
Managing Print Server
Enabling or Disabling the Console Monitor
Managing FastPort from Networked Workstations
2 TCP/IP Stations 2.1Using FastManage
2.2Using Telnet Diagnostic Monitoring
Multi-Protocol and Snmp Stations
2.3SYSLOG on FastPort
2.4Digi’s fpstatus for TCP/IP Unix
Disable background printing
AppleTalk Stations
NetWare Client Stations
NetBIOS / NetBEUI Stations
FastManage MIBs
FastManage Installation
FastManage Applications
FastManage Requirements
Express Installation
Installing FastManage
NetBIOS Configuration
IP Configuration
Custom Installation
IP Parameters
Maximum Retry Time and click Next. Default is
2.1General Parameters
file map.map
2.2Discovery Parameters
Discovery Parameters
2.3SNMP Agent Parameters
Snmp Agent Parameters
MIL-3000FTX Series of FastPort Print Servers
Discovery Features
Discovery Application
Introduction to Discovery
Launching Discovery
FastManage for FastPort menu
Status Bar
FastPort Icon Names
Tool bar
System Information
Discovery Application Tools
Renaming a Discovery Map
Host Name/Address
Send Broadcast
Using the Ping Manager
2.1Changing from the Node Name to an Address
Refresh Map
Tftp Icon Flash Download
Close All Windows Icon
Show Node Properties
10SNMP Fault Trace
Node Properties
Parameters Pull-Down Menu
General Parameters
MIL-3000FTX Series of FastPort Print Servers
Discovery Parameters
Discovery Parameters menu
MIL-3000FTX Series of FastPort Print Servers
Application Launch Parameters
Select Application Launch Parameters
4 Mib2 System Parameters
FastPort Application
FastPort Application
Overview of Managing FastPort
10.3.1Traps
10.3.3Reset
10.3.2Uptime
10.3.4Digi Logo
10.4 Configuration Sub-menus
10.3.5Serial Port
10.3.6Parallel Port
From TCP/IP Config., selections include
10.4.1TCP/IP Config
10.4.2Novell Config
From Novell Config., selections include
10.4.3General Config
10.4.4Ethertalk Config
Parameters for the parallel port includes
10.4.5SMB Config
10.4.6NetBIOS Config
Status Menu
Help Menu
Ping and Bootp Server
11.1.1Updating the Ping Settings
Launching the Ping Application
Troubleshooting Ping
Bootp Configuration
Select BOOTPtab File
Resetting by Console Option
Resetting FastPort to Factory Defaults
Resetting by Toggling the DIP Switches
Hardware Features
Serial Printer and Terminal
DB9 Female DB9 Male
Parallel Port Connector
Serial Port Connector
RJ-45 Connector
Environmental Operating Conditions
Troubleshooting MS Windows
MS Windows-Level Browsing and Sharing Abilities
DOS Tools
Troubleshooting DOS Tools
After Upgrade
Nbmon fpxxxxxx -d1
ACT-- Advance Configuration Tool
Troubleshooting NetWare
Features
Benefits of ACT
Requirements
Setup
Advanced Configuration Menu in ACT
Navigating in ACT
NetWare Configuration Menu
1.1Configuring the Print Server FastPort Side
FastPort Nvram information
1.2Configuring the Print Server File Server Side
1.3Configuring a Queue
1.4Example
Select Netware Configuration and Configure Queue
1.5Example
Print Server Configuration
Figure C-1. Print Server Configuration Options
Status Menu in ACT
Monitor Menu in ACT
FastPort does not login to bindery Novell 4.x server
Troubleshooting Tips
FastPort does not power up
FastPort does not show up in ACT
No Form Feed is sent after the print job
FastPort does not login to the file server
FastPort does not print via serial port
PostScript jobs have trouble printing
Notification not Working if Created by Pconsole
FastPort Console Messages
Could not attach QUEUE1
Failed to login to file server SERVER1 for server Fakeps
ACT Error Messages
Trying to read file SYSlogin/milan/FPXXXXXX on SERVER1
Could not Read Configuration file from SERVER1
Ascii Text File Prints as a Single Line
Troubleshooting Unix
No Lights on the Unit
Usr/spool/name of printer on a BSD machine
SYS LED Flashes Quickly
Cannot Print to the serial printer
NET LED flashes, But User Cannot Print or Ping the Unit
Cd /var/yp make
Using fpfilter Configuration Files
Unix Configuration Files
Cp fpfilter.resolver fpfilter
Dhcp Troubleshooting
Sample Entries for Direct and Remote Spooling
If=/usr/local/digi/hpfilter
2 Configuration to Use the ACK Signal
Troubleshooting AppleTalk
Reset Time
Situation 1 Printing Over Ethertalk Using Driver
Situation Two Setting Serial Port Options
Options number for the 25-pin port is
Setup for AppleTalk
For a Serial Printer
Troubleshooting
Changing the FastPort Settings
PostScript Binary print
Troubleshooting Setup on AppleTalk
Printer in chooser option is set to Sense or Always
More Troubleshooting
Downloading the Setup Defaults File to Change FastPort
Change to Postscript Printer no
Select Apple Printer Utility
Network Upload Procedure
Recovering from a Failed Upload
Upgrading Flash Eeproms
Use the Copy This Image to Other Bank command
Restoring the Alternate Bank Image
Completing the Upload
Flash Upload Commands
Troubleshooting Tips
Diagnostic and Configuration Commands Commands
Configure Console for status monitoring
Flash Firmware Load Enable/Disable
Display Summary Configuration Parameters, Including
Display/Set Ethernet Options
Network Protocols Menu
Limit monitor Network Access by Password
Display/set IP Address
Network Protocols Menu
1.2M-Microsoft Windows Print Services Options
1.3N-Netware Options
1.4T-TCP/IP Sockets, LPD, RARP, BOOTp, Tftp Options
1.4.1TCP/IP Menu Options S Socket Options
Serial
Display/Set Parallel Port Parms and Status
1.4.2TCP/IP Menu Options L LPD Options
Display/Set for MIL-3200FTX
Display/set Serial Port Parms
1.1Display/Set for MIL-3110FTX and MIL-3111FTX
13 +-Print PostScript Test
Reset Nvram to Factory Defaults
12 *-Print Ascii Test
Select port Serial Parallel Enter dont change/continue
General Messages
Troubleshooting FastManage
General Problems
IP address Validation Messages
Bootp Server Application Messages
Discovery Application Messages
Ping Application Message
Returning Procedures
Technical Support Services
Expediting Technical Support Service
WWW and FTP Sites
How to access Digi’s FTP Sites
Pub/fastport/software and /pub/fastport/faq
Unix Binary Files Available
SUN 3.X on 68K processor
Support Documents Available
AT&T SVR4
MIL-3000FTX Series of FastPort Print Servers
MIL-3000FTX Series of FastPort Print Servers
Symbols Numerics
Index
MIL-3000FTX Series of FastPort Print Servers In-2
MIL-3000FTX Series of FastPort Print Servers In-3
MIL-3000FTX Series of FastPort Print Servers In-4
Orleans Drive Sunnyvale, CA Part Number 90000105 Rev. B