NAT/Route mode installation | Using the setup wizard |
|
|
Advanced NAT/Route mode settings
Use Table 13 to gather the information that you need to customize advanced
FortiGate NAT/Route mode settings.
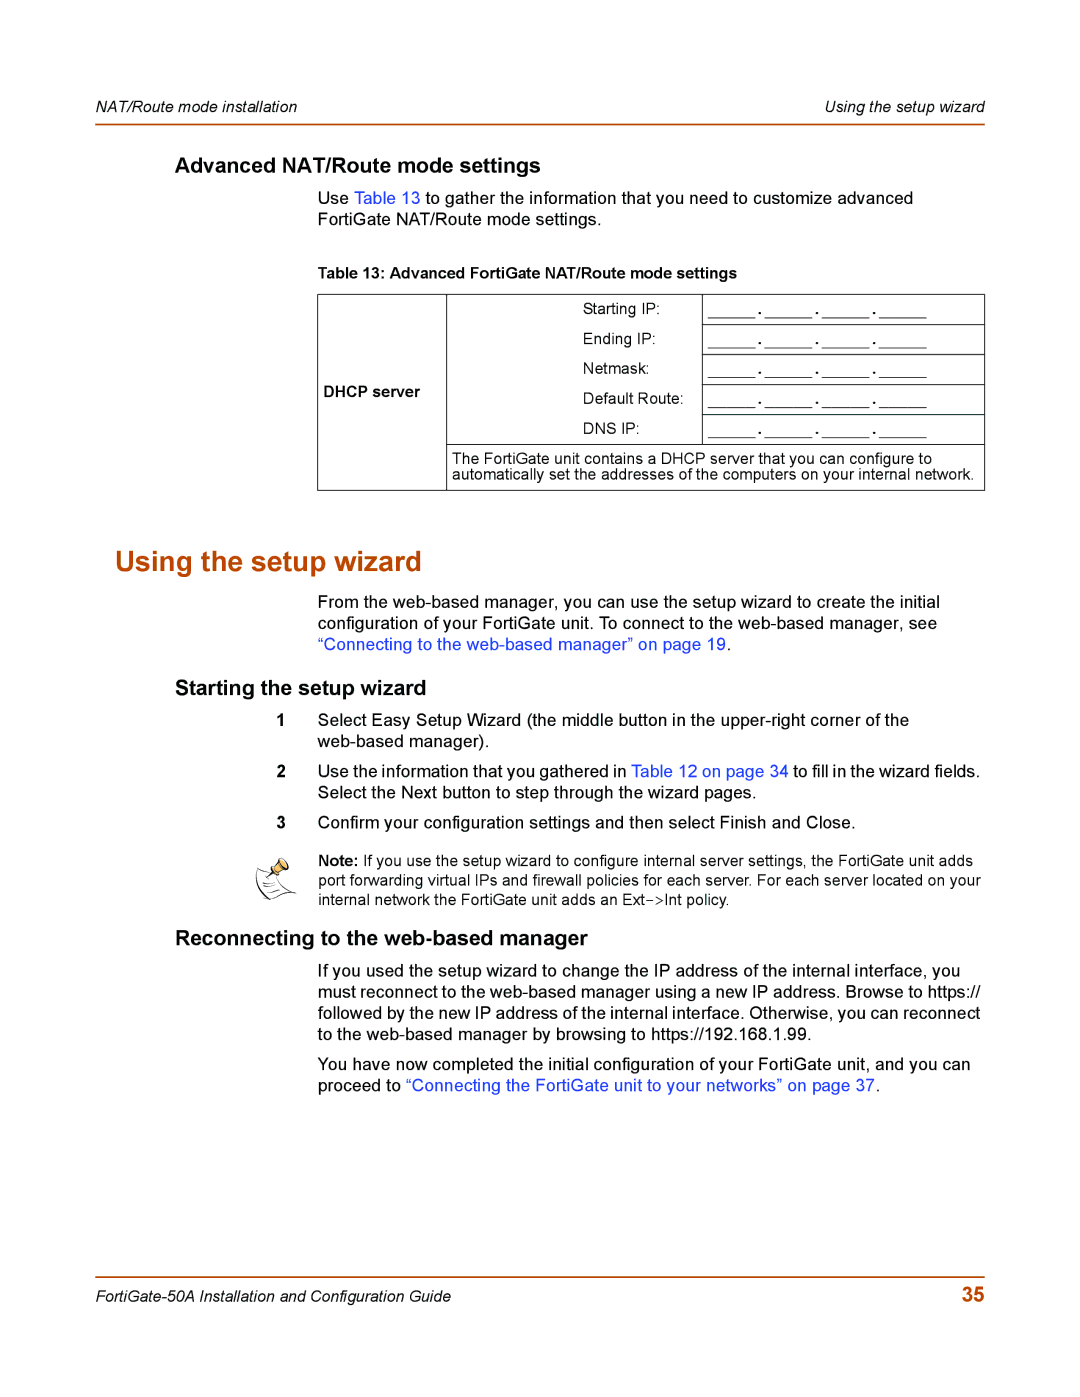
Table 13: Advanced FortiGate NAT/Route mode settings
| Starting IP: | _____._____._____._____ | |
| Ending IP: | _____._____._____._____ | |
DHCP server | Netmask: | _____._____._____._____ | |
Default Route: | _____._____._____._____ | ||
| |||
| DNS IP: | _____._____._____._____ | |
| The FortiGate unit contains a DHCP server that you can configure to | ||
| automatically set the addresses of the computers on your internal network. | ||
|
|
| |
Using the setup wizard
From the
Starting the setup wizard
1Select Easy Setup Wizard (the middle button in the
2Use the information that you gathered in Table 12 on page 34 to fill in the wizard fields. Select the Next button to step through the wizard pages.
3Confirm your configuration settings and then select Finish and Close.
Note: If you use the setup wizard to configure internal server settings, the FortiGate unit adds port forwarding virtual IPs and firewall policies for each server. For each server located on your internal network the FortiGate unit adds an
Reconnecting to the web-based manager
If you used the setup wizard to change the IP address of the internal interface, you must reconnect to the
You have now completed the initial configuration of your FortiGate unit, and you can proceed to “Connecting the FortiGate unit to your networks” on page 37.
35 |