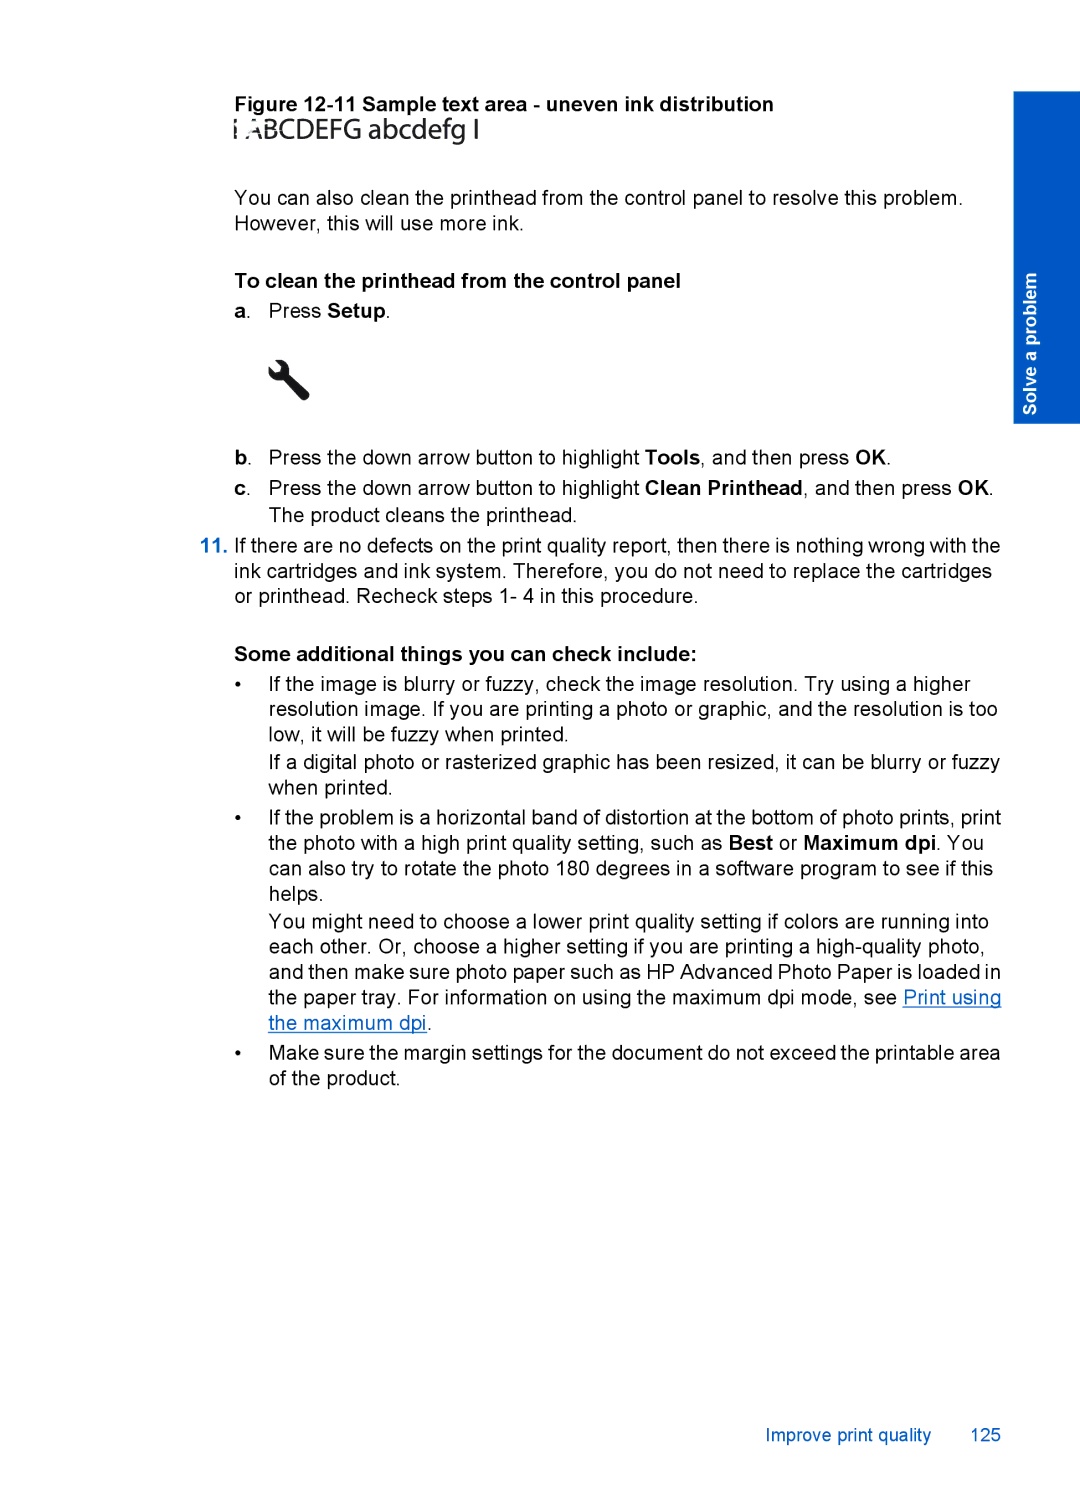
Figure 12-11 Sample text area - uneven ink distribution
You can also clean the printhead from the control panel to resolve this problem. However, this will use more ink.
To clean the printhead from the control panel a. Press Setup.
b. Press the down arrow button to highlight Tools, and then press OK.
c. Press the down arrow button to highlight Clean Printhead, and then press OK. The product cleans the printhead.
11.If there are no defects on the print quality report, then there is nothing wrong with the ink cartridges and ink system. Therefore, you do not need to replace the cartridges or printhead. Recheck steps 1- 4 in this procedure.
Some additional things you can check include:
•If the image is blurry or fuzzy, check the image resolution. Try using a higher resolution image. If you are printing a photo or graphic, and the resolution is too low, it will be fuzzy when printed.
If a digital photo or rasterized graphic has been resized, it can be blurry or fuzzy when printed.
•If the problem is a horizontal band of distortion at the bottom of photo prints, print the photo with a high print quality setting, such as Best or Maximum dpi. You can also try to rotate the photo 180 degrees in a software program to see if this helps.
You might need to choose a lower print quality setting if colors are running into each other. Or, choose a higher setting if you are printing a
•Make sure the margin settings for the document do not exceed the printable area of the product.
Solve a problem
Improve print quality | 125 |