Solve a problem
Chapter 12
Solution 1: Clear any paper jams and make sure paper is loaded in the input tray
Solution: The product might have a paper jam or be out of paper. If you have Backup Fax Reception enabled, the product might have stored the fax in memory upon reception. After clearing the paper jam or loading paper in the input tray, the product automatically begins printing all the unprinted faxes from memory, in the order they were received. If you do not have Backup Fax Reception enabled, or if the fax was not stored in memory for some reason (for example, if the product was out of memory), ask the sender to resend the fax.
For more information, see:
Load media
Cause: The product had a paper jam or was out of paper.
If this did not solve the issue, try the next solution.
Solution 2: Check for error messages on the display
Solution: If an error condition exists that is preventing the product from printing faxes, review the display for information on the error condition. Make sure:
•The product is on. Press the On button to turn on the product.
•The product is set up correctly for faxing. See the printed documentation for more information.
•There is paper loaded in the input tray.
•There is no paper jam.
•The print carriage is not stalled or blocked. Turn off the product, remove any objects that are blocking the print cartridge carriage (including any packing materials), and then turn on the product again.
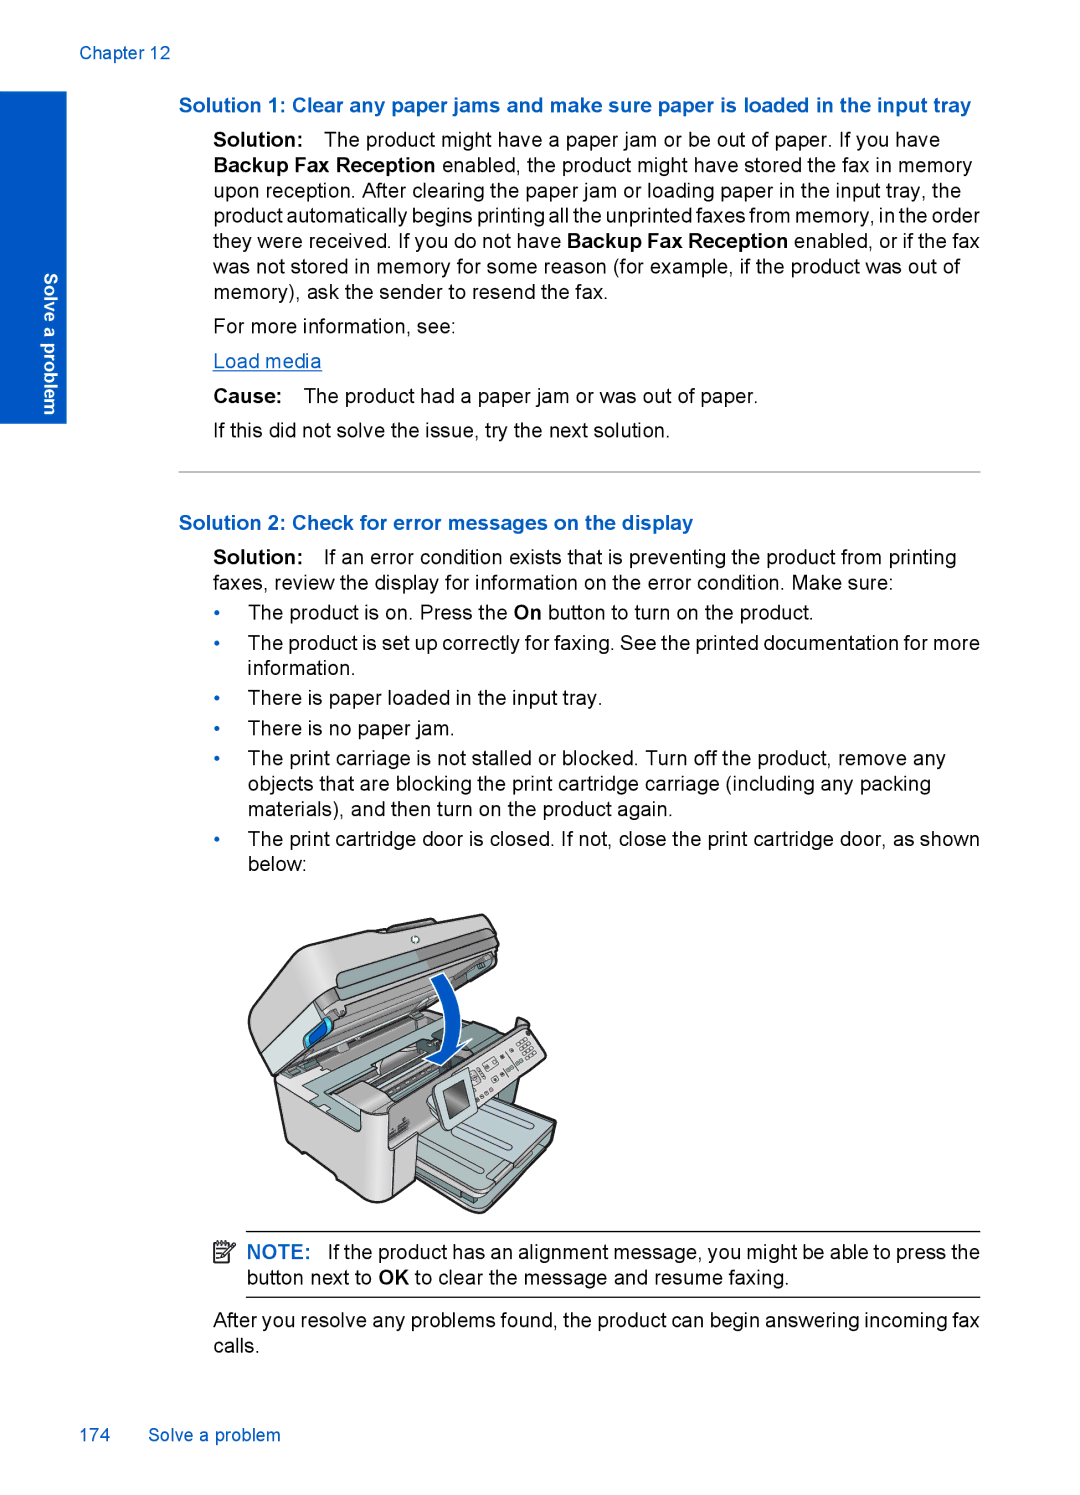
•The print cartridge door is closed. If not, close the print cartridge door, as shown below:
![]() NOTE: If the product has an alignment message, you might be able to press the button next to OK to clear the message and resume faxing.
NOTE: If the product has an alignment message, you might be able to press the button next to OK to clear the message and resume faxing.
After you resolve any problems found, the product can begin answering incoming fax calls.