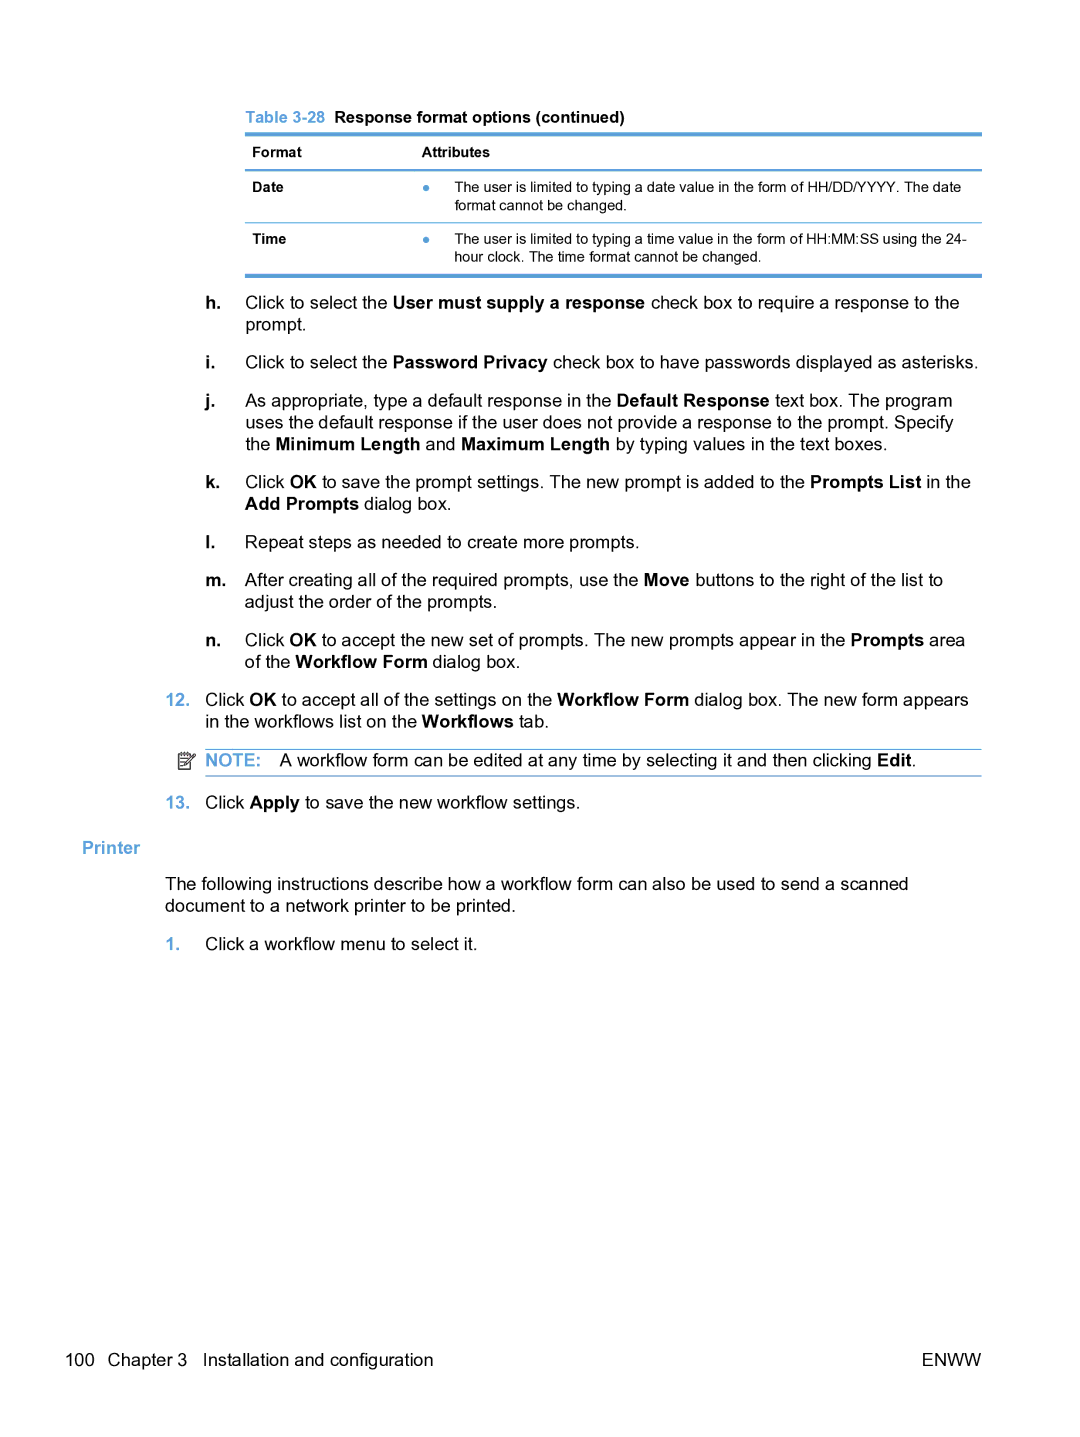
Table 3-28 Response format options (continued)
Format | Attributes | |
|
|
|
Date | ● | The user is limited to typing a date value in the form of HH/DD/YYYY. The date |
|
| format cannot be changed. |
|
|
|
Time | ● | The user is limited to typing a time value in the form of HH:MM:SS using the 24- |
|
| hour clock. The time format cannot be changed. |
|
|
|
h.Click to select the User must supply a response check box to require a response to the prompt.
i.Click to select the Password Privacy check box to have passwords displayed as asterisks.
j.As appropriate, type a default response in the Default Response text box. The program uses the default response if the user does not provide a response to the prompt. Specify the Minimum Length and Maximum Length by typing values in the text boxes.
k.Click OK to save the prompt settings. The new prompt is added to the Prompts List in the Add Prompts dialog box.
l.Repeat steps as needed to create more prompts.
m.After creating all of the required prompts, use the Move buttons to the right of the list to adjust the order of the prompts.
n.Click OK to accept the new set of prompts. The new prompts appear in the Prompts area of the Workflow Form dialog box.
12.Click OK to accept all of the settings on the Workflow Form dialog box. The new form appears in the workflows list on the Workflows tab.
![]() NOTE: A workflow form can be edited at any time by selecting it and then clicking Edit.
NOTE: A workflow form can be edited at any time by selecting it and then clicking Edit.
13.Click Apply to save the new workflow settings.
Printer
The following instructions describe how a workflow form can also be used to send a scanned document to a network printer to be printed.
1.Click a workflow menu to select it.
100 Chapter 3 Installation and configuration | ENWW |
