CMS-6R4 Series - User’s Guide
IP SECURITY:
1.Security Mask #1: (undefined)
2.Mask #1 Action: Permit
3.Security Mask #2: (undefined)
4.Mask #2 Action: Permit
5.Security Mask #3: (undefined)
6.Mask #3 Action: Permit
7.Security Mask #4: (undefined)
8.Mask #4 Action: Permit
9.Security Mask #5: (undefined)
10.Mask #5 Action: Permit
Enter selection,
Press <ESC> to return to previous menu ...
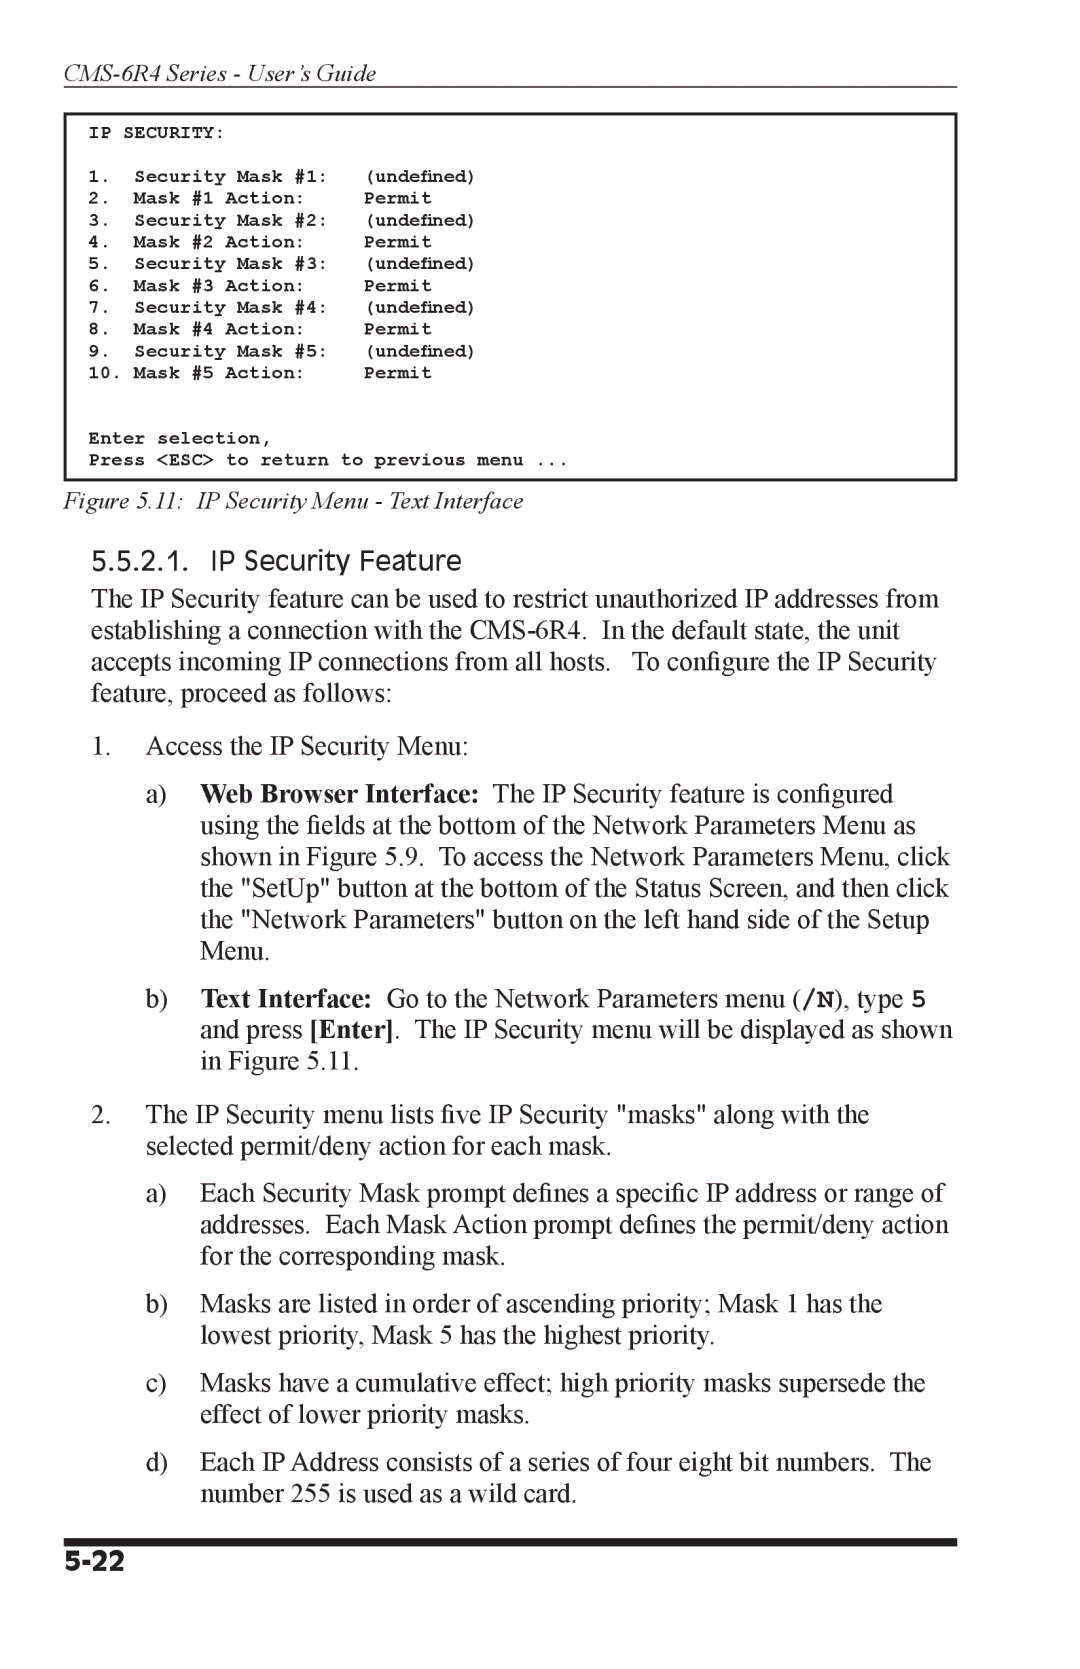
Figure 5.11: IP Security Menu - Text Interface
5.5.2.1. IP Security Feature
The IP Security feature can be used to restrict unauthorized IP addresses from establishing a connection with the
1.Access the IP Security Menu:
a)Web Browser Interface: The IP Security feature is configured using the fields at the bottom of the Network Parameters Menu as shown in Figure 5.9. To access the Network Parameters Menu, click the "SetUp" button at the bottom of the Status Screen, and then click the "Network Parameters" button on the left hand side of the Setup Menu.
b)Text Interface: Go to the Network Parameters menu (/N), type 5 and press [Enter]. The IP Security menu will be displayed as shown in Figure 5.11.
2.The IP Security menu lists five IP Security "masks" along with the selected permit/deny action for each mask.
a)Each Security Mask prompt defines a specific IP address or range of addresses. Each Mask Action prompt defines the permit/deny action for the corresponding mask.
b)Masks are listed in order of ascending priority; Mask 1 has the lowest priority, Mask 5 has the highest priority.
c)Masks have a cumulative effect; high priority masks supersede the effect of lower priority masks.
d)Each IP Address consists of a series of four eight bit numbers. The number 255 is used as a wild card.
