4. Telephone
To stop viewing
Press {ih} after step 2.
4.9.2 With the base unit
The display will show the number of new calls in standby mode.
Example: 10 CALLS | 00 |
10:59 |
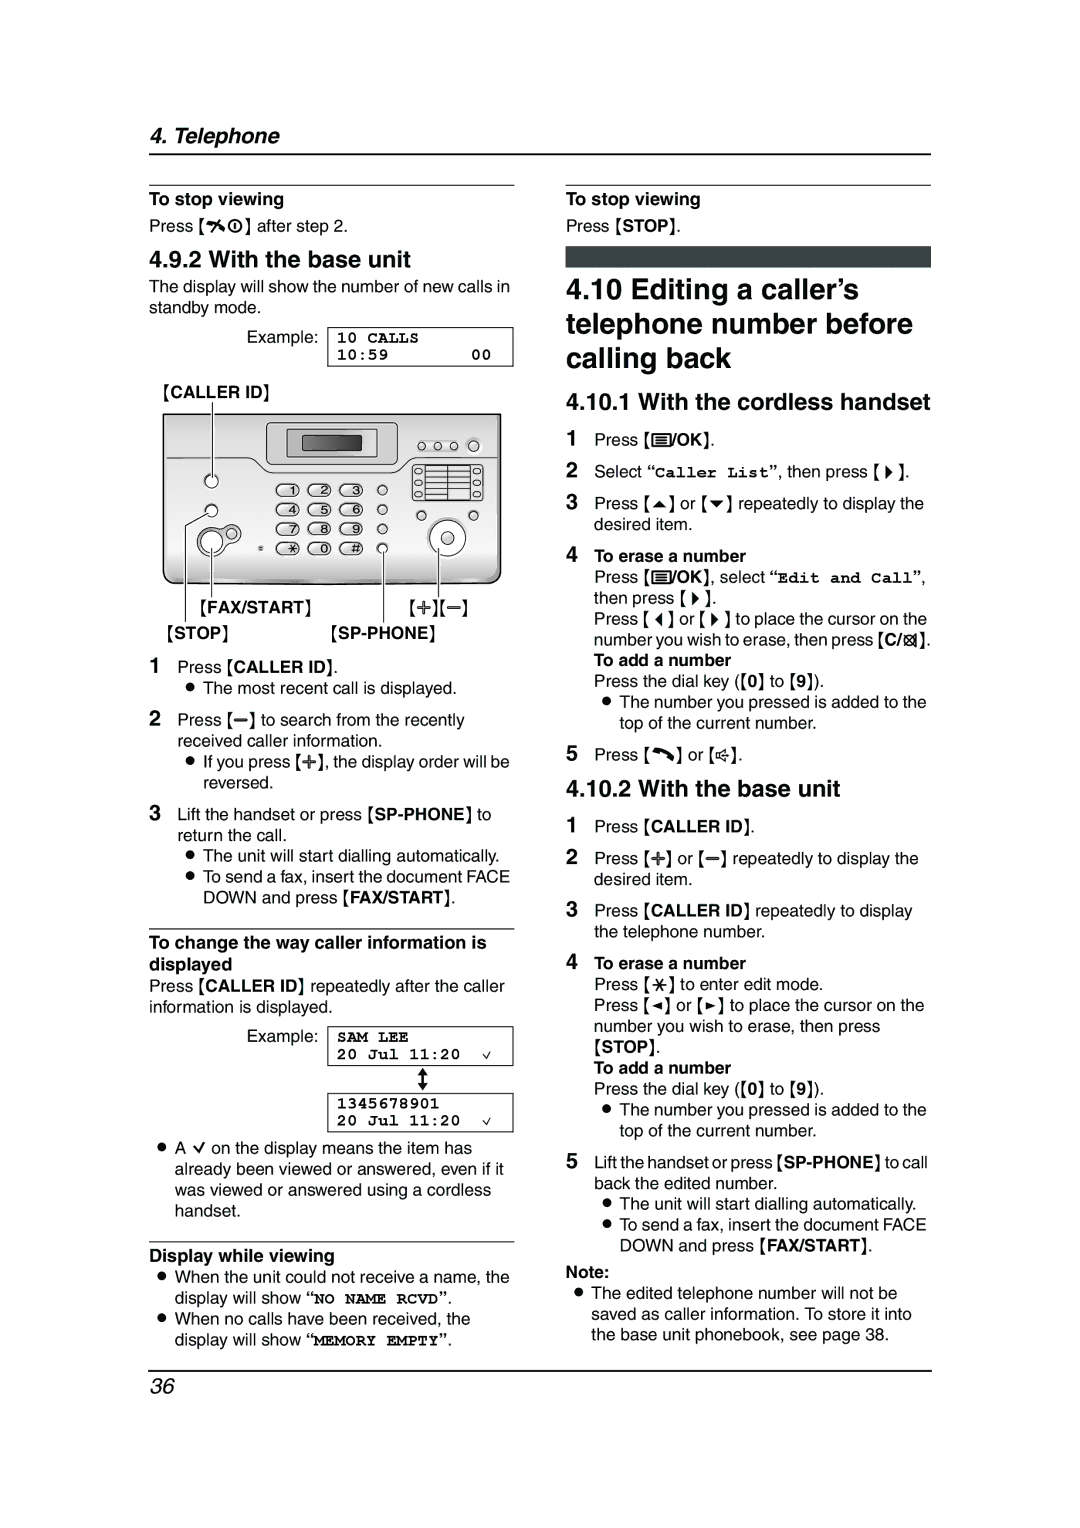
{CALLER ID}
|
|
|
|
|
|
|
|
{FAX/START} | {A}{B} | ||
|
|
|
|
{STOP} {SP-PHONE}
1Press {CALLER ID}.
LThe most recent call is displayed.
2Press {B} to search from the recently received caller information.
L If you press {A}, the display order will be reversed.
3Lift the handset or press
L The unit will start dialling automatically. L To send a fax, insert the document FACE
DOWN and press {FAX/START}.
To change the way caller information is displayed
Press {CALLER ID} repeatedly after the caller information is displayed.
Example: SAM LEE
20 Jul 11:20 ,
b
1345678901
20 Jul 11:20 ,
LA Qon the display means the item has already been viewed or answered, even if it was viewed or answered using a cordless handset.
Display while viewing
LWhen the unit could not receive a name, the display will show “NO NAME RCVD”.
LWhen no calls have been received, the display will show “MEMORY EMPTY”.
To stop viewing
Press {STOP}.
4.10Editing a caller’s telephone number before calling back
4.10.1 With the cordless handset
1Press {j/OK}.
2Select “Caller List”, then press {>}.
3Press {e} or {v} repeatedly to display the desired item.
4To erase a number
Press {j/OK}, select “Edit and Call”, then press {>}.
Press {<} or {>} to place the cursor on the number you wish to erase, then press {C/T}.
To add a number
Press the dial key ({0} to {9}).
L The number you pressed is added to the top of the current number.
5Press {C} or {s}.
4.10.2 With the base unit
1Press {CALLER ID}.
2Press {A} or {B} repeatedly to display the desired item.
3Press {CALLER ID} repeatedly to display the telephone number.
4To erase a number
Press {*} to enter edit mode.
Press {<} or {>} to place the cursor on the number you wish to erase, then press
{STOP}.
To add a number
Press the dial key ({0} to {9}).
L The number you pressed is added to the top of the current number.
5Lift the handset or press
L The unit will start dialling automatically. L To send a fax, insert the document FACE
DOWN and press {FAX/START}.
Note:
LThe edited telephone number will not be saved as caller information. To store it into the base unit phonebook, see page 38.
36