•Working area
- SmarThru Desktop: Created within the standard Windows folder My Documents.
-Sort on Disk: Files of the folders which are not indexed will not be displayed in the Sort on Disk section. Sort type are Date, File Types, Latest Used. To add a folder for indexing, press Edit menu → Preferences → Index.
It may take longer time to show the added file folders according to the computer performance and the number of added file folders.
NOTES:
•To do indexing and searching the PDF format file, you must install Adobe Acrobat Reader 7.0.5 or higher.
•You can use indexing and searching functions using SmarThru Office supported by Microsoft Indexing Service. This service is supported in Windows 2000 or above, so that Windows 98/ Me/ NT 4.0 user can not use these functions.
-Windows Folders: Allow user to navigate through all the user’s files and folders.
-The right panel: Reflects the content of a selected folder.
•Send to bar: Run the corresponding application directly. Drag and drop selected files to the appropriate application button.
-Send by
To send scanned images or documents by
-Send by FTP: To upload a document file to server while working within the SmarThru Office.
-Send by Fax: To send documents by Local or Network
fax machine while working within the SmarThru
Office.
28 Scanning
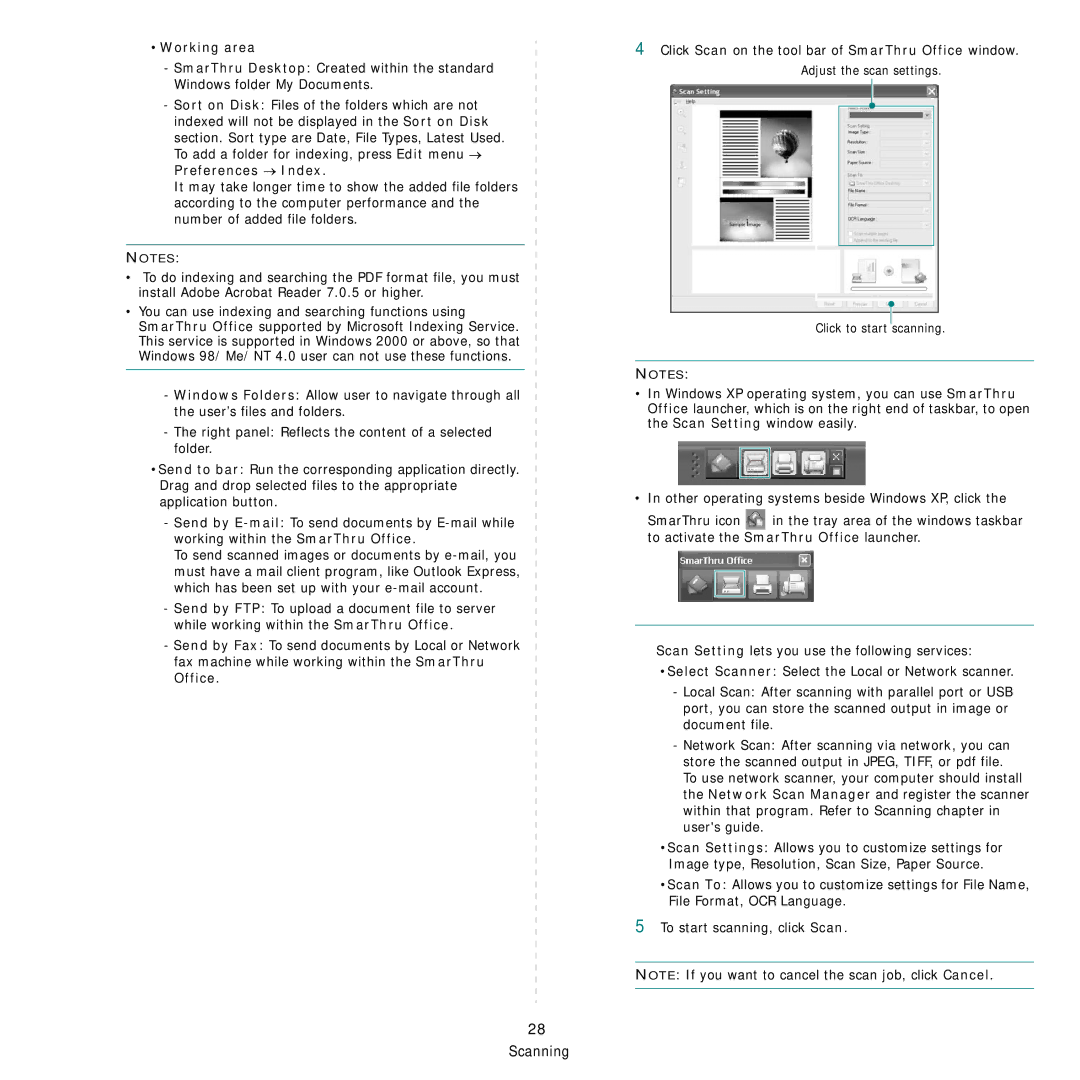
4Click Scan on the tool bar of SmarThru Office window.
Adjust the scan settings.
Click to start scanning.
NOTES:
•In Windows XP operating system, you can use SmarThru Office launcher, which is on the right end of taskbar, to open the Scan Setting window easily.
•In other operating systems beside Windows XP, click the
SmarThru icon ![]() in the tray area of the windows taskbar to activate the SmarThru Office launcher.
in the tray area of the windows taskbar to activate the SmarThru Office launcher.
Scan Setting lets you use the following services:
•Select Scanner: Select the Local or Network scanner.
-Local Scan: After scanning with parallel port or USB port, you can store the scanned output in image or document file.
-Network Scan: After scanning via network, you can store the scanned output in JPEG, TIFF, or pdf file. To use network scanner, your computer should install the Network Scan Manager and register the scanner within that program. Refer to Scanning chapter in user's guide.
•Scan Settings: Allows you to customize settings for Image type, Resolution, Scan Size, Paper Source.
•Scan To: Allows you to customize settings for File Name, File Format, OCR Language.
5To start scanning, click Scan.
NOTE: If you want to cancel the scan job, click Cancel.