3 Getting Started
This chapter gives you
This chapter includes:
•Setting up the hardware
•Setting up the network
•Installing the software
•Machine's basic settings
•Understanding the keyboard
Setting up the hardware
This section shows the steps to set up the hardware which is explained in Quick Install Guide. Make sure you read Quick Install Guide and complete following steps.
1Select a stable location.
Select a level, stable place with adequate space for air circulation. Allow extra space to open covers and trays. Under the altitude 2,500 m (8,200 ft) is effective for printing. See the general settings for Altitude Adjustment in page 9.2.
The area should be
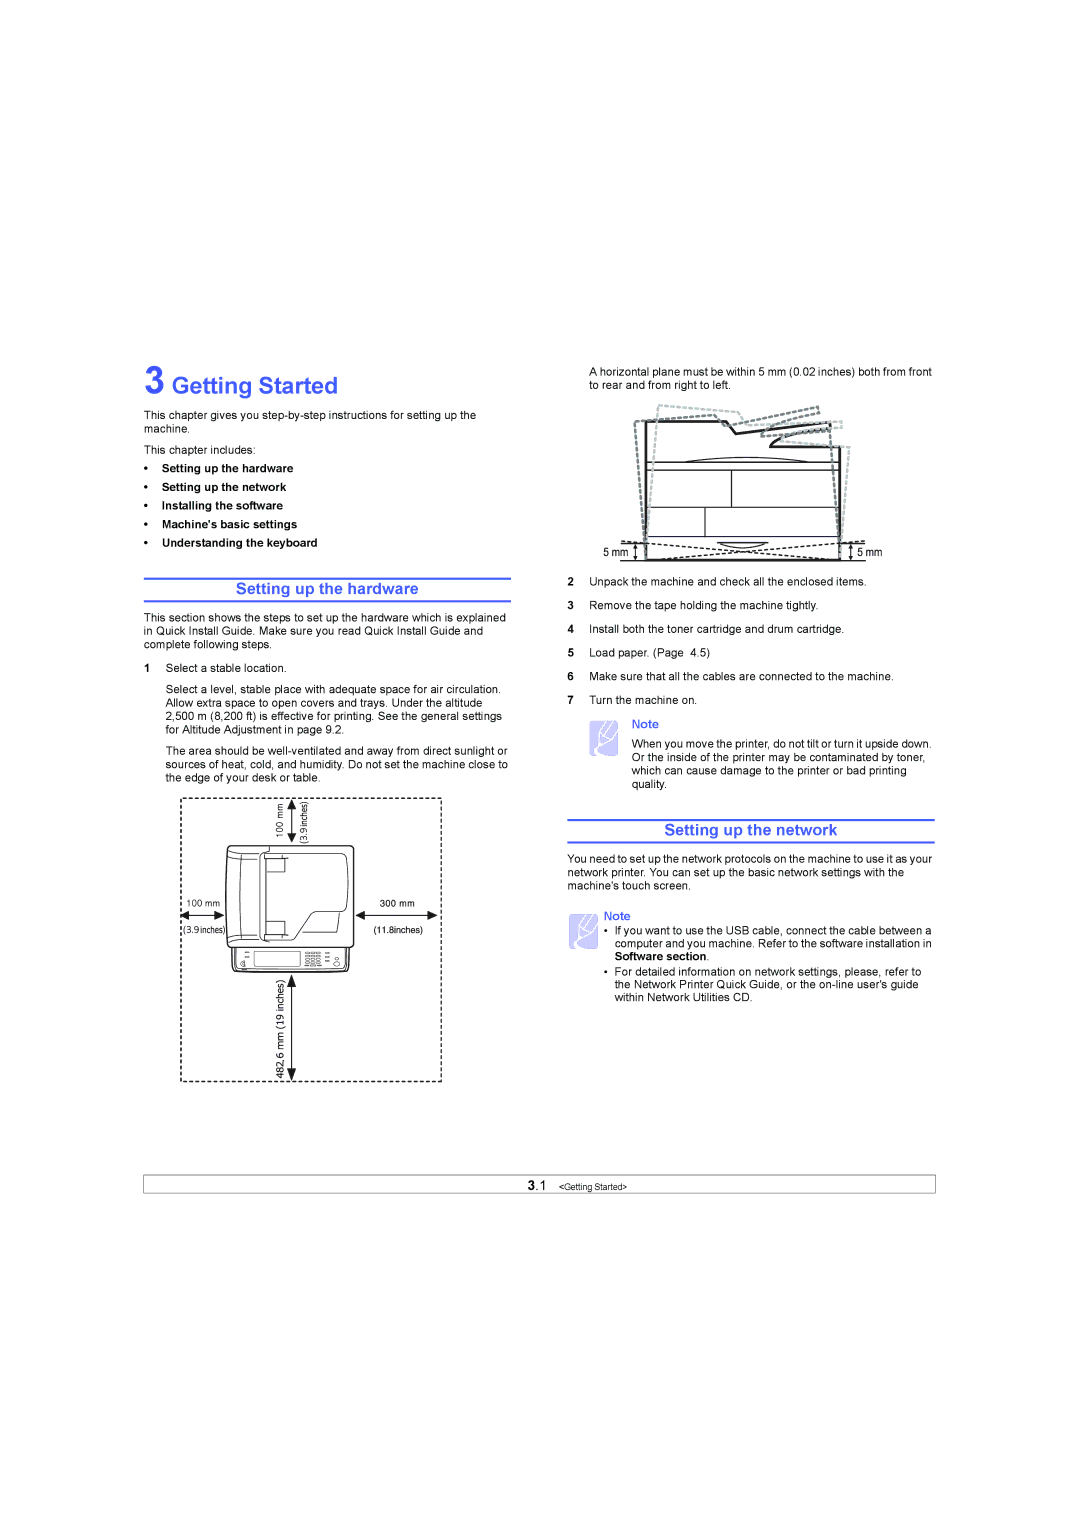
A horizontal plane must be within 5 mm (0.02 inches) both from front to rear and from right to left.
2Unpack the machine and check all the enclosed items.
3Remove the tape holding the machine tightly.
4Install both the toner cartridge and drum cartridge.
5Load paper. (Page 4.5)
6Make sure that all the cables are connected to the machine.
7Turn the machine on.
Note
When you move the printer, do not tilt or turn it upside down. Or the inside of the printer may be contaminated by toner, which can cause damage to the printer or bad printing quality.
Setting up the network
You need to set up the network protocols on the machine to use it as your network printer. You can set up the basic network settings with the machine's touch screen.
Note
• If you want to use the USB cable, connect the cable between a computer and you machine. Refer to the software installation in Software section.
•For detailed information on network settings, please, refer to the Network Printer Quick Guide, or the
3.1 <Getting Started>