•Scan Preset: Automatically changes some scan options such as file format, resolution, and more. You can adjust options to fit each specific purpose. (Page 7.8)
•Back: Returns to the previous screen.
Scanning originals and sending through email
(Scan to Email)
You can scan the originals and email the scanned image to several destinations from the machine by email.
Sending a scanned image to several destinations as an email attachment
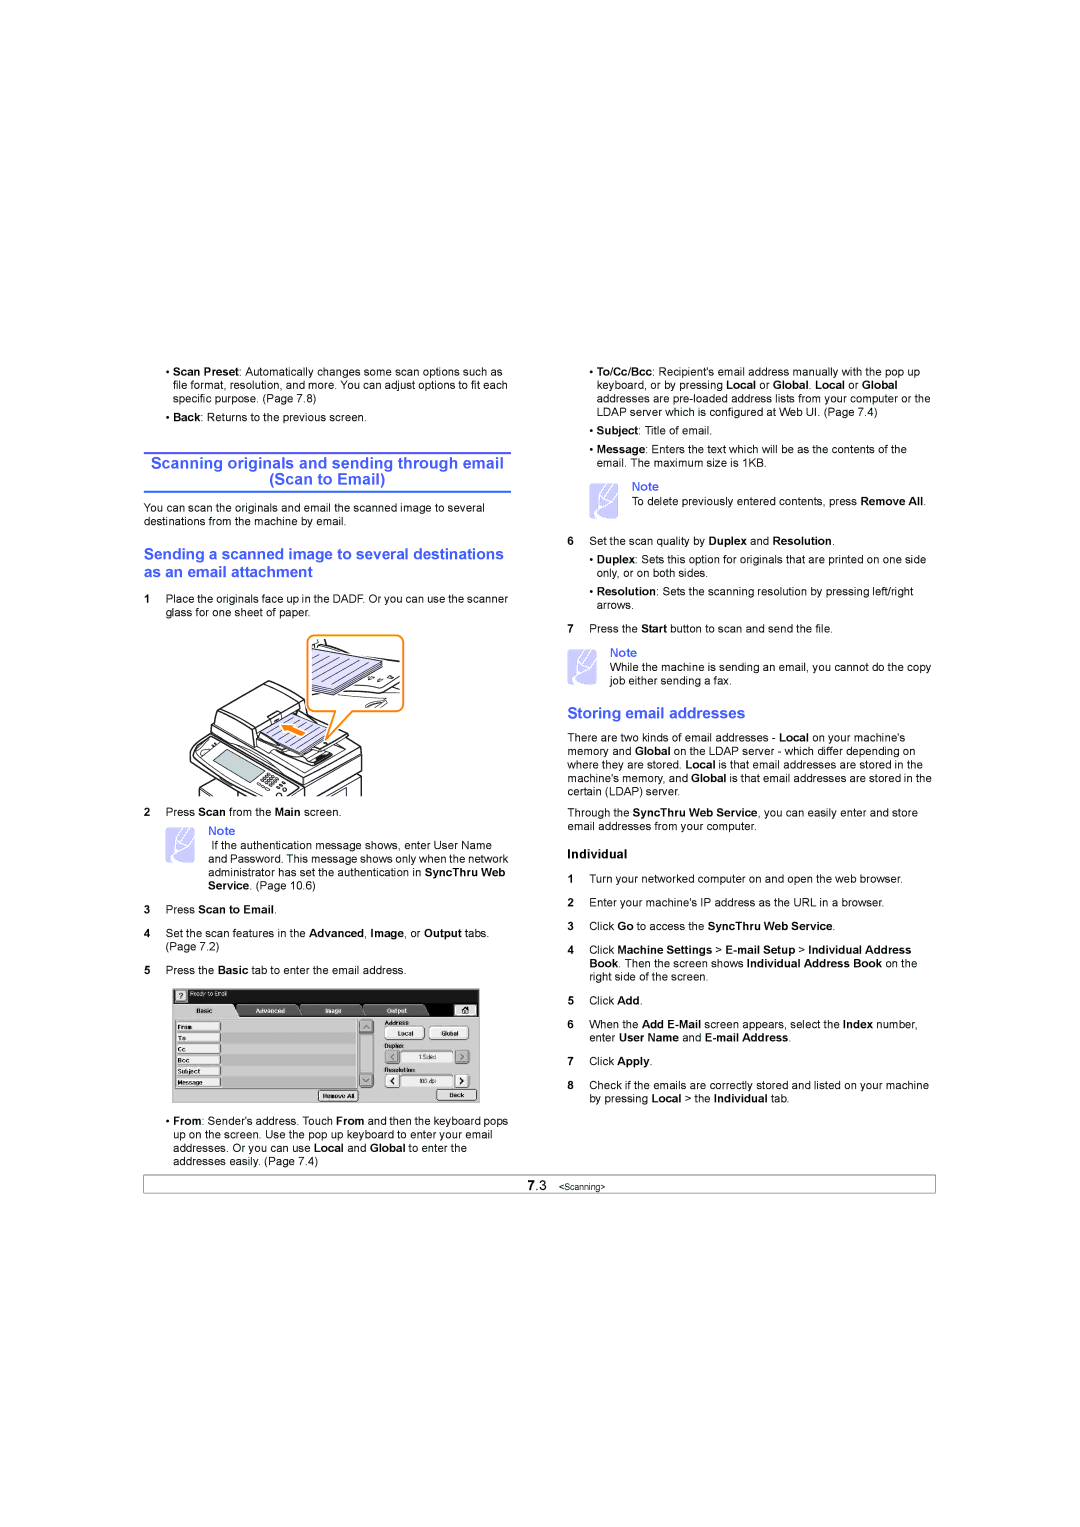
1Place the originals face up in the DADF. Or you can use the scanner glass for one sheet of paper.
2Press Scan from the Main screen.
Note
If the authentication message shows, enter User Name and Password. This message shows only when the network administrator has set the authentication in SyncThru Web Service. (Page 10.6)
3Press Scan to Email.
4Set the scan features in the Advanced, Image, or Output tabs. (Page 7.2)
5Press the Basic tab to enter the email address.
•From: Sender's address. Touch From and then the keyboard pops up on the screen. Use the pop up keyboard to enter your email addresses. Or you can use Local and Global to enter the addresses easily. (Page 7.4)
•To/Cc/Bcc: Recipient's email address manually with the pop up keyboard, or by pressing Local or Global. Local or Global addresses are
•Subject: Title of email.
•Message: Enters the text which will be as the contents of the email. The maximum size is 1KB.
Note
To delete previously entered contents, press Remove All.
6Set the scan quality by Duplex and Resolution.
•Duplex: Sets this option for originals that are printed on one side only, or on both sides.
•Resolution: Sets the scanning resolution by pressing left/right arrows.
7Press the Start button to scan and send the file.
Note
While the machine is sending an email, you cannot do the copy job either sending a fax.
Storing email addresses
There are two kinds of email addresses - Local on your machine's memory and Global on the LDAP server - which differ depending on where they are stored. Local is that email addresses are stored in the machine's memory, and Global is that email addresses are stored in the certain (LDAP) server.
Through the SyncThru Web Service, you can easily enter and store email addresses from your computer.
Individual
1Turn your networked computer on and open the web browser.
2Enter your machine's IP address as the URL in a browser.
3Click Go to access the SyncThru Web Service.
4Click Machine Settings >
5Click Add.
6When the Add
7Click Apply.
8Check if the emails are correctly stored and listed on your machine by pressing Local > the Individual tab.
7.3 <Scanning>