Roller misfeed
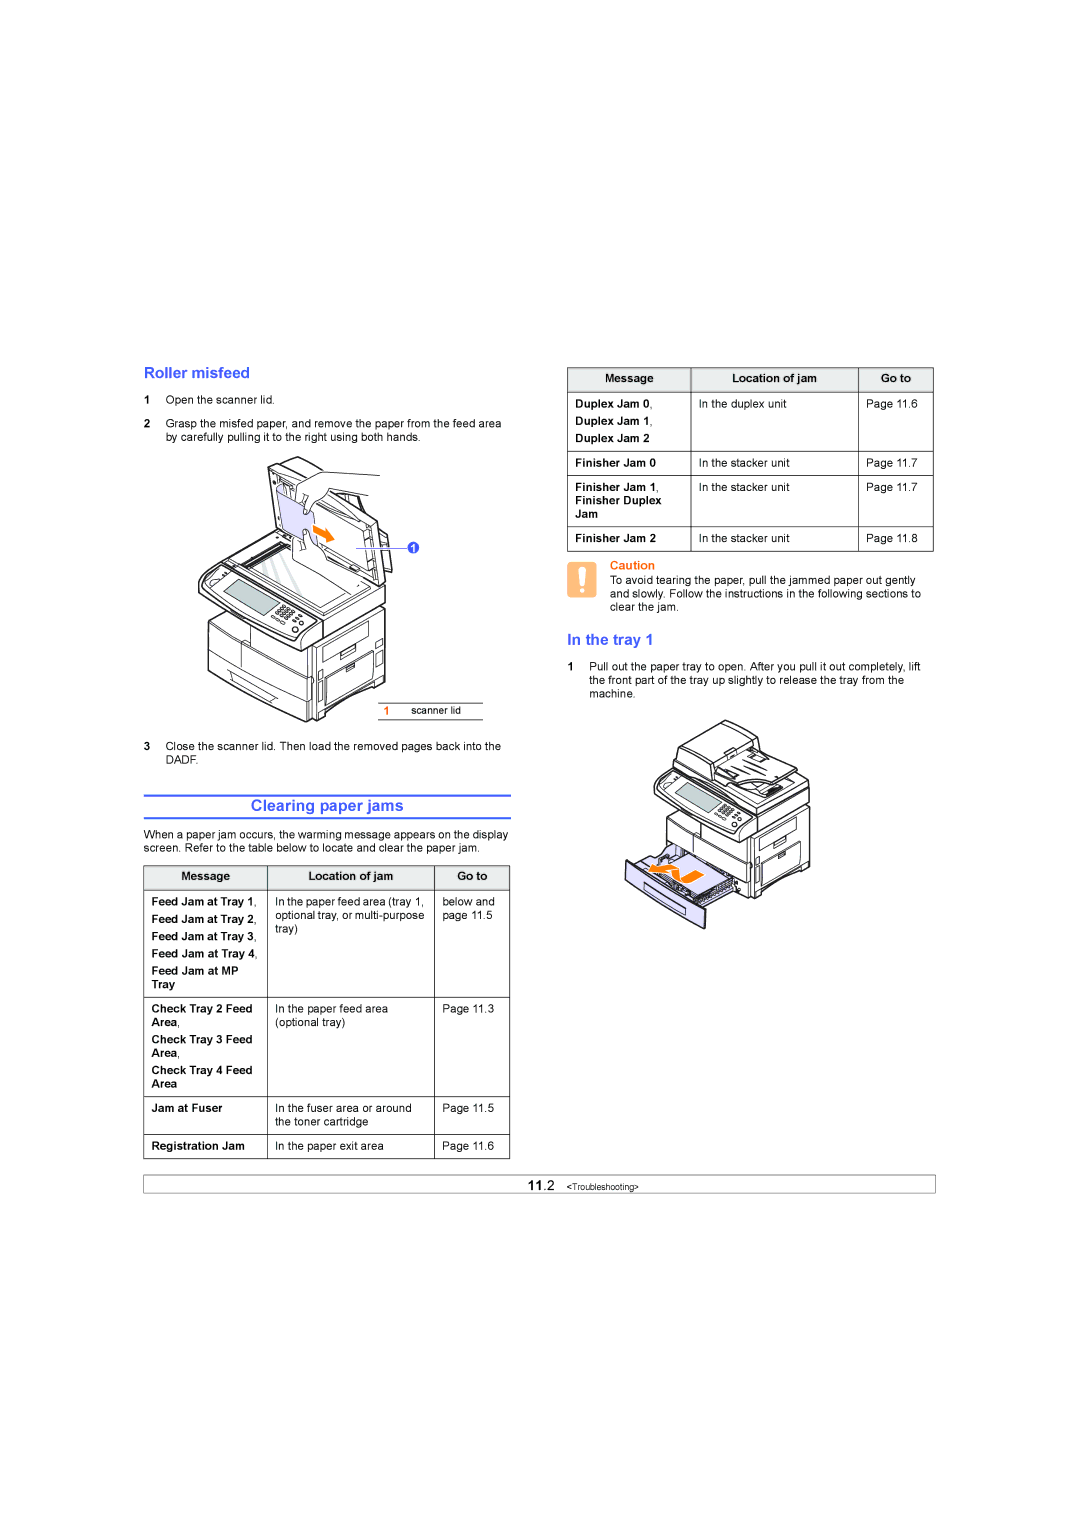
1Open the scanner lid.
2Grasp the misfed paper, and remove the paper from the feed area by carefully pulling it to the right using both hands.
1
1 scanner lid
3Close the scanner lid. Then load the removed pages back into the DADF.
Clearing paper jams
When a paper jam occurs, the warming message appears on the display screen. Refer to the table below to locate and clear the paper jam.
Message | Location of jam | Go to |
|
|
|
Feed Jam at Tray 1, | In the paper feed area (tray 1, | below and |
Feed Jam at Tray 2, | optional tray, or | page 11.5 |
tray) |
| |
Feed Jam at Tray 3, |
| |
|
| |
Feed Jam at Tray 4, |
|
|
Feed Jam at MP |
|
|
Tray |
|
|
|
|
|
Check Tray 2 Feed | In the paper feed area | Page 11.3 |
Area, | (optional tray) |
|
Check Tray 3 Feed |
|
|
Area, |
|
|
Check Tray 4 Feed |
|
|
Area |
|
|
|
|
|
Jam at Fuser | In the fuser area or around | Page 11.5 |
| the toner cartridge |
|
|
|
|
Registration Jam | In the paper exit area | Page 11.6 |
|
|
|
Message | Location of jam | Go to |
|
|
|
Duplex Jam 0, | In the duplex unit | Page 11.6 |
Duplex Jam 1, |
|
|
Duplex Jam 2 |
|
|
|
|
|
Finisher Jam 0 | In the stacker unit | Page 11.7 |
|
|
|
Finisher Jam 1, | In the stacker unit | Page 11.7 |
Finisher Duplex |
|
|
Jam |
|
|
|
|
|
Finisher Jam 2 | In the stacker unit | Page 11.8 |
|
|
|
Caution
To avoid tearing the paper, pull the jammed paper out gently and slowly. Follow the instructions in the following sections to clear the jam.
In the tray 1
1Pull out the paper tray to open. After you pull it out completely, lift the front part of the tray up slightly to release the tray from the machine.
11.2 <Troubleshooting>