All rights reserved | Saw V1.4.doc |
Copyright ♥ Siemens AG 2008 | Manual SIMOTION Flying |
Section B: The application example as demonstration system
|
|
|
|
|
O | t | t l f th | li ti | l |
Flying Saw with SIMOTION |
|
| ||
5.1.2Brief instructions
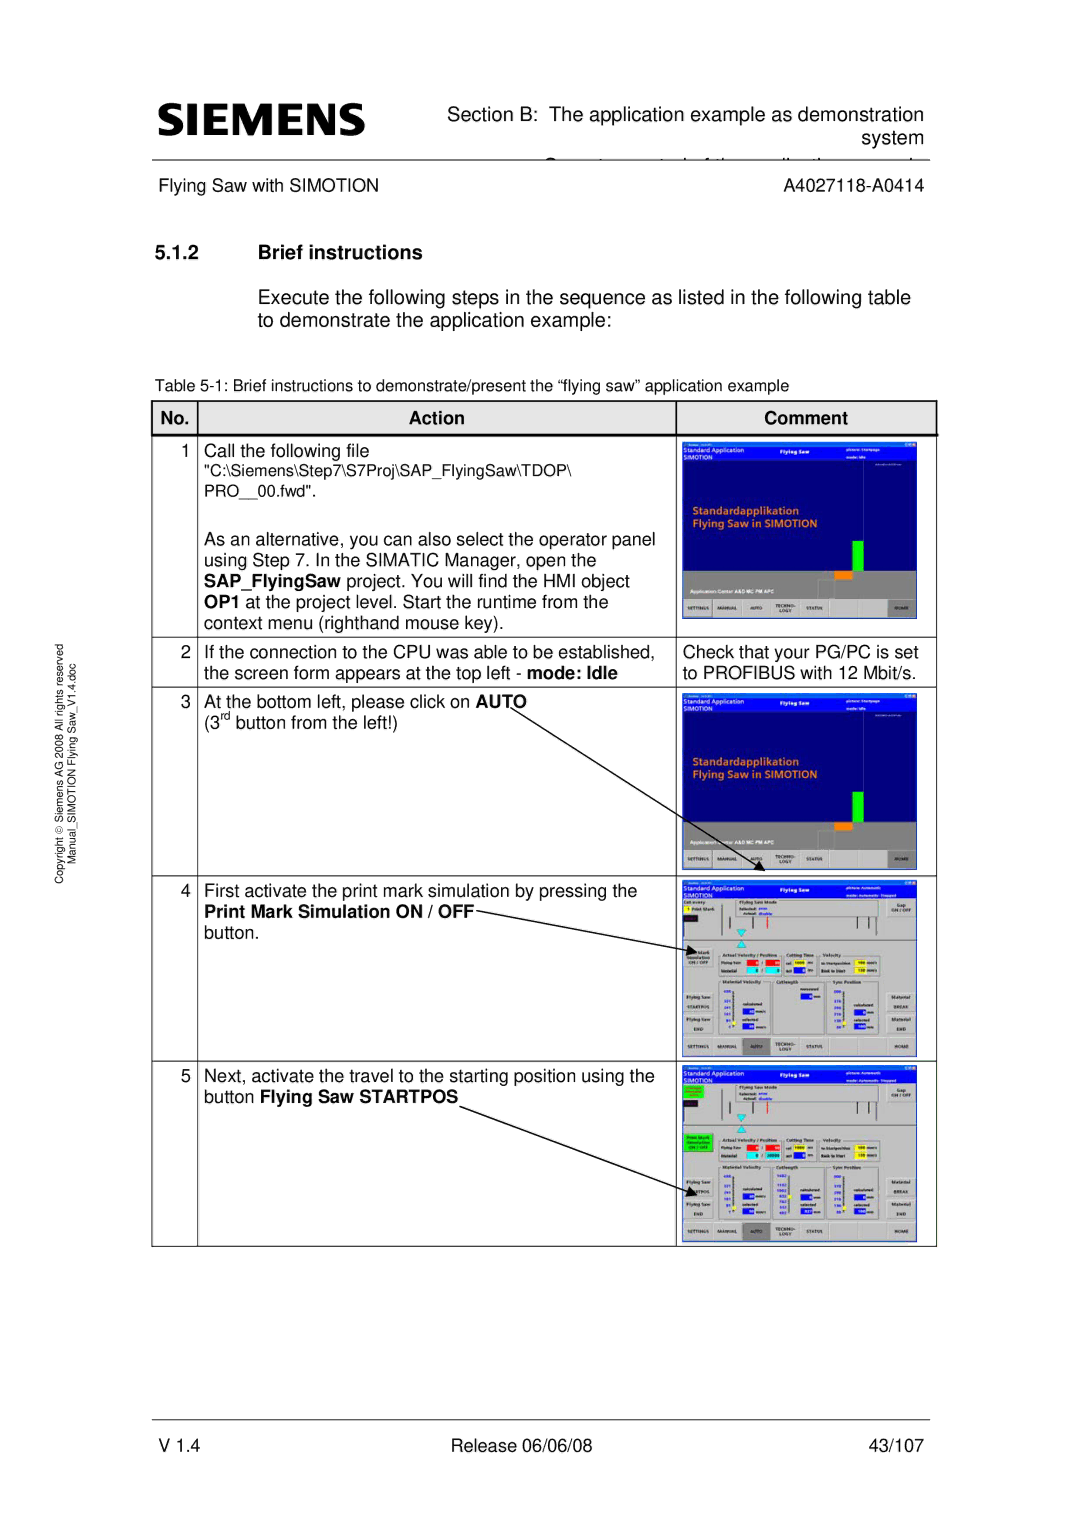
Execute the following steps in the sequence as listed in the following table to demonstrate the application example:
Table
No. | Action | Comment |
|
|
|
1Call the following file
"C:\Siemens\Step7\S7Proj\SAP_FlyingSaw\TDOP\ PRO__00.fwd".
As an alternative, you can also select the operator panel using Step 7. In the SIMATIC Manager, open the SAP_FlyingSaw project. You will find the HMI object OP1 at the project level. Start the runtime from the context menu (righthand mouse key).
2 | If the connection to the CPU was able to be established, | Check that your PG/PC is set |
| the screen form appears at the top left - mode: Idle | to PROFIBUS with 12 Mbit/s. |
3 | At the bottom left, please click on AUTO |
|
| (3rd button from the left!) |
|
|
|
|
4 | First activate the print mark simulation by pressing the |
|
| Print Mark Simulation ON / OFF |
|
| button. |
|
|
|
|
5 | Next, activate the travel to the starting position using the |
|
| button Flying Saw STARTPOS |
|
V 1.4 | Release 06/06/08 | 43/107 |
