Model SB1016/SB1036 | O P E R A T I O N | For Machines Mfg. Since 7/09 |
—If installed correctly, the jaws converge together at the center of the chuck.
—If the jaws do not come together, the initial thread was missed on one of the jaws. Remove all the jaws and start again.
Mounting Workpiece |
|
Items Needed | Qty |
Chuck Key | 1 |
Chuck Cradle or Plywood 3⁄4" (to protect bed) .... | 1 |
4-Jaw Chuck
Refer to Chuck & Faceplate Mounting instructions on Page 35 to mount the
The
To mount a workpiece in the 3-jaw chuck:
1.DISCONNECT LATHE FROM POWER!
2.If the workpiece is large and heavy, place a chuck cradle or plywood on the bedway below the chuck to protect it.
3.Use the chuck key to move the jaws and mount the workpiece into the chuck (refer to Figure 59 for typical mounting methods).
Mounting on an Outside Diameter
Mounting in an Inside Diameter
Figure 59. Typical of 3-jaw chuck mounting methods.
4.Rotate the chuck by hand to make sure the workpiece makes even contact with all three jaws and spins evenly without any visible wobble.
—If the workpiece is not evenly held or is
5.After verifying that the workpiece is properly centered, fully tighten the jaws to make sure the workpiece is held securely, so it will not come loose during operation.
Mounting Workpiece |
|
Items Needed | Qty |
Chuck Key | 1 |
Chuck Cradle or Plywood 3⁄4" (to protect bed) | 1 |
To mount a workpiece on the 4-jaw chuck:
1.DISCONNECT LATHE FROM POWER!
2.Place a chuck cradle or plywood on the bedway below the chuck to protect it.
3.Use the chuck key to open each jaw so the workpiece will lay flat against the chuck face or jaw steps.
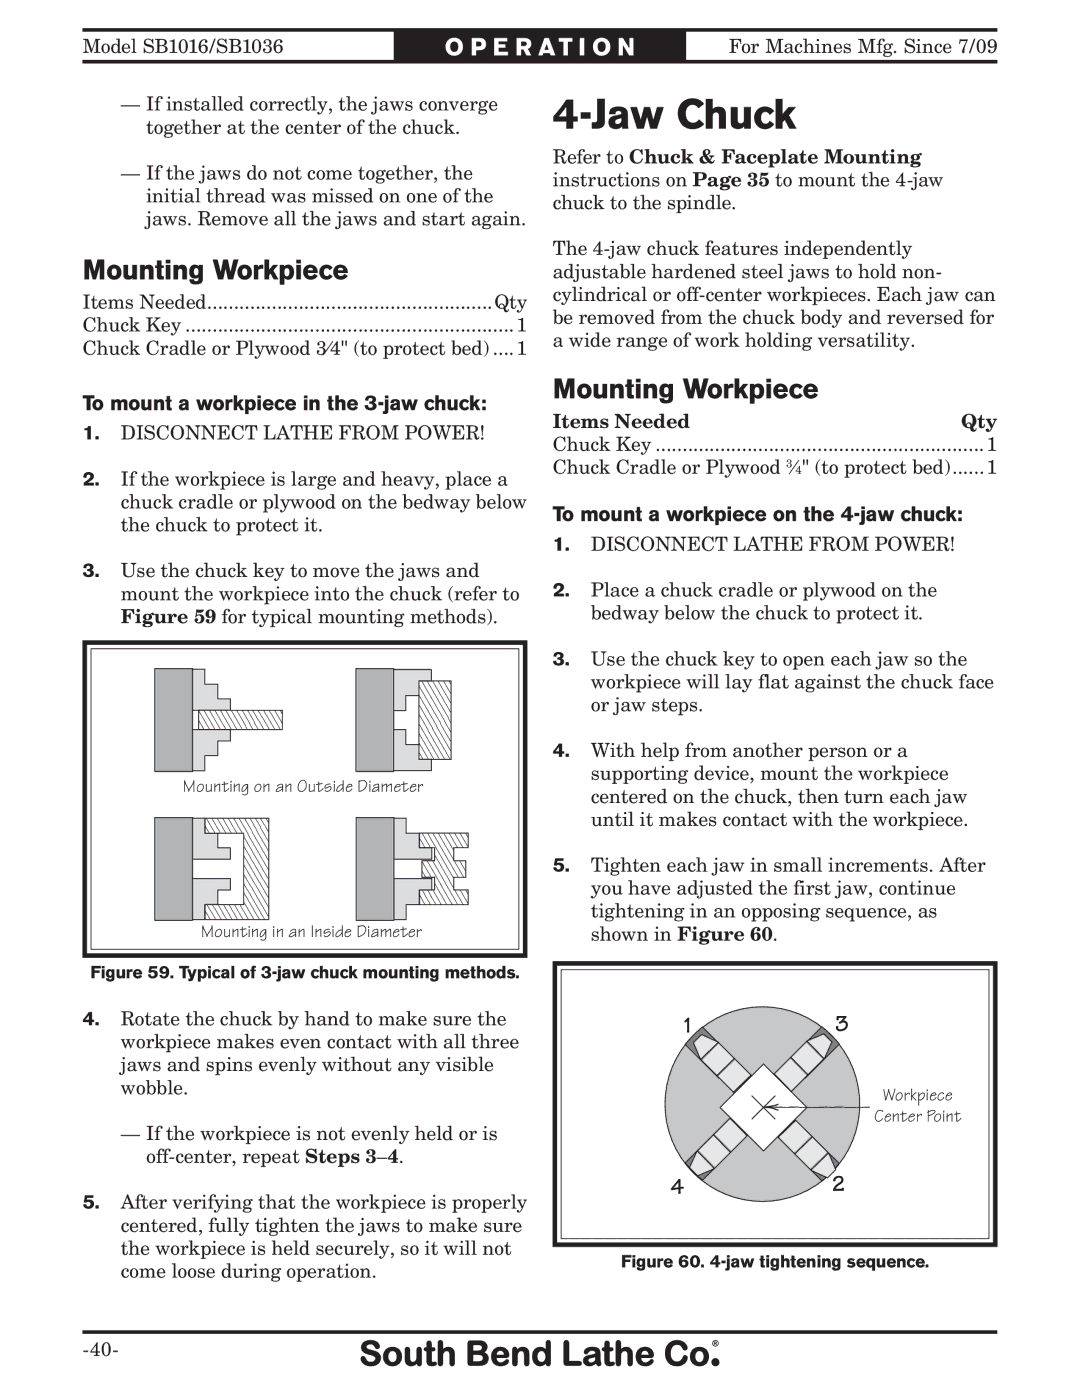
4.With help from another person or a supporting device, mount the workpiece centered on the chuck, then turn each jaw until it makes contact with the workpiece.
5.Tighten each jaw in small increments. After you have adjusted the first jaw, continue tightening in an opposing sequence, as shown in Figure 60.
13
Workpiece
Center Point
42