
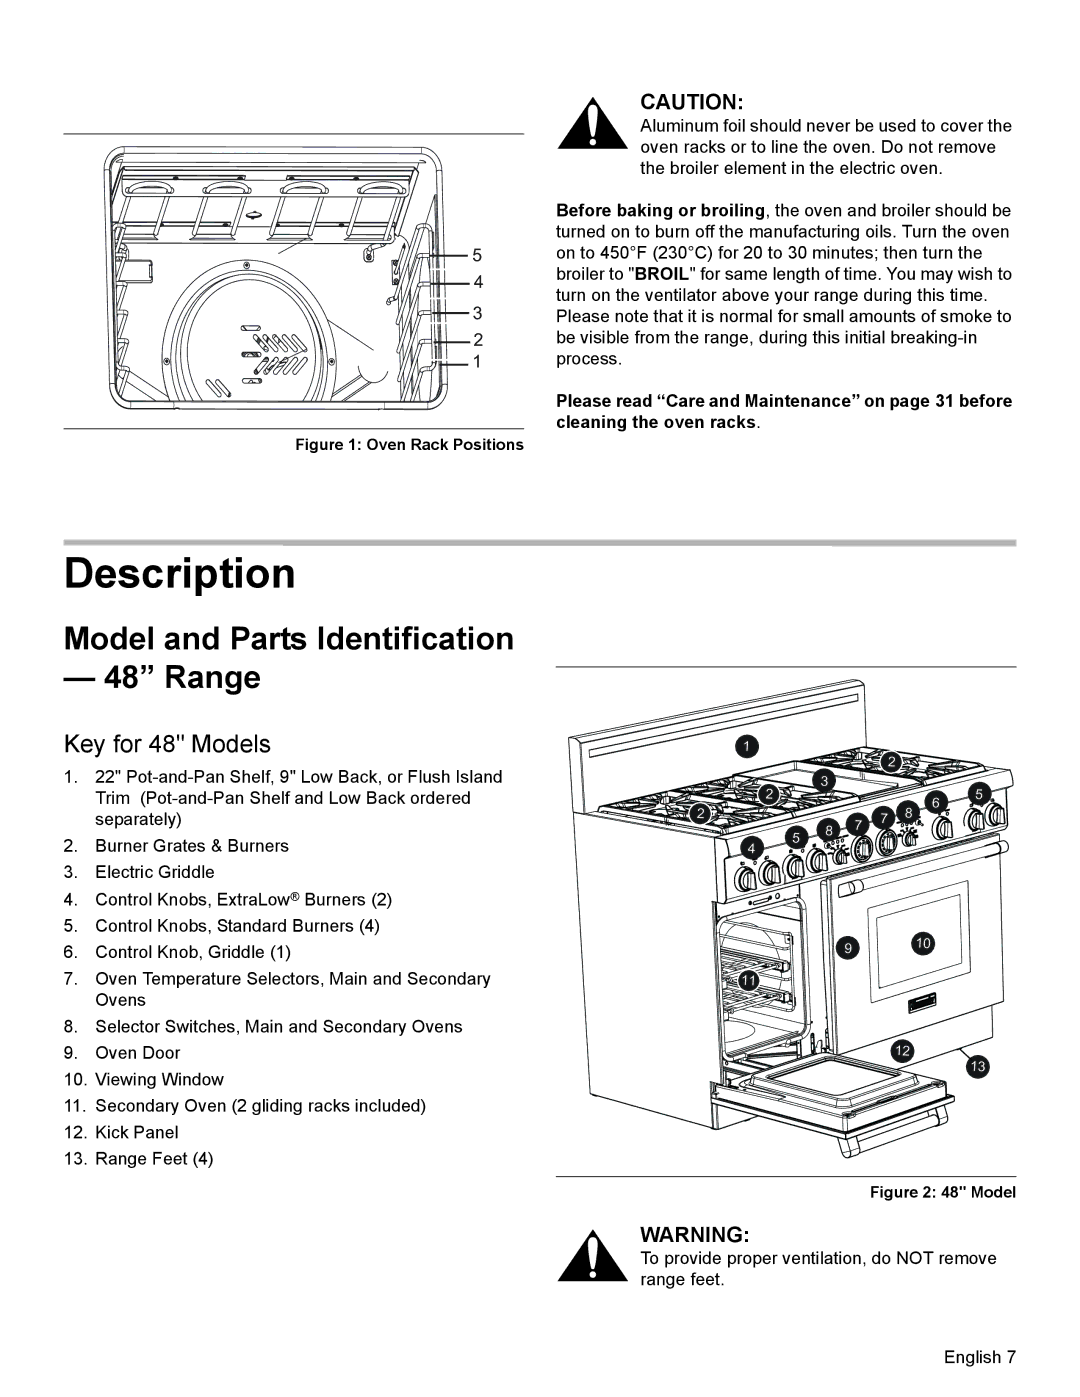
PRD30, PRD36, PRD48 specifications
Thermador, a brand synonymous with premium kitchen appliances, offers a remarkable array of professional-style ranges, including the PRD48, PRD36, and PRD30 models. Each of these ranges embodies the brand's commitment to quality, performance, and innovation, making them ideal for both professional chefs and passionate home cooks.Starting with the Thermador PRD48, this impressive range is equipped with a true simmer feature, allowing for precision cooking of delicate sauces or chocolates. With its 48-inch width, it boasts a spacious cooking surface that includes six powerful burners, including two Dual Fuel Burners that can deliver up to 22,000 BTUs for intense heat. The PRD48 also features a infrared broiler, which provides high heat for searing meats to perfection. Its Star Burner technology ensures even heat distribution, reducing cold spots and ensuring consistent cooking results. Furthermore, the patented Where to Buy element allows users to choose between ovens and griddles, promoting versatility in meal preparation.
The Thermador PRD36 is designed for those looking for a balance between size and functionality. This 36-inch range comes with four powerful burners, and like its larger counterpart, it features the patented Star Burner design. Both models are equipped with the ExtraLow feature, which enables ultra-low simmering for delicate dishes. The PRD36 also includes a high-performance oven with a generous capacity, perfect for baking and roasting. The sleek stainless-steel exterior not only provides durability but also enhances the aesthetic of any modern kitchen.
Lastly, the PRD30 is the most compact option in the series, measuring 30 inches. Despite its smaller size, it doesn't compromise on power or performance. The range offers four burners with the Star Burner technology, ensuring superior heat distribution. The PRD30’s oven includes convection technology, promoting even cooking results by circulating hot air throughout the oven. This model is perfect for urban kitchens where space is at a premium yet does not skimp on the features that professional chefs demand.
Overall, Thermador’s PRD series ranges, whether it be the PRD48, PRD36, or PRD30, stand out for their exceptional design, innovative technology, and unmatched performance. Each model is built to meet the needs of culinary enthusiasts, making them the centerpiece of any modern kitchen. From their powerful burners to their versatile cooking options, these ranges are built to inspire creativity and deliver outstanding results in the kitchen.