Removing and Reinstalling Ink Cartridges:
6 | Press | Ink Management . |
7 | Press | or to select 3.REPLACE INK and press Set . |
PLS OPEN COVER
8
9
10
11
12
13
Open the cover.
The ink cartrige carrier will move to its loading position.
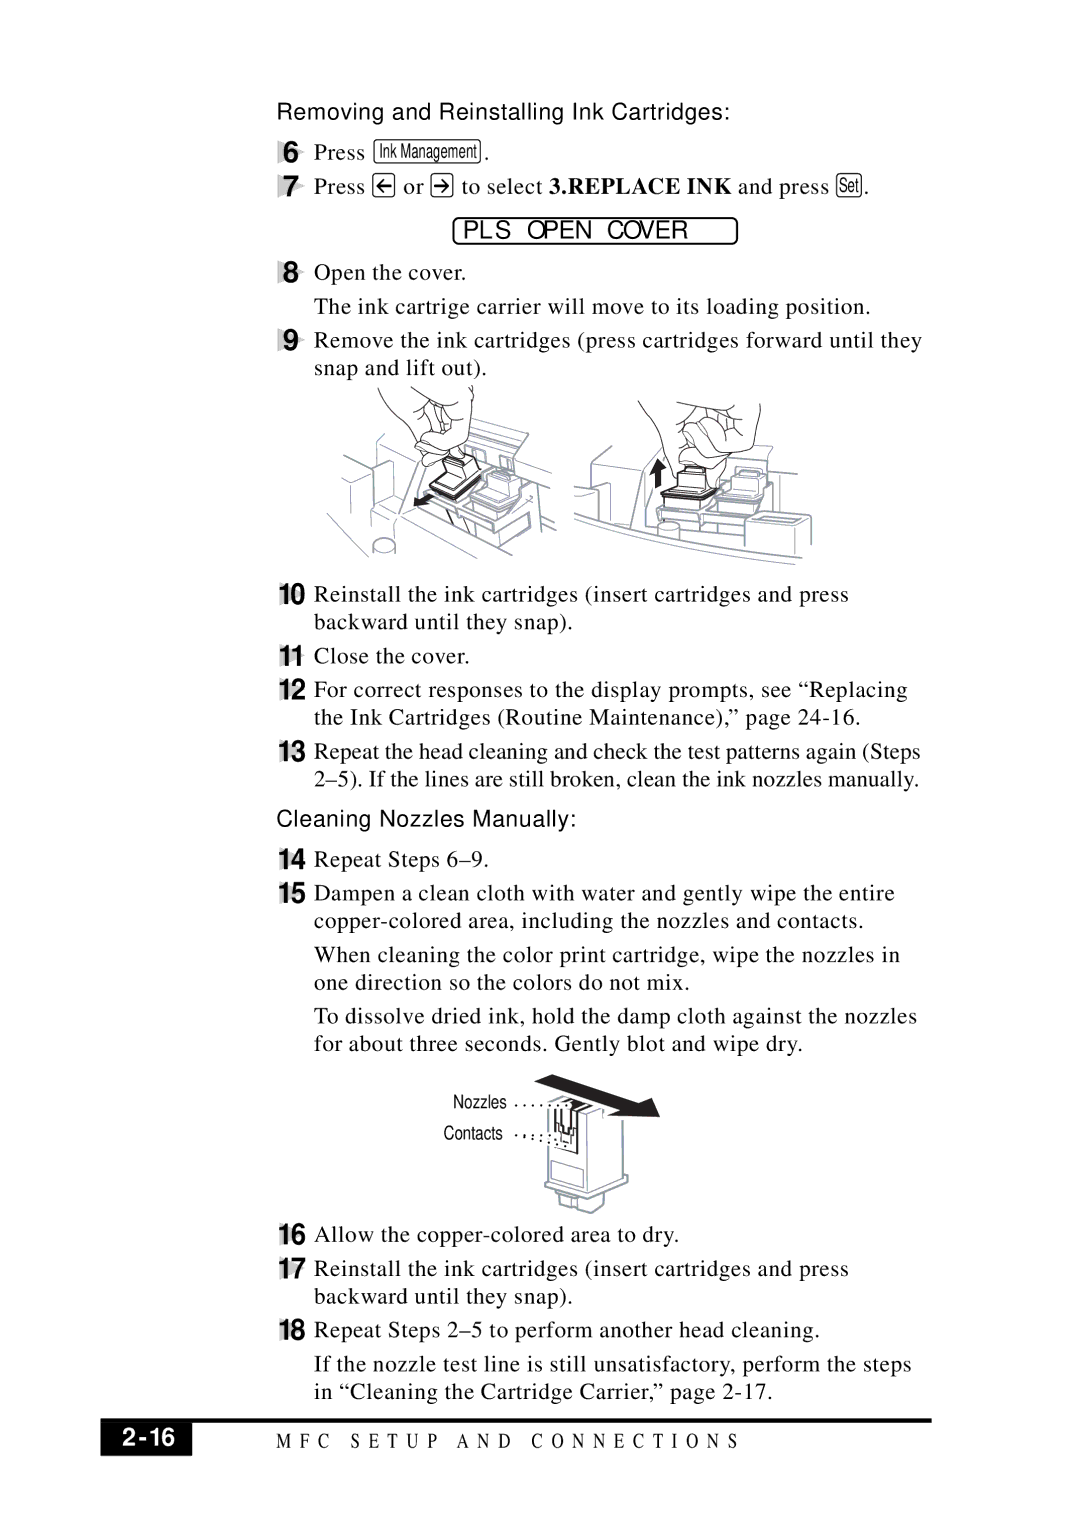
Remove the ink cartridges (press cartridges forward until they snap and lift out).
Reinstall the ink cartridges (insert cartridges and press backward until they snap).
Close the cover.
For correct responses to the display prompts, see “Replacing the Ink Cartridges (Routine Maintenance),” page
Repeat the head cleaning and check the test patterns again (Steps
Cleaning Nozzles Manually:
14 Repeat Steps
15 Dampen a clean cloth with water and gently wipe the entire
When cleaning the color print cartridge, wipe the nozzles in one direction so the colors do not mix.
To dissolve dried ink, hold the damp cloth against the nozzles for about three seconds. Gently blot and wipe dry.
Nozzles
Contacts
16 Allow the
17 Reinstall the ink cartridges (insert cartridges and press backward until they snap).
18 Repeat Steps
If the nozzle test line is still unsatisfactory, perform the steps in “Cleaning the Cartridge Carrier,” page
2 | M F C S E T U P A N D C O N N E C T I O N S |
|
|