4.5.6 Server Port Address Setting
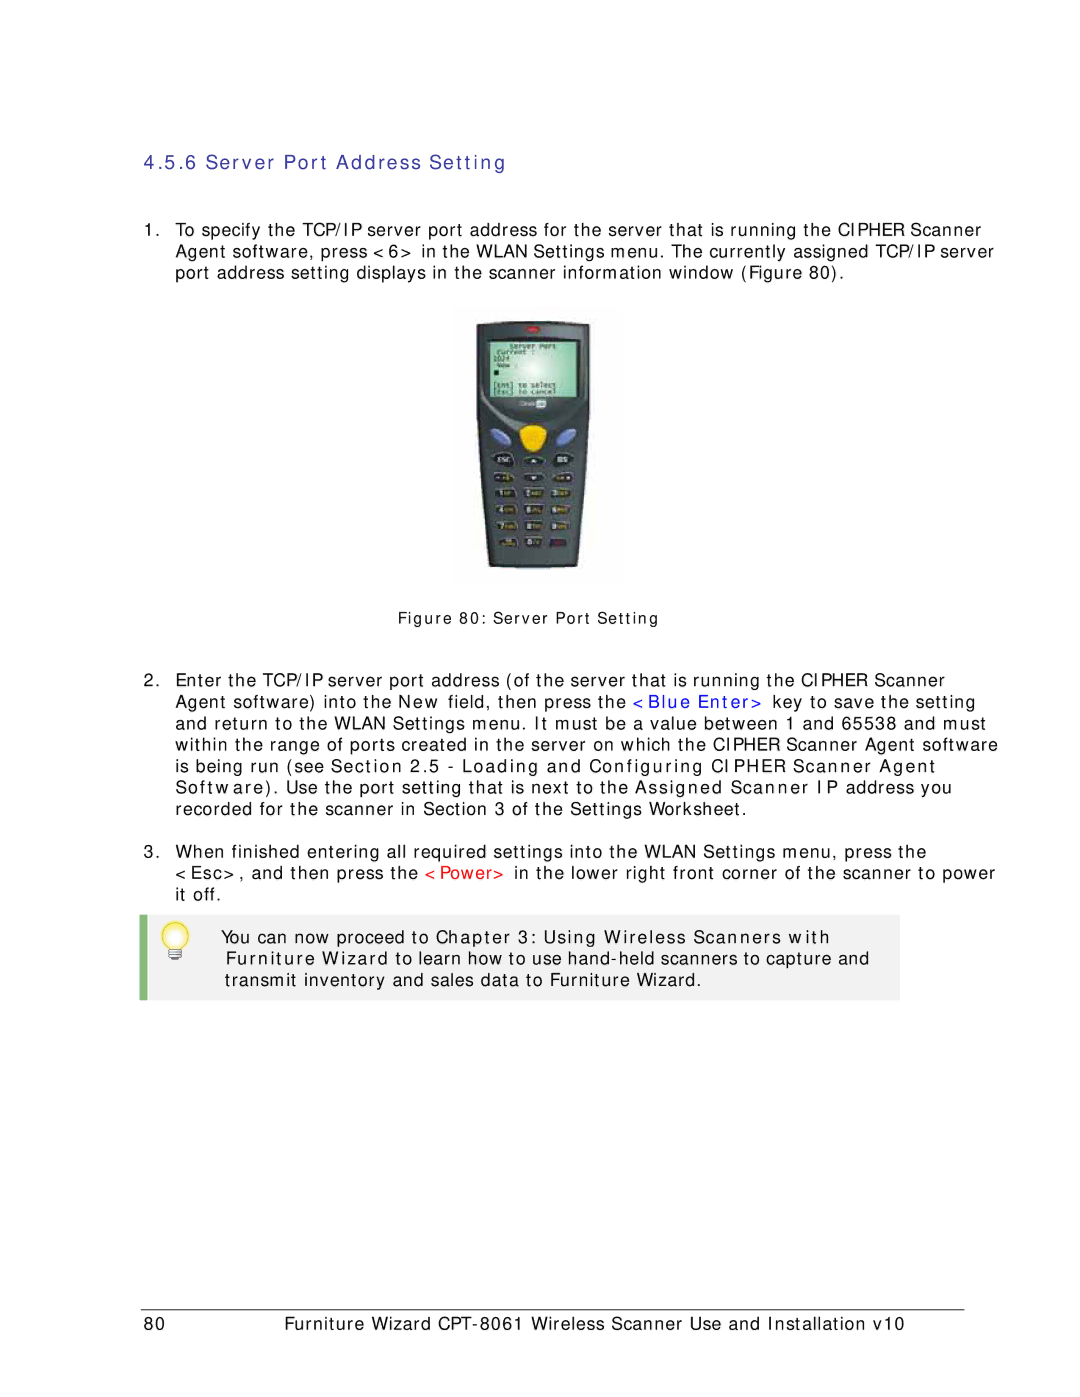
1.To specify the TCP/IP server port address for the server that is running the CIPHER Scanner Agent software, press <6> in the WLAN Settings menu. The currently assigned TCP/IP server port address setting displays in the scanner information window (Figure 80).
Figure 80: Server Port Setting
2.Enter the TCP/IP server port address (of the server that is running the CIPHER Scanner Agent software) into the New field, then press the <Blue Enter> key to save the setting and return to the WLAN Settings menu. It must be a value between 1 and 65538 and must within the range of ports created in the server on which the CIPHER Scanner Agent software is being run (see Section 2.5 - Loading and Configuring CIPHER Scanner Agent Software). Use the port setting that is next to the Assigned Scanner IP address you recorded for the scanner in Section 3 of the Settings Worksheet.
3.When finished entering all required settings into the WLAN Settings menu, press the <Esc>, and then press the <Power> in the lower right front corner of the scanner to power it off.
You can now proceed to Chapter 3: Using Wireless Scanners with Furniture Wizard to learn how to use
80 | Furniture Wizard |