8.After temporarily changing the TCP/IP settings in your local area network, test whether it can communicate with Access Point. To do this, click All Programs > Accessories > Command Prompt in the Start menu in Windows XP. At the Command Prompt, type Telnet 192.168.1.1.
The following message is displayed if communications are successful (that is, your local area network can “see” and “talk” to Access Point):
Figure 56: Successful Communications Message
9.If the communications test was successful, skip immediately to Step 10 below. If the test was not successful (that is, the network was unable to “talk” to Access Point), do the following:
Reset Access Point to its original default settings then perform the tasks in Step 7 to
After powering off the unit, straighten a paper clip and use it to reset the unit. To do this, press one end of the paper clip into the small Reset receptacle (to the left of the 10
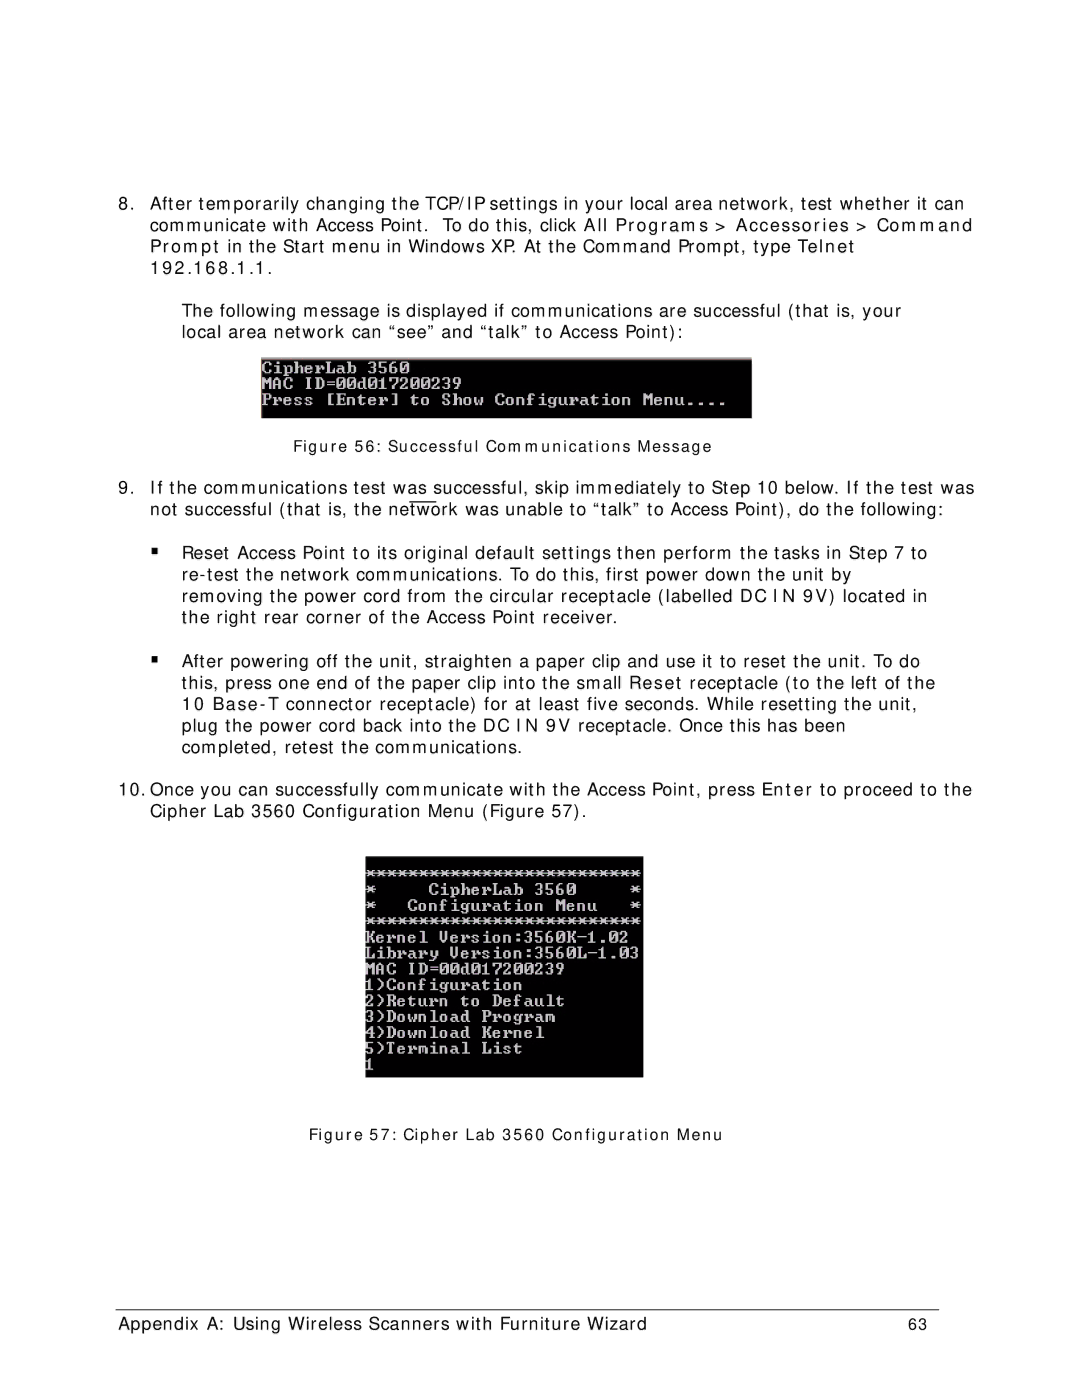
10.Once you can successfully communicate with the Access Point, press Enter to proceed to the Cipher Lab 3560 Configuration Menu (Figure 57).
Figure 57: Cipher Lab 3560 Configuration Menu
Appendix A: Using Wireless Scanners with Furniture Wizard | 63 |