4.5.2 Local IP Address Setting
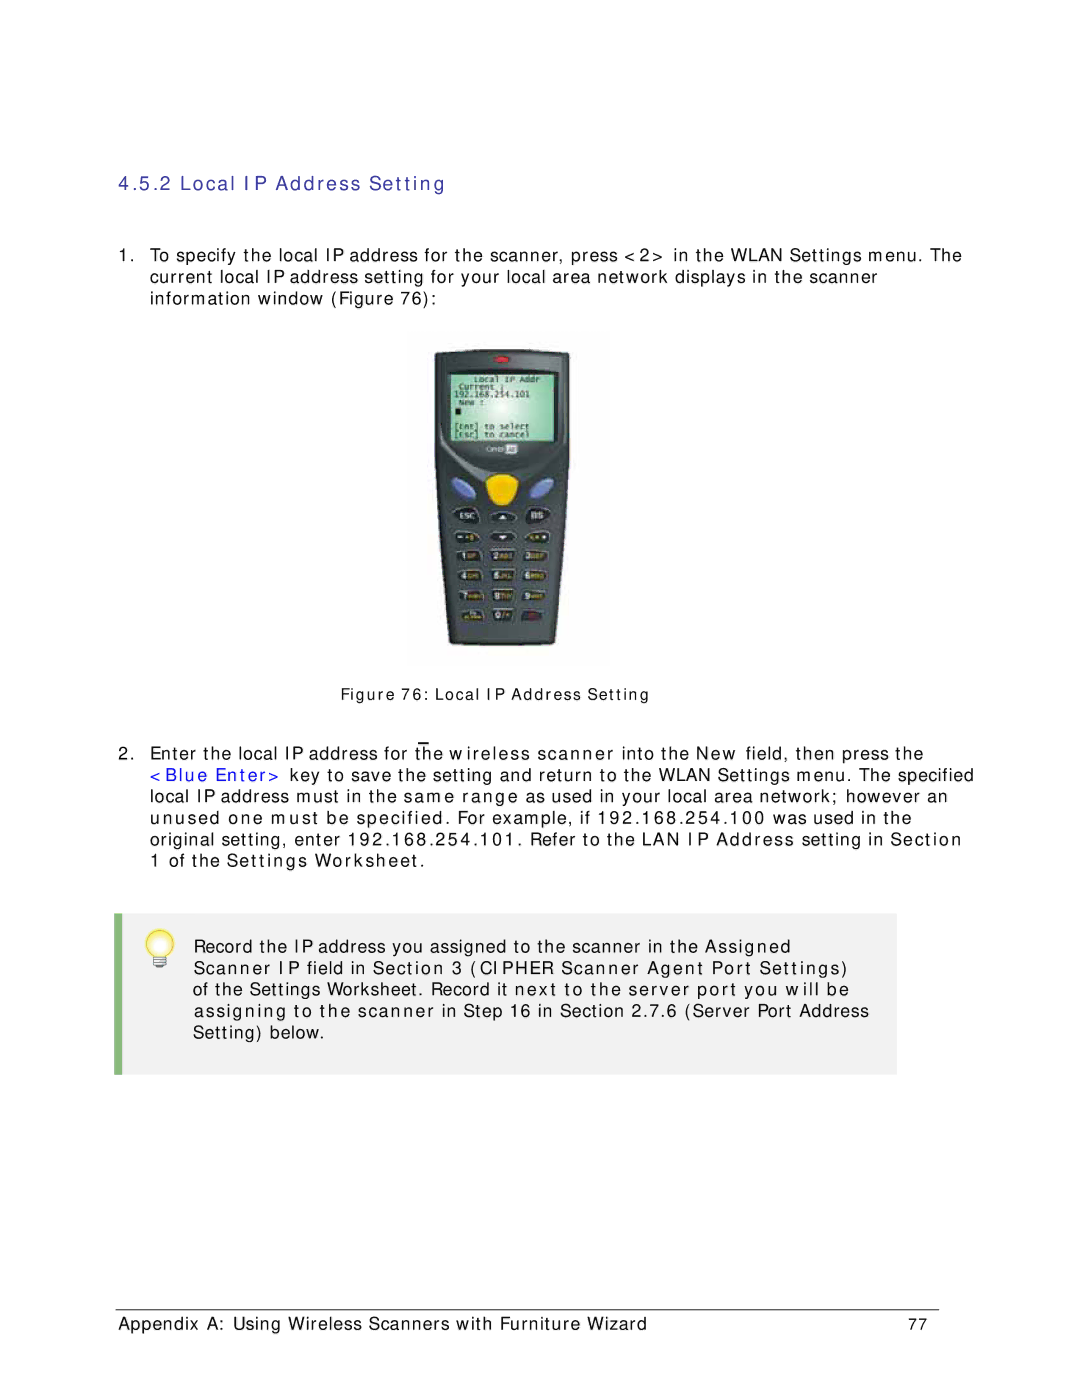
1.To specify the local IP address for the scanner, press <2> in the WLAN Settings menu. The current local IP address setting for your local area network displays in the scanner information window (Figure 76):
Figure 76: Local IP Address Setting
2.Enter the local IP address for the wireless scanner into the New field, then press the <Blue Enter> key to save the setting and return to the WLAN Settings menu. The specified local IP address must in the same range as used in your local area network; however an unused one must be specified. For example, if 192.168.254.100 was used in the original setting, enter 192.168.254.101. Refer to the LAN IP Address setting in Section 1 of the Settings Worksheet.
Record the IP address you assigned to the scanner in the Assigned Scanner IP field in Section 3 (CIPHER Scanner Agent Port Settings) of the Settings Worksheet. Record it next to the server port you will be assigning to the scanner in Step 16 in Section 2.7.6 (Server Port Address Setting) below.
Appendix A: Using Wireless Scanners with Furniture Wizard | 77 |