3 Copy
1.After selecting the paper size on the [Paper Size] screen, press the <Enter> button.
2.Select the required option.
3.Press the <Enter> button.
Reduce/Enlarge
In addition to 100% size for copies, reduced or enlarged copies within the range of 50– 200% can be produced by selecting one of the [Reduce/Enlarge] options.
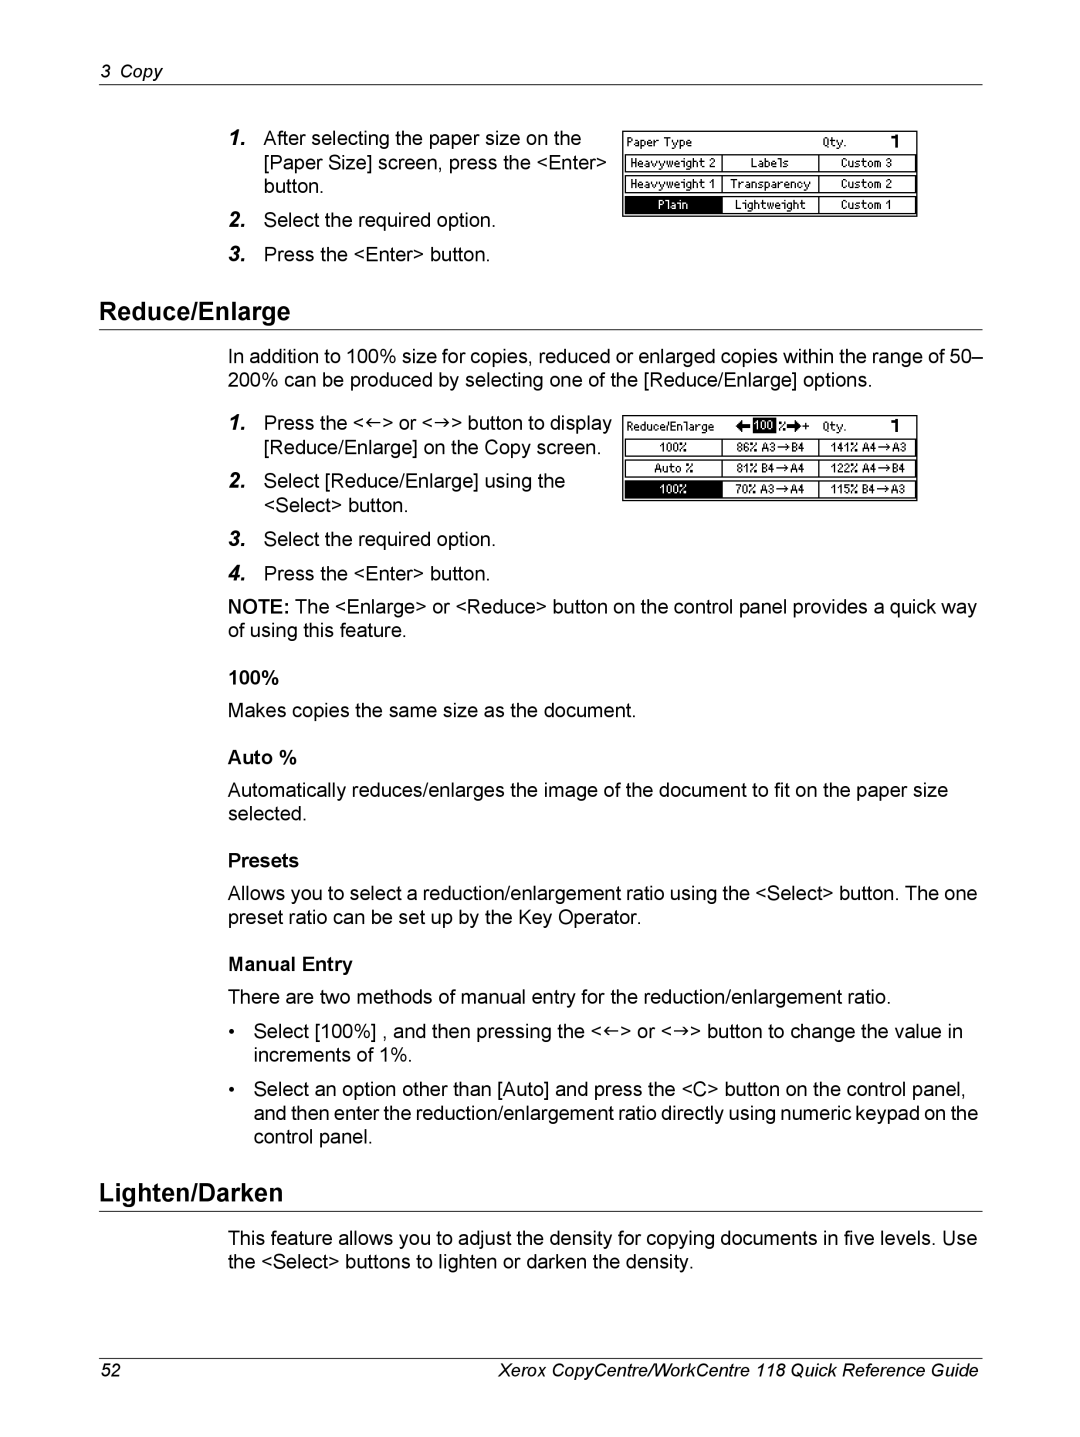
1.Press the <I> or <J> button to display [Reduce/Enlarge] on the Copy screen.
2.Select [Reduce/Enlarge] using the <Select> button.
3.Select the required option.
4.Press the <Enter> button.
NOTE: The <Enlarge> or <Reduce> button on the control panel provides a quick way of using this feature.
100%
Makes copies the same size as the document.
Auto %
Automatically reduces/enlarges the image of the document to fit on the paper size selected.
Presets
Allows you to select a reduction/enlargement ratio using the <Select> button. The one preset ratio can be set up by the Key Operator.
Manual Entry
There are two methods of manual entry for the reduction/enlargement ratio.
•Select [100%] , and then pressing the <I> or <J> button to change the value in increments of 1%.
•Select an option other than [Auto] and press the <C> button on the control panel, and then enter the reduction/enlargement ratio directly using numeric keypad on the control panel.
Lighten/Darken
This feature allows you to adjust the density for copying documents in five levels. Use the <Select> buttons to lighten or darken the density.
52 | Xerox CopyCentre/WorkCentre 118 Quick Reference Guide |