72 VIDEOSTUDIO USER GUIDE
•Start and End positions Determine from what position the title starts to move in and the final destination where it scrolls out.
4.Specify a Pause setting (No Pause, Short, Medium, or Long). This makes the title move into the scene, pause for a moment, and then scroll out of the scene.
5.Click Apply.
Fading in & out
Another incredibly useful, easy, and effective method of displaying your titles is to fade your text in from invisible to crisp and clear and then back to invisible again. This works especially well for opening credits with a slow fade, or as captions with a quicker fade.
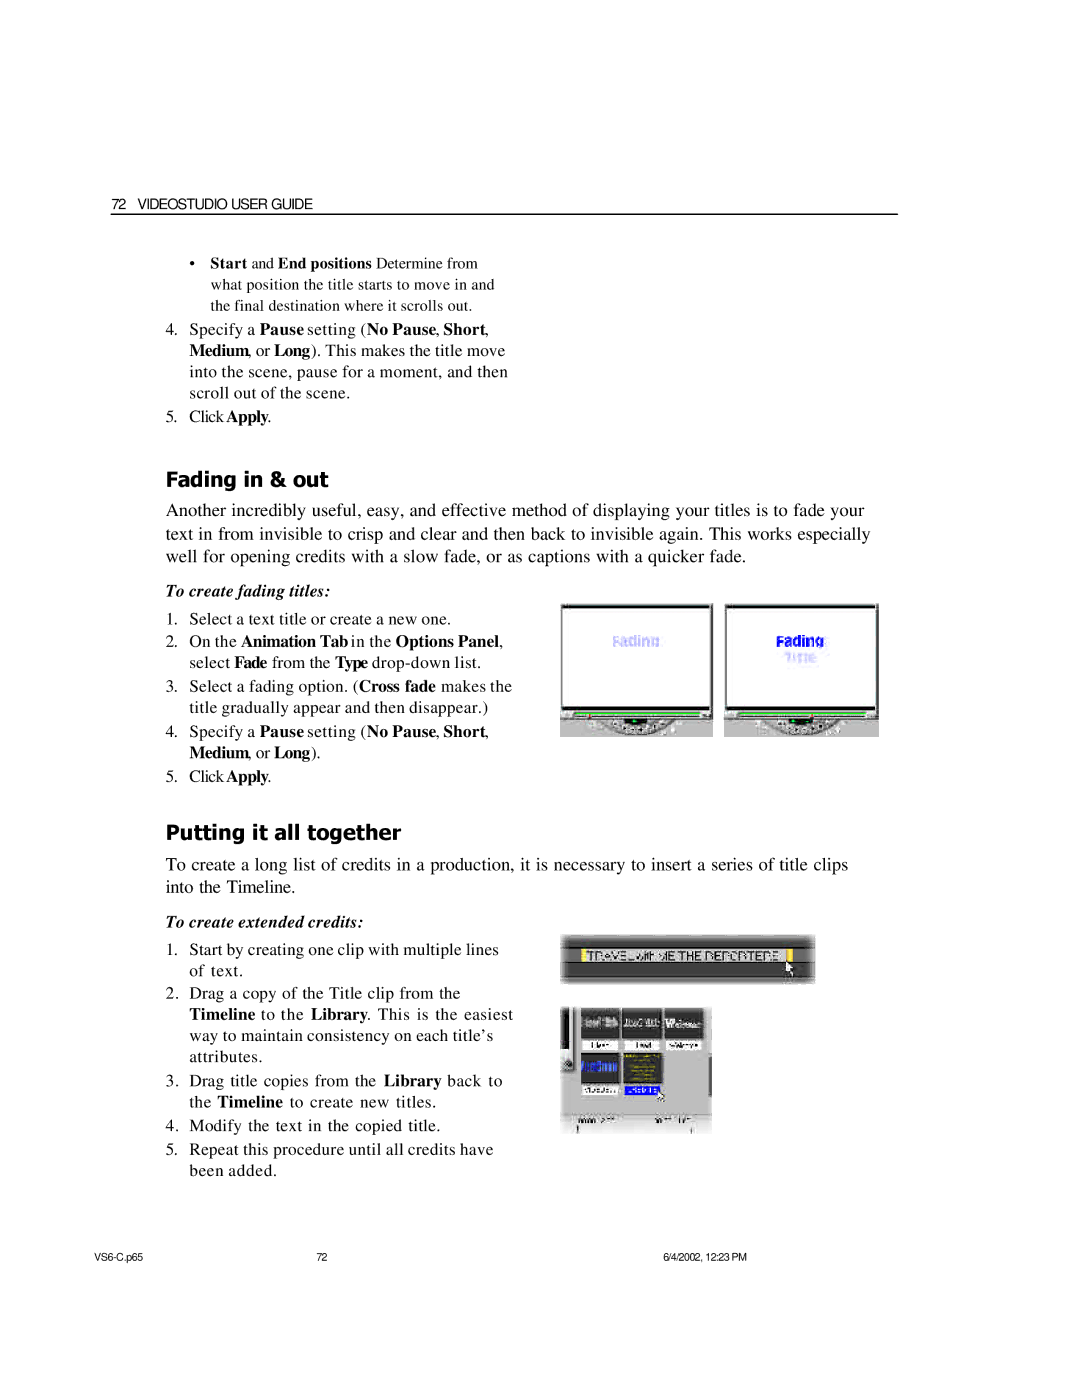
To create fading titles:
1.Select a text title or create a new one.
2.On the Animation Tab in the Options Panel, select Fade from the Type
3.Select a fading option. (Cross fade makes the title gradually appear and then disappear.)
4.Specify a Pause setting (No Pause, Short, Medium, or Long).
5.Click Apply.
Putting it all together
To create a long list of credits in a production, it is necessary to insert a series of title clips into the Timeline.
To create extended credits:
1. Start by creating one clip with multiple lines of text.
2.Drag a copy of the Title clip from the Timeline to the Library. This is the easiest way to maintain consistency on each title’s attributes.
3.Drag title copies from the Library back to the Timeline to create new titles.
4.Modify the text in the copied title.
5.Repeat this procedure until all credits have been added.
72 | 6/4/2002, 12:23 PM |