FINISH 75
Finish
In the Finish Step, you can render your project into a movie file format most suitable for your audience or purpose. This section provides added information on choosing formats. Learn the procedure of creating a movie in preparation for exporting to various media. Find out also how easy it is to author a DVD title using the Ulead DVD Wizard, which is fully integrated in VideoStudio. And finally, you can preview how your final output will exactly look.
You can go directly to the Finish Step without even opening a project. That is, if you simply want to save a project file which you can work on later.
Creating and saving a video file
Click Play Project and select High Quality Preview to save or render your project at any time. But if you want to save your project as a new file with the same properties, you need to click the Finish Step and click Save Project in the Options Panel.
If everything has already been fine tuned, however, and you are ready to finalize your work, then you can start making your movie.
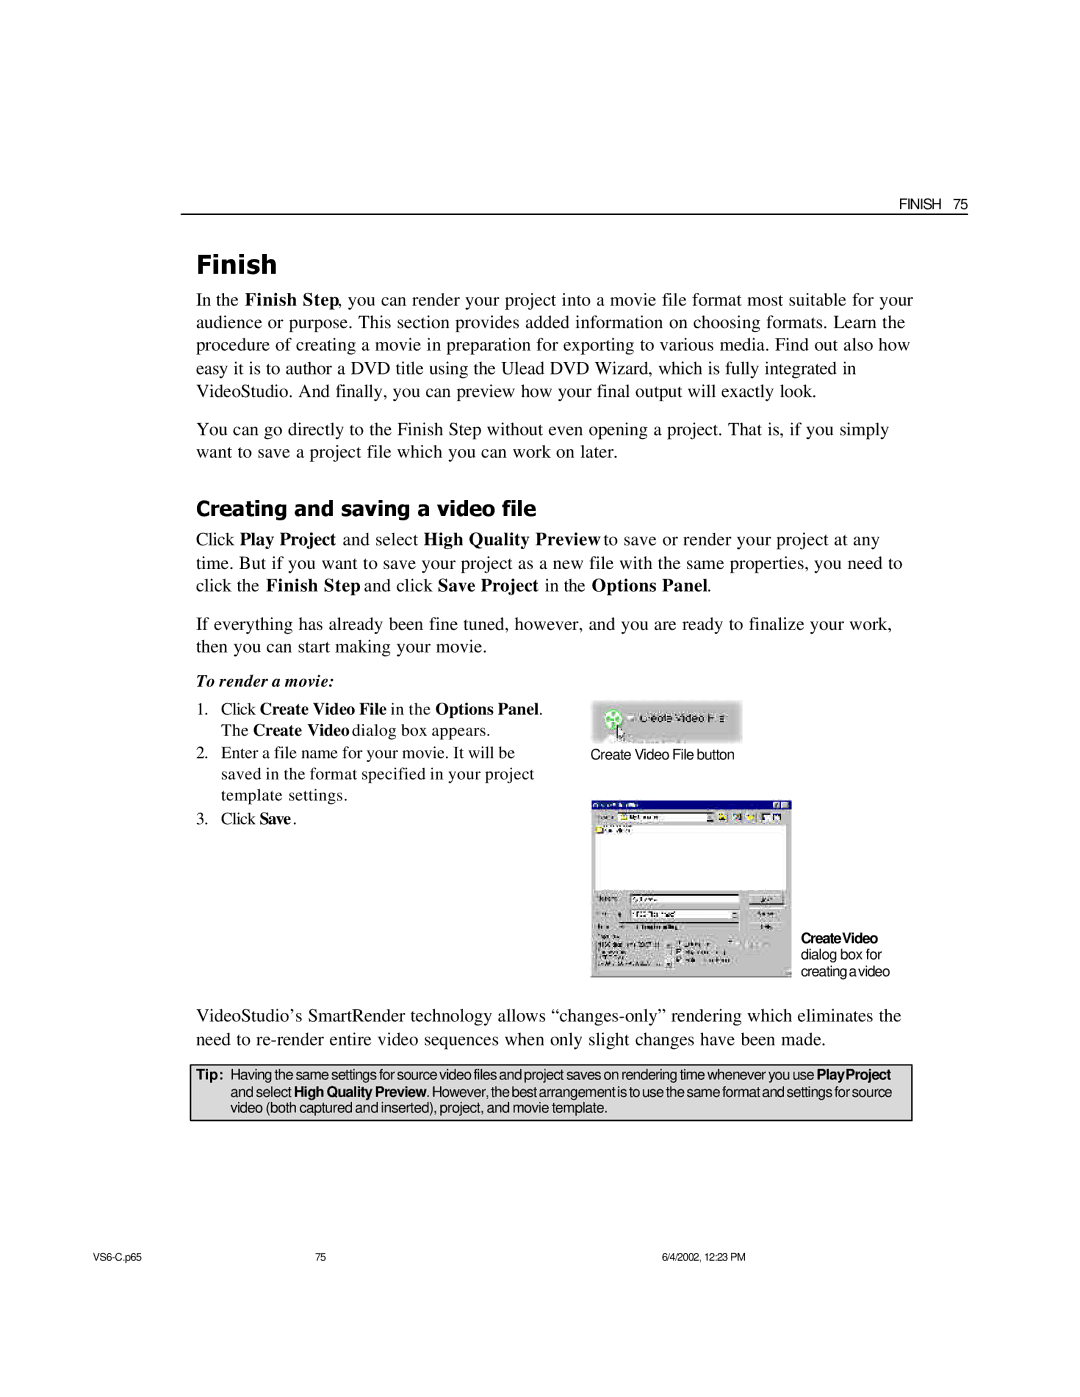
To render a movie:
1.Click Create Video File in the Options Panel. The Create Video dialog box appears.
2. | Enter a file name for your movie. It will be | Create Video File button |
| saved in the format specified in your project |
|
| template settings. |
|
3. | Click Save . |
|
CreateVideo dialog box for creatingavideo
VideoStudio’s SmartRender technology allows
Tip: Having the same settings for source video files and project saves on rendering time whenever you use PlayProject and select High Quality Preview. However, the best arrangement is to use the same format and settings for source video (both captured and inserted), project, and movie template.
75 | 6/4/2002, 12:23 PM |