USB INSTANT DVD INSTALLATION
Check Contents - Wire it Up! - Plug It In! - Install Software - Verify Installation - Set Audio Mixer - Installation Summary
3. Plug It In & Install Device Drivers and Software
In this section you will Connect USB Instant DVD to your PC and Install Software Drivers. Please read through this section first, then go back and follow these step by step instructions to connect your USB Instant DVD and install device drivers and software applications:
1. Insert USB Instant DVD CD -
(Apple Quick time is required for our installers to run. If you don’t have Quicktime Installed, it will install automatically. Click Next on every screen. No user name, registration or serial number is required)
2.Once you see the Instant DVD installation screen, Plug the power cable into your USB
Instant DVD, then plug it into a power source. Now, plug your USB cable into USB Instant DVD and your PC. Windows will recognize the device and ask you for the drivers. Let Windows conduct an automatic search for the drivers. The drivers are located in the root directory of your USB Instant DVD CD. Win- dows will install the drivers.
For WINDOWS XP users: Click Continue at this dialog box.
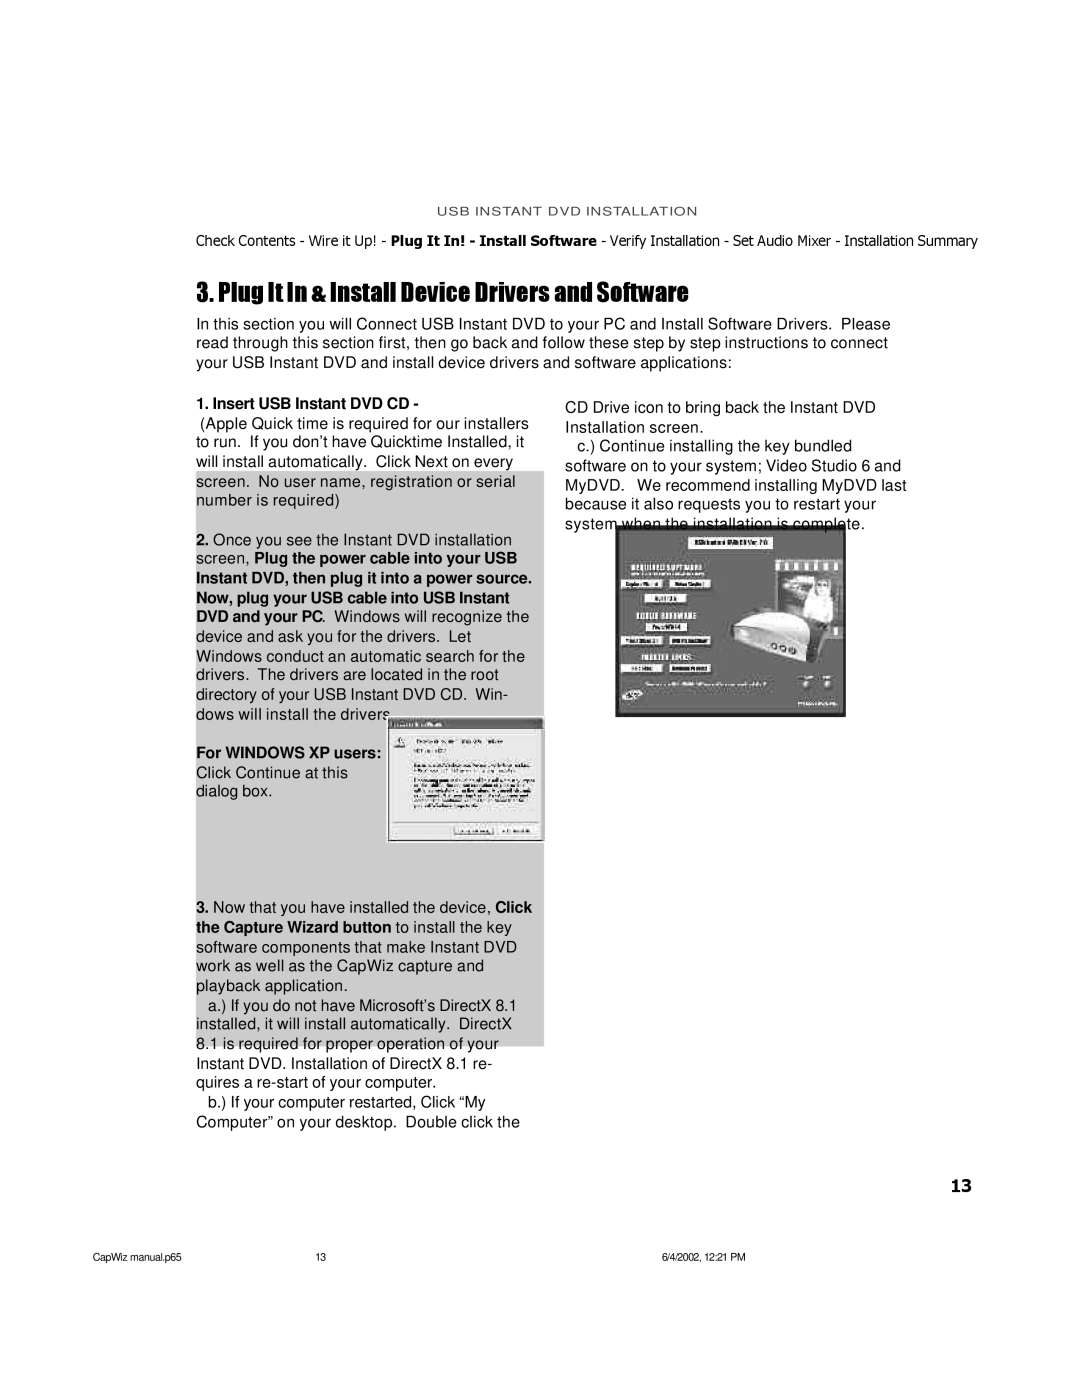
3.Now that you have installed the device, Click the Capture Wizard button to install the key software components that make Instant DVD work as well as the CapWiz capture and playback application.
a.) If you do not have Microsoft’s DirectX 8.1 installed, it will install automatically. DirectX 8.1 is required for proper operation of your Instant DVD. Installation of DirectX 8.1 re- quires a
b.) If your computer restarted, Click “My Computer” on your desktop. Double click the
CD Drive icon to bring back the Instant DVD Installation screen.
c.) Continue installing the key bundled software on to your system; Video Studio 6 and MyDVD. We recommend installing MyDVD last because it also requests you to restart your system when the installation is complete.
13
CapWiz manual.p65 | 13 | 6/4/2002, 12:21 PM |