STORYBOARD 61
Trimming a clip
The best part of editing your movie on your computer is the ease with which you can snip and trim with frame by frame accuracy.
To trim a clip from the Timeline:
1.Click a clip in the Timeline to select it.
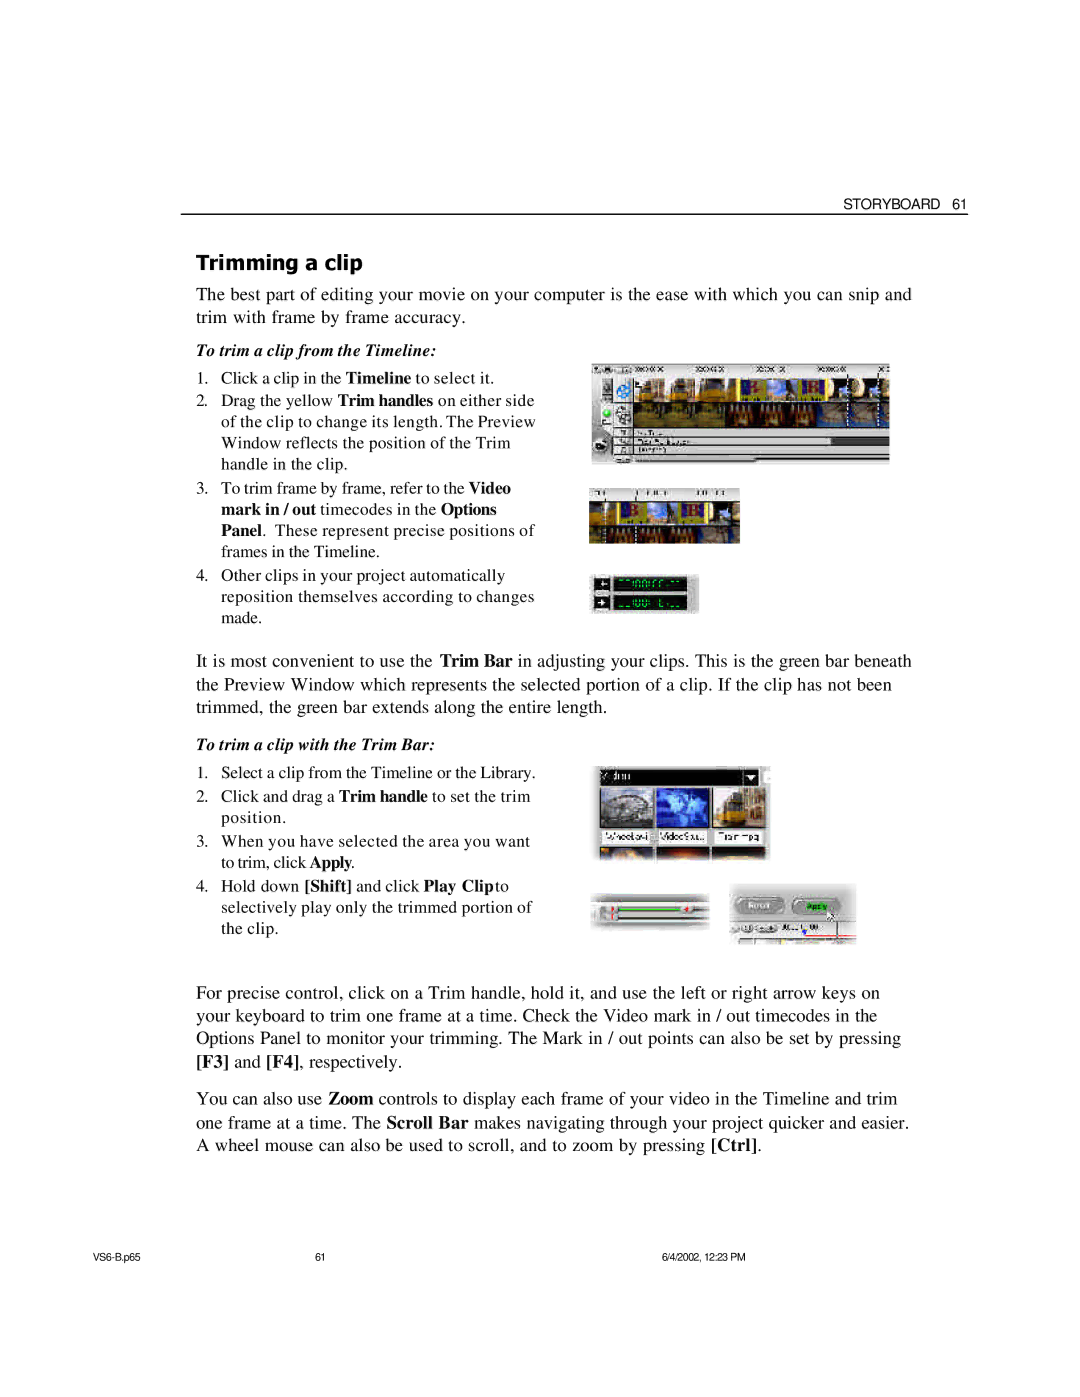
2.Drag the yellow Trim handles on either side of the clip to change its length. The Preview Window reflects the position of the Trim handle in the clip.
3.To trim frame by frame, refer to the Video mark in / out timecodes in the Options Panel. These represent precise positions of frames in the Timeline.
4.Other clips in your project automatically reposition themselves according to changes made.
It is most convenient to use the Trim Bar in adjusting your clips. This is the green bar beneath the Preview Window which represents the selected portion of a clip. If the clip has not been trimmed, the green bar extends along the entire length.
To trim a clip with the Trim Bar:
1.Select a clip from the Timeline or the Library.
2.Click and drag a Trim handle to set the trim position.
3.When you have selected the area you want to trim, click Apply.
4.Hold down [Shift] and click Play Clipto selectively play only the trimmed portion of the clip.
For precise control, click on a Trim handle, hold it, and use the left or right arrow keys on your keyboard to trim one frame at a time. Check the Video mark in / out timecodes in the Options Panel to monitor your trimming. The Mark in / out points can also be set by pressing [F3] and [F4], respectively.
You can also use Zoom controls to display each frame of your video in the Timeline and trim one frame at a time. The Scroll Bar makes navigating through your project quicker and easier. A wheel mouse can also be used to scroll, and to zoom by pressing [Ctrl].
61 | 6/4/2002, 12:23 PM |
