Chapter 10: Replacing Modules
Replacing AT-SBxPWRSYS1 AC and AT-SBxPWRPOE1 Power Supplies
This section contains the procedure for removing
Note
The illustrations in the following procedure show the removal of an
To remove an
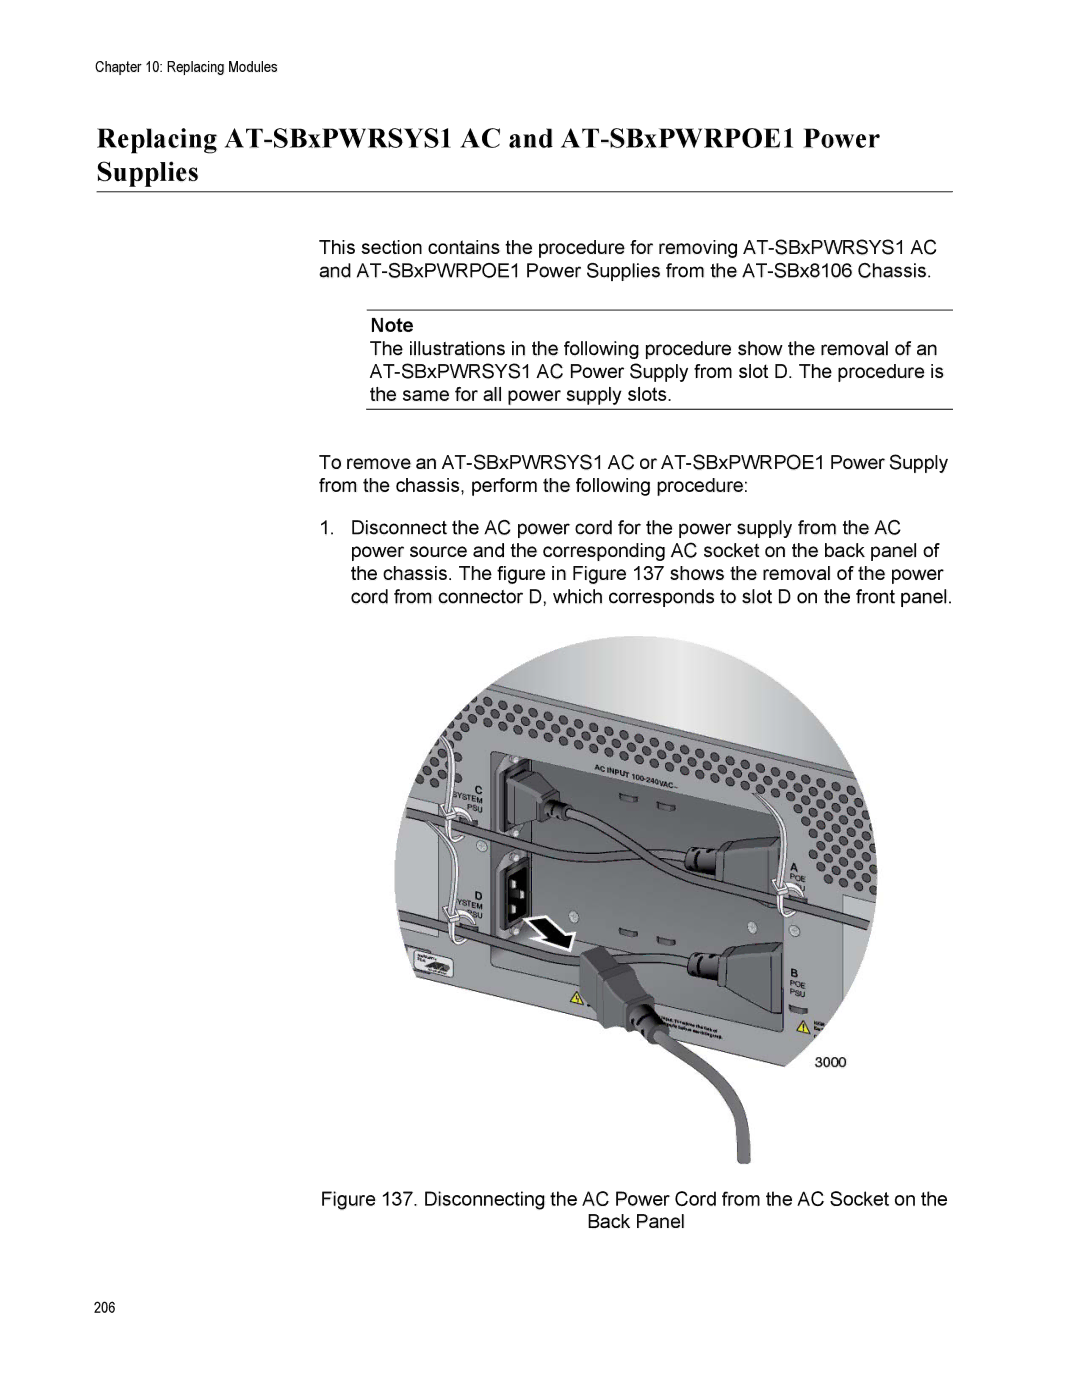
1.Disconnect the AC power cord for the power supply from the AC power source and the corresponding AC socket on the back panel of the chassis. The figure in Figure 137 shows the removal of the power cord from connector D, which corresponds to slot D on the front panel.
Figure 137. Disconnecting the AC Power Cord from the AC Socket on the
Back Panel
206