Chapter 5: Installing the AT-SBx81CFC400 Controller and Ethernet Line Cards
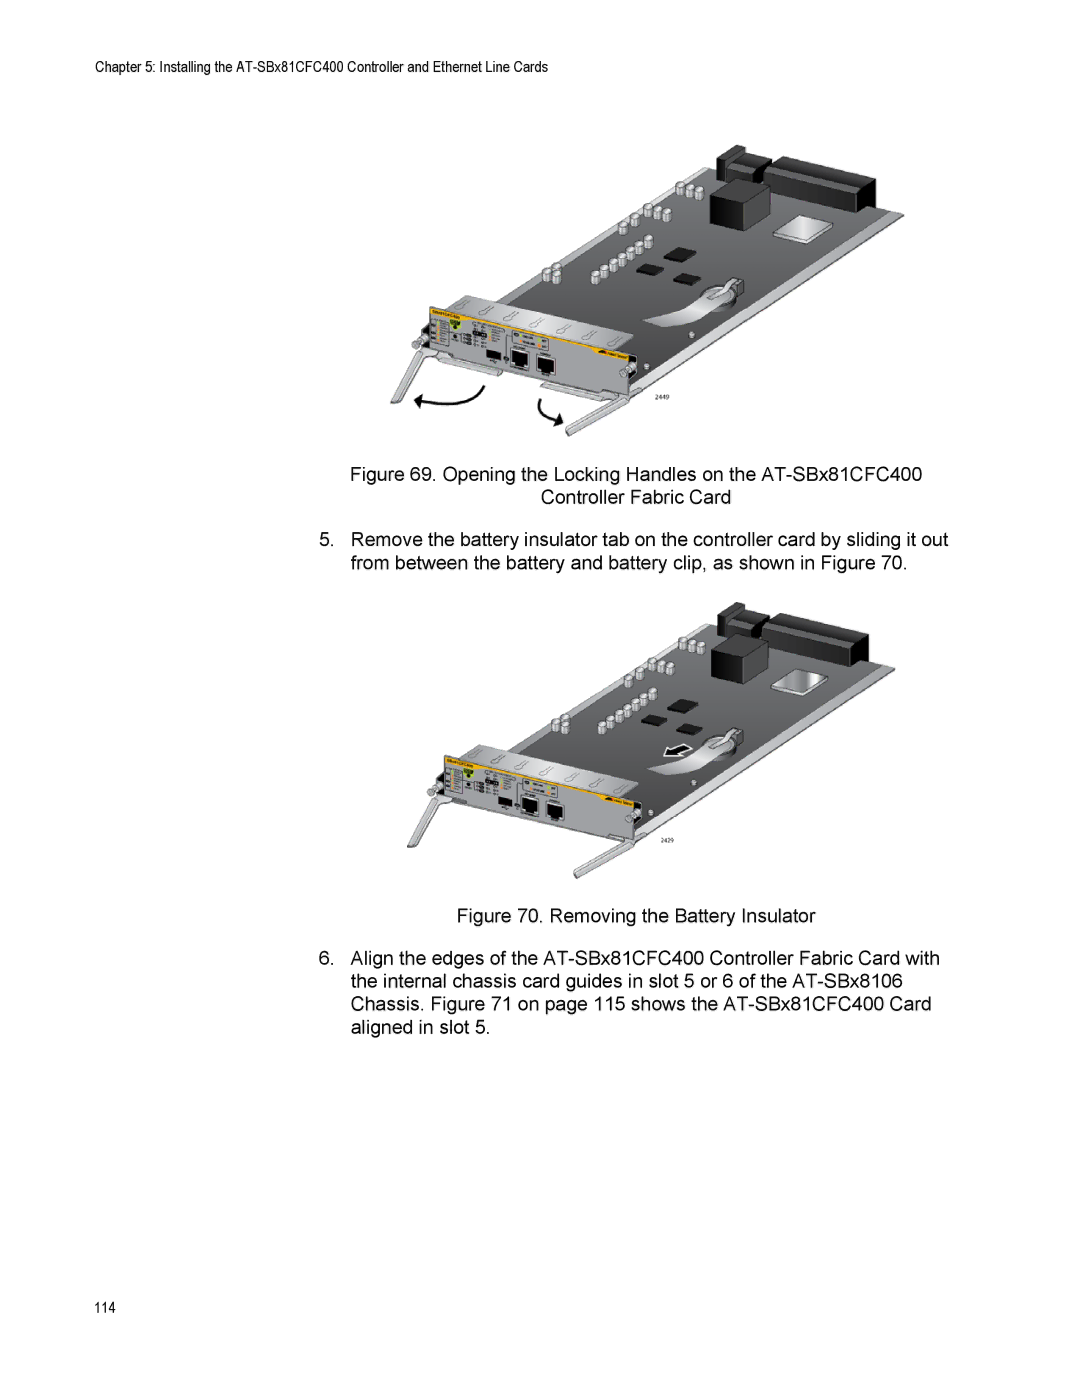
Figure 69. Opening the Locking Handles on the AT-SBx81CFC400
Controller Fabric Card
5.Remove the battery insulator tab on the controller card by sliding it out from between the battery and battery clip, as shown in Figure 70.
Figure 70. Removing the Battery Insulator
6.Align the edges of the AT-SBx81CFC400 Controller Fabric Card with the internal chassis card guides in slot 5 or 6 of the AT-SBx8106 Chassis. Figure 71 on page 115 shows the AT-SBx81CFC400 Card aligned in slot 5.
114