Setting Up Allowed Lists
Call restriction by allowed lists adds a group of permitted numbers to the calling range of an outward- or
For example, a customer service representative in New York City with a
“Assigning
You can establish up to eight allowed lists (which you number O through 7), each with a maximum of ten entries (which you number O through 9). Before you begin setting up allowed lists, fill out an
1.If you have not already done so, enter administration mode by follow- ing the boxed instructions on page 25.
2.Touch Adm Misc.
The lights next to the administration mode buttons stop flashing, and the green light next toAdm Misc remains on.
3.Dial the
4.Dial the list number (0 through 7).
5.Dial the number (0 through 9) of the entry you want to record.
6.Dial the new entry, which may consist of an area code, an exchange code, or both. The entry may also be a
7.Repeat steps 3 through 6 to add more entries to the same list or to add entries to a different list.
8.If you want to remove an entry from a list,perform steps 3 through 5 and touch Drop.
9.You may have a printer connected to your system for SMDR (Station Message Detail Recording). To order a printout of one of your allowed lists, repeat steps 3 and 4, then dial the
When the printout is completed, you hear a beep.
Don’t go on to step 10 until you hear the beep, or you will get an in- complete printout. Don’t remove the printout until you have completed step 10, or your page alignments will be affected.
10.Touch Adm Misc.
The lights next to the administration mode buttons flash again.
Remove the printout from the printer.
11.Continue to administer your system or leave administration mode by following the boxed instructions on page 25.
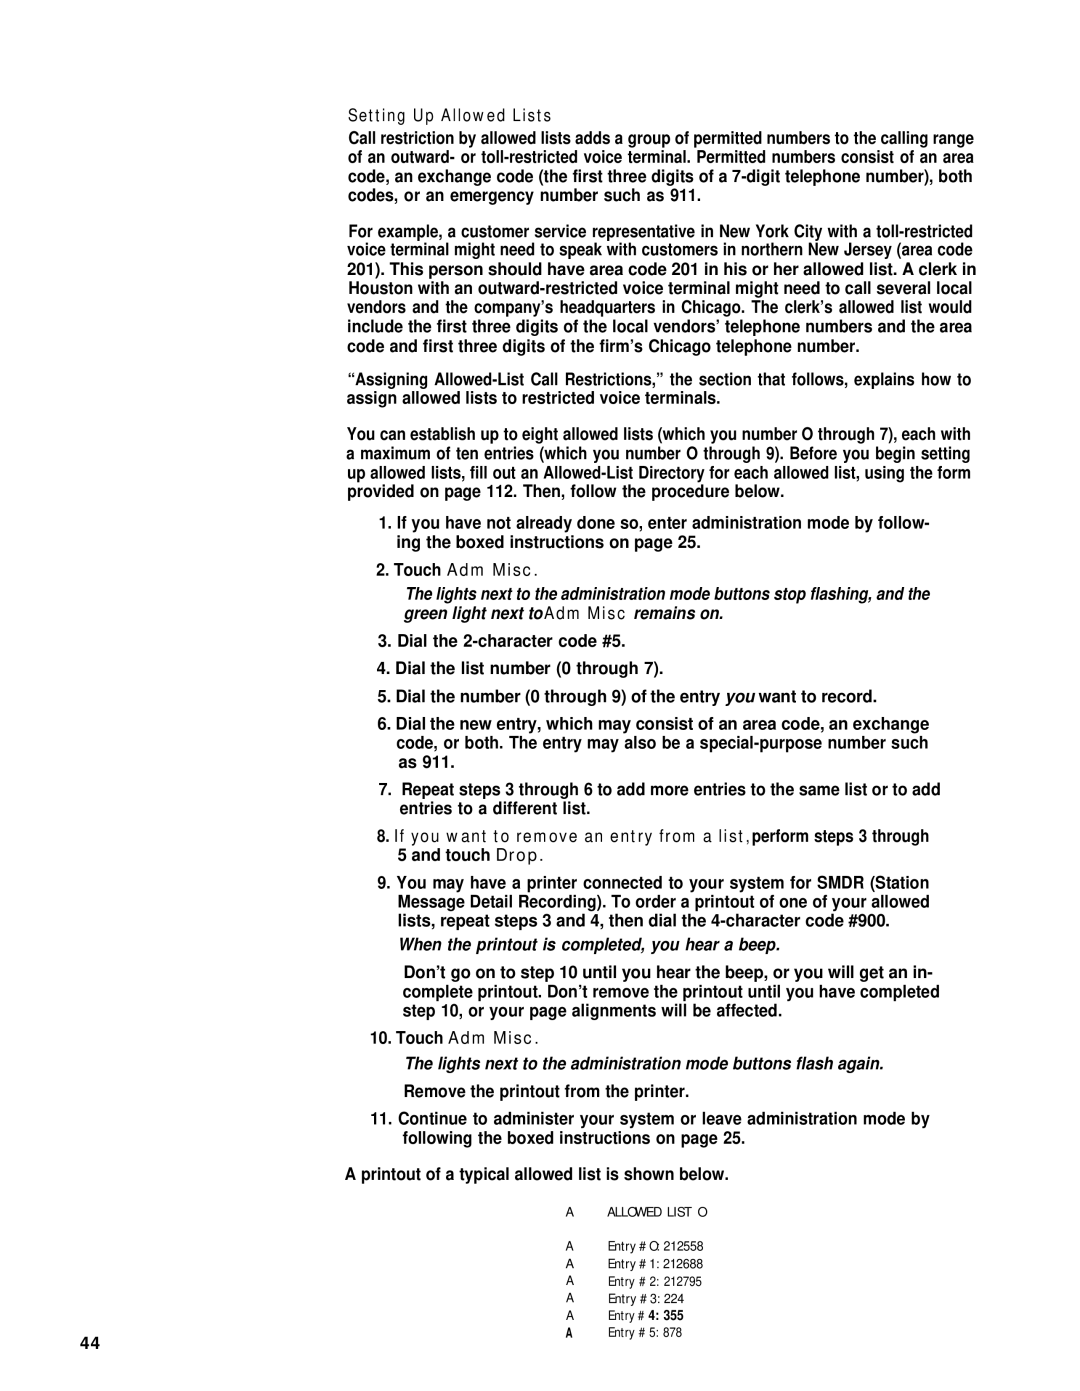
A printout of a typical allowed list is shown below.
44
A ALLOWED LIST O
A Entry # O: 212558
A Entry # 1: 212688
A Entry # 2: 212795
A Entry # 3: 224
A Entry # 4: 355
A Entry # 5: 878