Viewing Items in ScanSoft™ PaperPort®
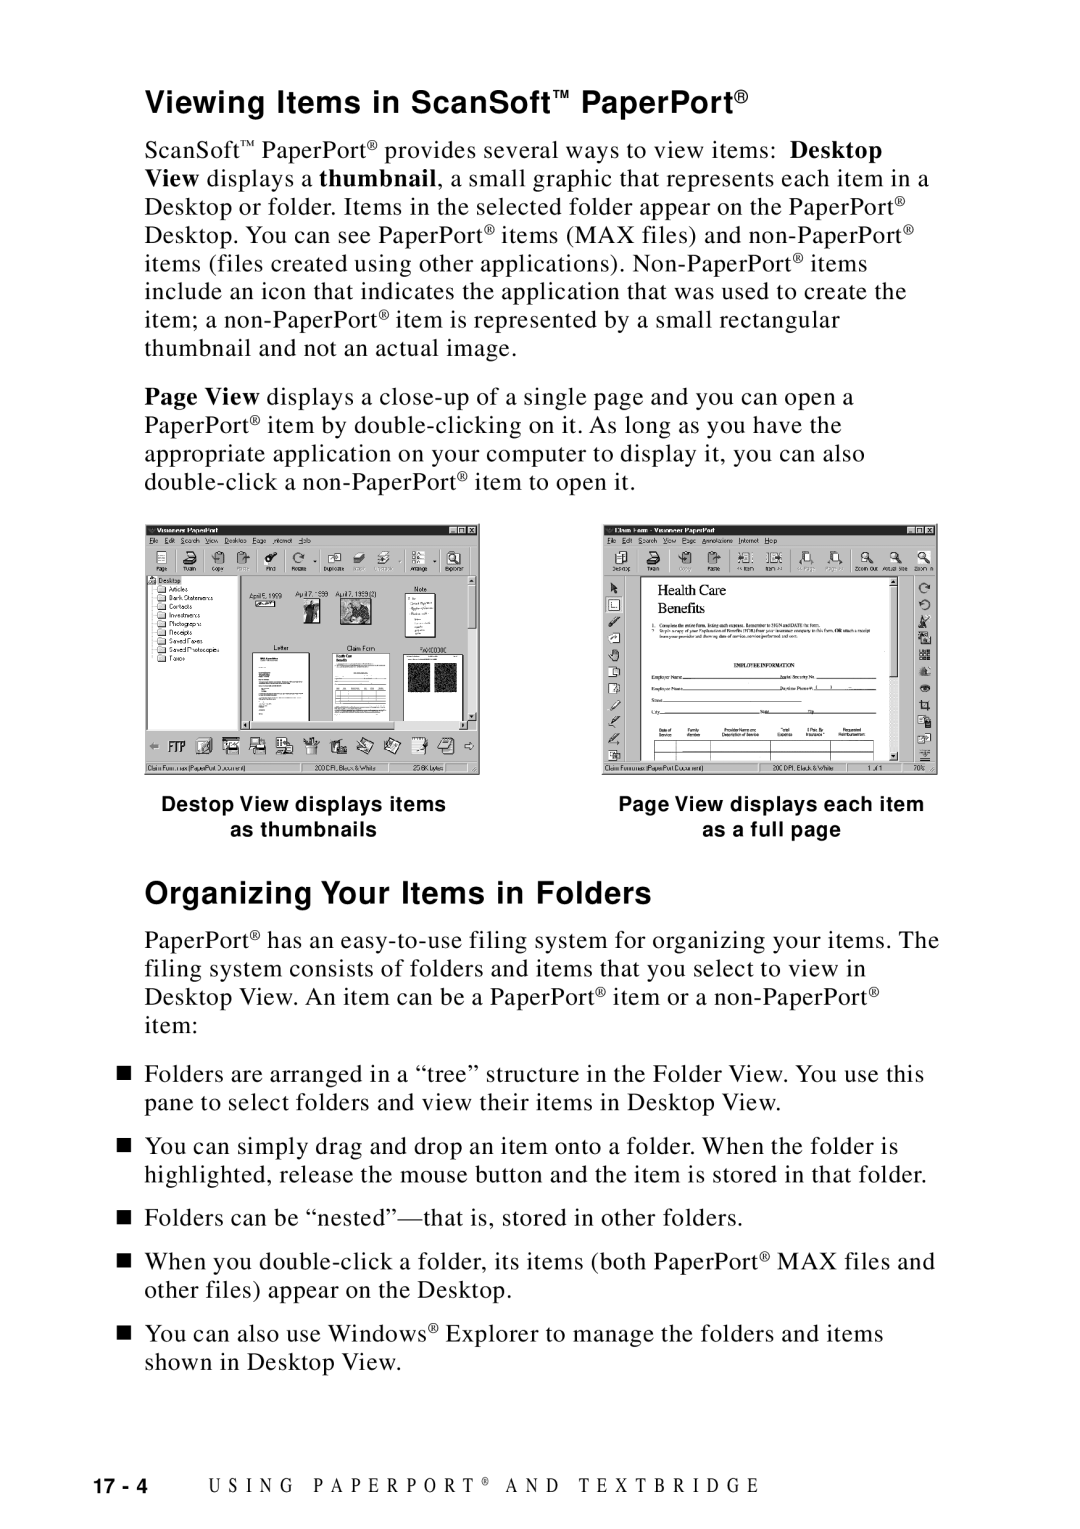
ScanSoft™ PaperPort® provides several ways to view items: Desktop View displays a thumbnail, a small graphic that represents each item in a Desktop or folder. Items in the selected folder appear on the PaperPort® Desktop. You can see PaperPort® items (MAX files) and
Page View displays a
Destop View displays items | Page View displays each item |
as thumbnails | as a full page |
Organizing Your Items in Folders
PaperPort® has an
■Folders are arranged in a “tree” structure in the Folder View. You use this pane to select folders and view their items in Desktop View.
■You can simply drag and drop an item onto a folder. When the folder is highlighted, release the mouse button and the item is stored in that folder.
■Folders can be
■When you
■You can also use Windows® Explorer to manage the folders and items shown in Desktop View.
17 - 4 | U S I N G P A P E R P O R T ® A N D T E X T B R I D G E |