Initial Configuration
Table
Unit Role | Vipersat | STDMA | Auto Switching |
Hub | Enabled | (optional) Enabled | (optional) Enabled |
Hub Expansion | Enabled | Disabled | Disabled |
Remote | Enabled | (optional) Enabled | (optional) Enabled |
Remote Expansion | Enabled | Disabled | Disabled |
|
|
|
|
6.Save the settings to flash by entering S at the command prompt.
7.Enter X at the command prompt to exit the Feature Configuration menu and return to the Administration screen.
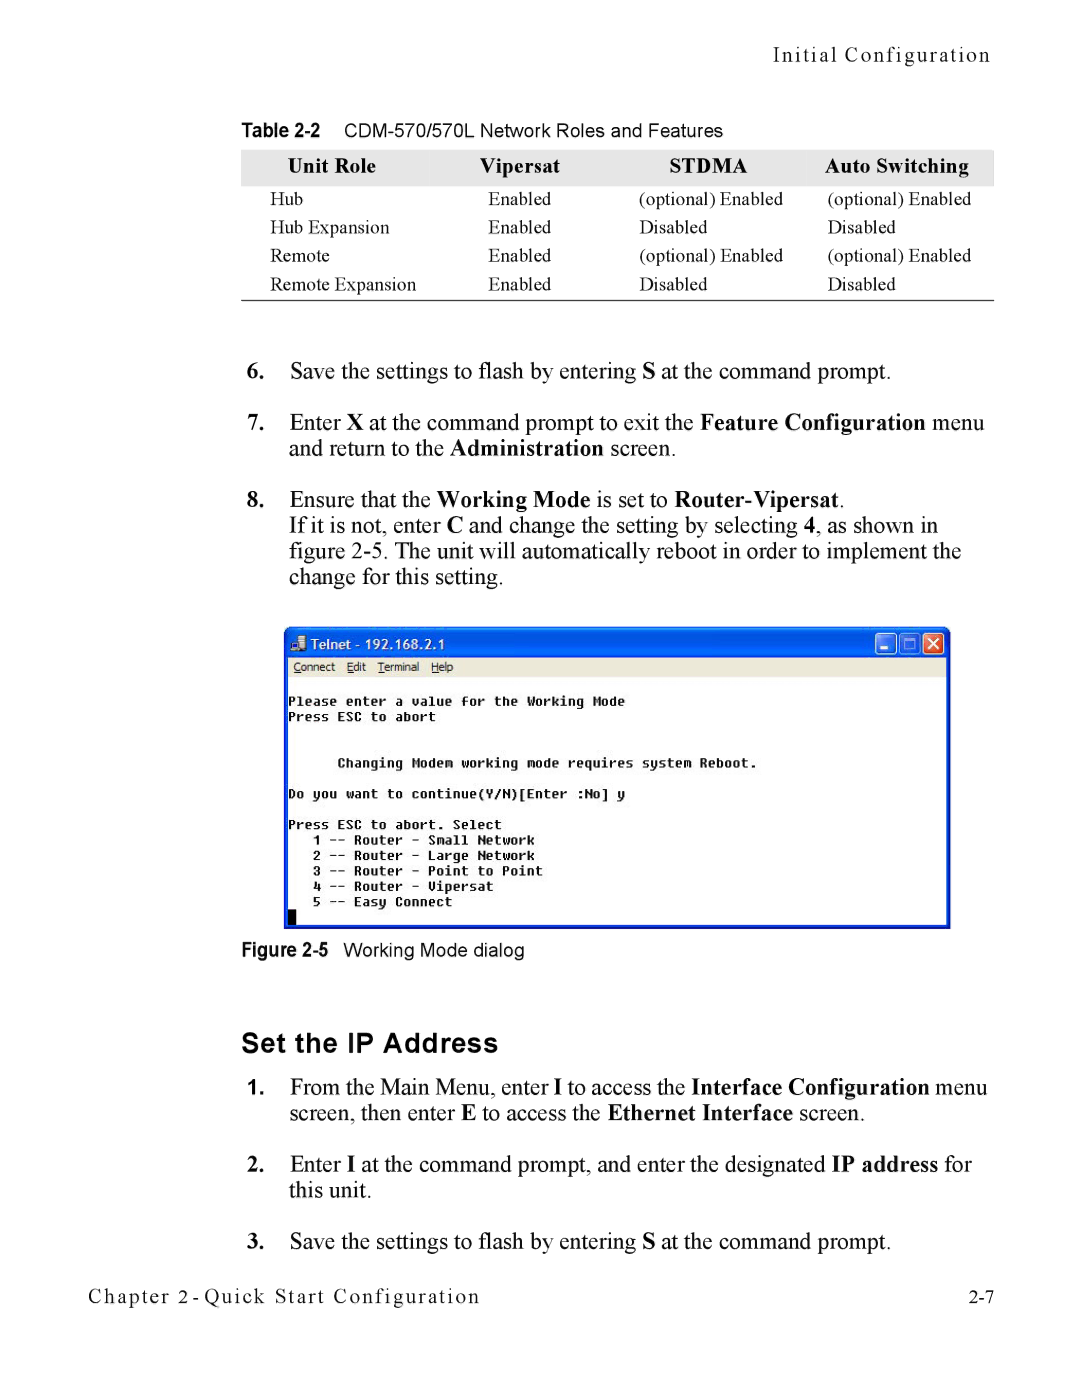
8.Ensure that the Working Mode is set to Router-Vipersat.
If it is not, enter C and change the setting by selecting 4, as shown in figure
Figure 2-5 Working Mode dialog
Set the IP Address
1.From the Main Menu, enter I to access the Interface Configuration menu screen, then enter E to access the Ethernet Interface screen.
2.Enter I at the command prompt, and enter the designated IP address for this unit.
3.Save the settings to flash by entering S at the command prompt.
Chapter 2 - Quick Start Configuration |