CHAPTER 10 TROUBLESHOOTING
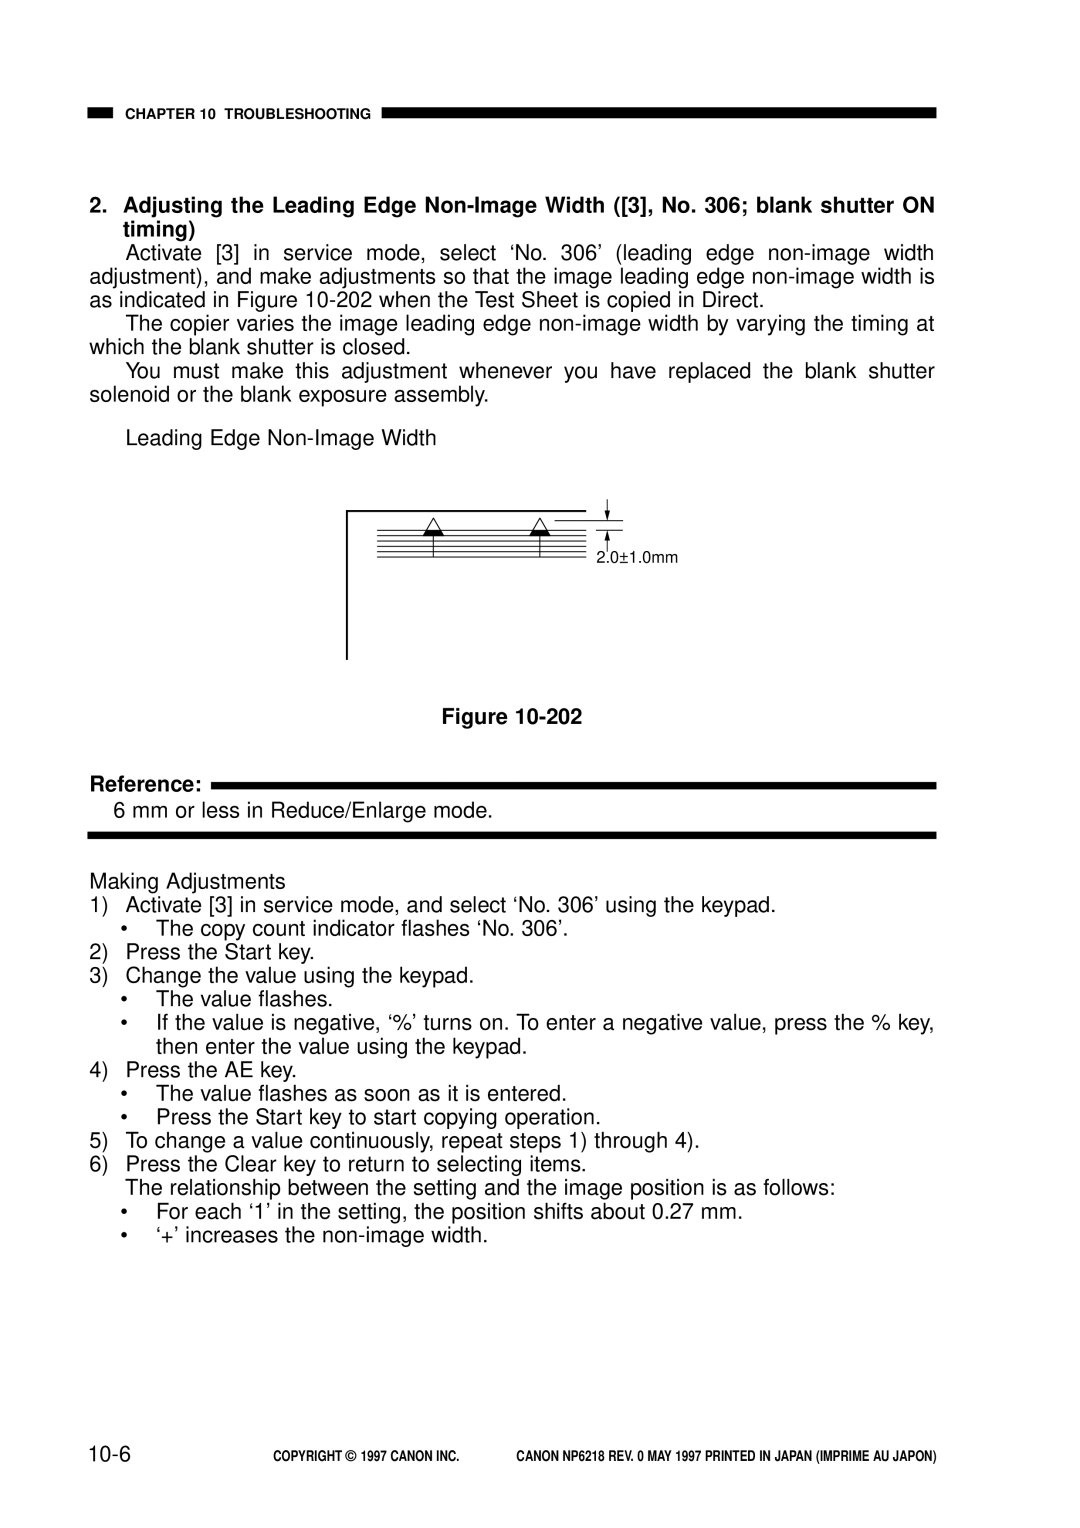
2. Adjusting the Leading Edge
Activate [3] in service mode, select ‘No. 306’ (leading edge
The copier varies the image leading edge
You must make this adjustment whenever you have replaced the blank shutter solenoid or the blank exposure assembly.
Leading Edge
2.0±1.0mm
Figure
Reference:
6 mm or less in Reduce/Enlarge mode.
Making Adjustments
1)Activate [3] in service mode, and select ‘No. 306’ using the keypad.
•The copy count indicator flashes ‘No. 306’.
2)Press the Start key.
3)Change the value using the keypad.
•The value flashes.
•If the value is negative, ‘%’ turns on. To enter a negative value, press the % key, then enter the value using the keypad.
4)Press the AE key.
•The value flashes as soon as it is entered.
•Press the Start key to start copying operation.
5)To change a value continuously, repeat steps 1) through 4).
6)Press the Clear key to return to selecting items.
The relationship between the setting and the image position is as follows:
•For each ‘1’ in the setting, the position shifts about 0.27 mm.
•‘+’ increases the
| COPYRIGHT © 1997 CANON INC. | CANON NP6218 REV. 0 MAY 1997 PRINTED IN JAPAN (IMPRIME AU JAPON) |