CHAPTER 10 TROUBLESHOOTING
7)Press the AE key.
•The indication changes to ‘EE’.
8)Press the Start key.
•The indication returns to ‘450’.
9)Turn off and on the power switch.
•The copier clears the backup RAM, and returns the default settings.
Reference:
To cancel RAM clearing, press the Clear key and then the Reset key. To cancel it
after having finished step 8), press the Start key once again; when ‘noP’ is indicated, press the Start key once again.
3. Checking the Photointerrupters
The copier allows checking the photointerrupters with a conventional meter or in service mode.
a.Using a Meter
1)Set the meter to the 12VDC range.
2)Connect the
3)Make checks as indicated.
1:5V
0: 0V
Reference:
All photointerrupters except PS1, PS2, PS3, PS6, and PS9 are connected in the form of a matrix, and for this reason may show variations if checked by a meter; use service mode for these photointerrupters.
b.Using Service Mode
1)Open the front door, and insert a door switch actuator into the door switch.
2)Press the service mode switch (SW302) with a hex key.
3)Press [2] on the keypad.
•The copier indicates ‘2’.
4) Press the AE key.
•The copier activates I/O display mode, and indicates ‘201’.
5) Enter a number with the keypad, and press the Start key.
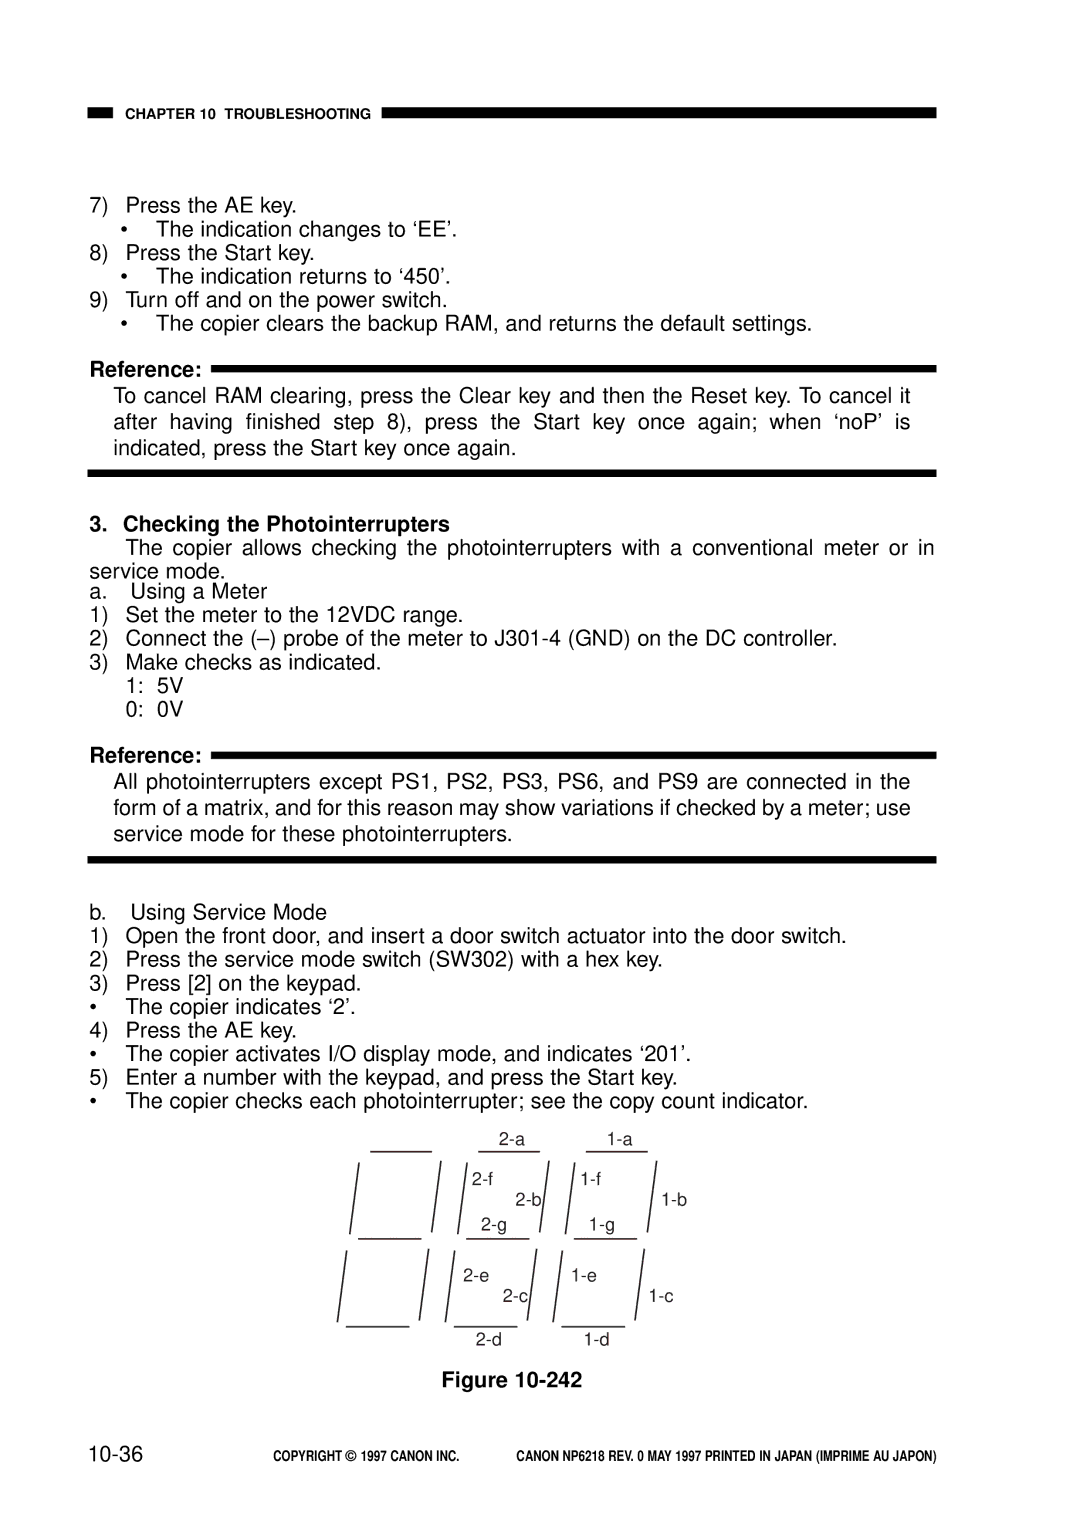
•The copier checks each photointerrupter; see the copy count indicator.
Figure
| COPYRIGHT © 1997 CANON INC. | CANON NP6218 REV. 0 MAY 1997 PRINTED IN JAPAN (IMPRIME AU JAPON) |