Chapter 2 Getting to Know the Cisco Digital Media Encoder 2200
Basic Operation: Using the Front Panel
Starting an Encoding Session
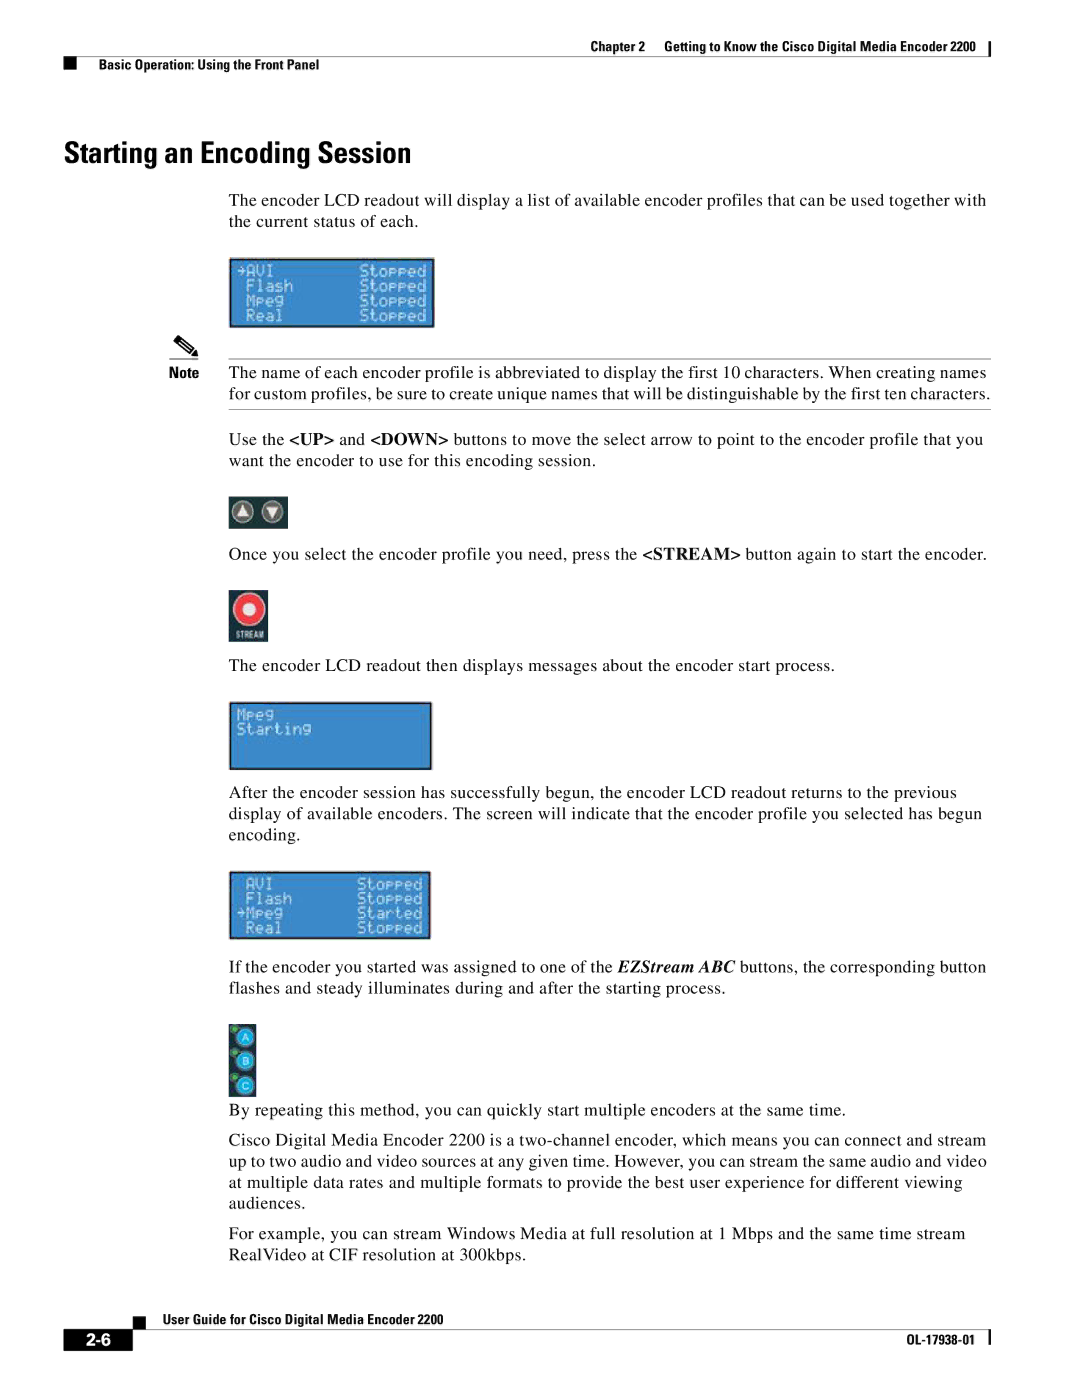
The encoder LCD readout will display a list of available encoder profiles that can be used together with the current status of each.
Note The name of each encoder profile is abbreviated to display the first 10 characters. When creating names for custom profiles, be sure to create unique names that will be distinguishable by the first ten characters.
Use the <UP> and <DOWN> buttons to move the select arrow to point to the encoder profile that you want the encoder to use for this encoding session.
Once you select the encoder profile you need, press the <STREAM> button again to start the encoder.
The encoder LCD readout then displays messages about the encoder start process.
After the encoder session has successfully begun, the encoder LCD readout returns to the previous display of available encoders. The screen will indicate that the encoder profile you selected has begun encoding.
If the encoder you started was assigned to one of the EZStream ABC buttons, the corresponding button flashes and steady illuminates during and after the starting process.
By repeating this method, you can quickly start multiple encoders at the same time.
Cisco Digital Media Encoder 2200 is a
For example, you can stream Windows Media at full resolution at 1 Mbps and the same time stream RealVideo at CIF resolution at 300kbps.
User Guide for Cisco Digital Media Encoder 2200
| ||
|