Chapter 1 Installing the Cisco Digital Media Encoder 2200
Installation
Changing the Cisco Digital Media Encoder 2200 Network Settings
1.Press the Menu button to access the encoder’s EASE menu.
2.The EASE Menu options are the following:
3.Use the <UP> and <DOWN> buttons to move the select arrow in the menu until the arrow points to Setup System option.
4.Now, press the <ENTER> button.
5.The encoder LCD readout will display the Setup menu. Using the <UP> and <DOWN> buttons, select Network, and press the <ENTER> button.
6.Select the network interface you wish to modify, and then press <ENTER>.
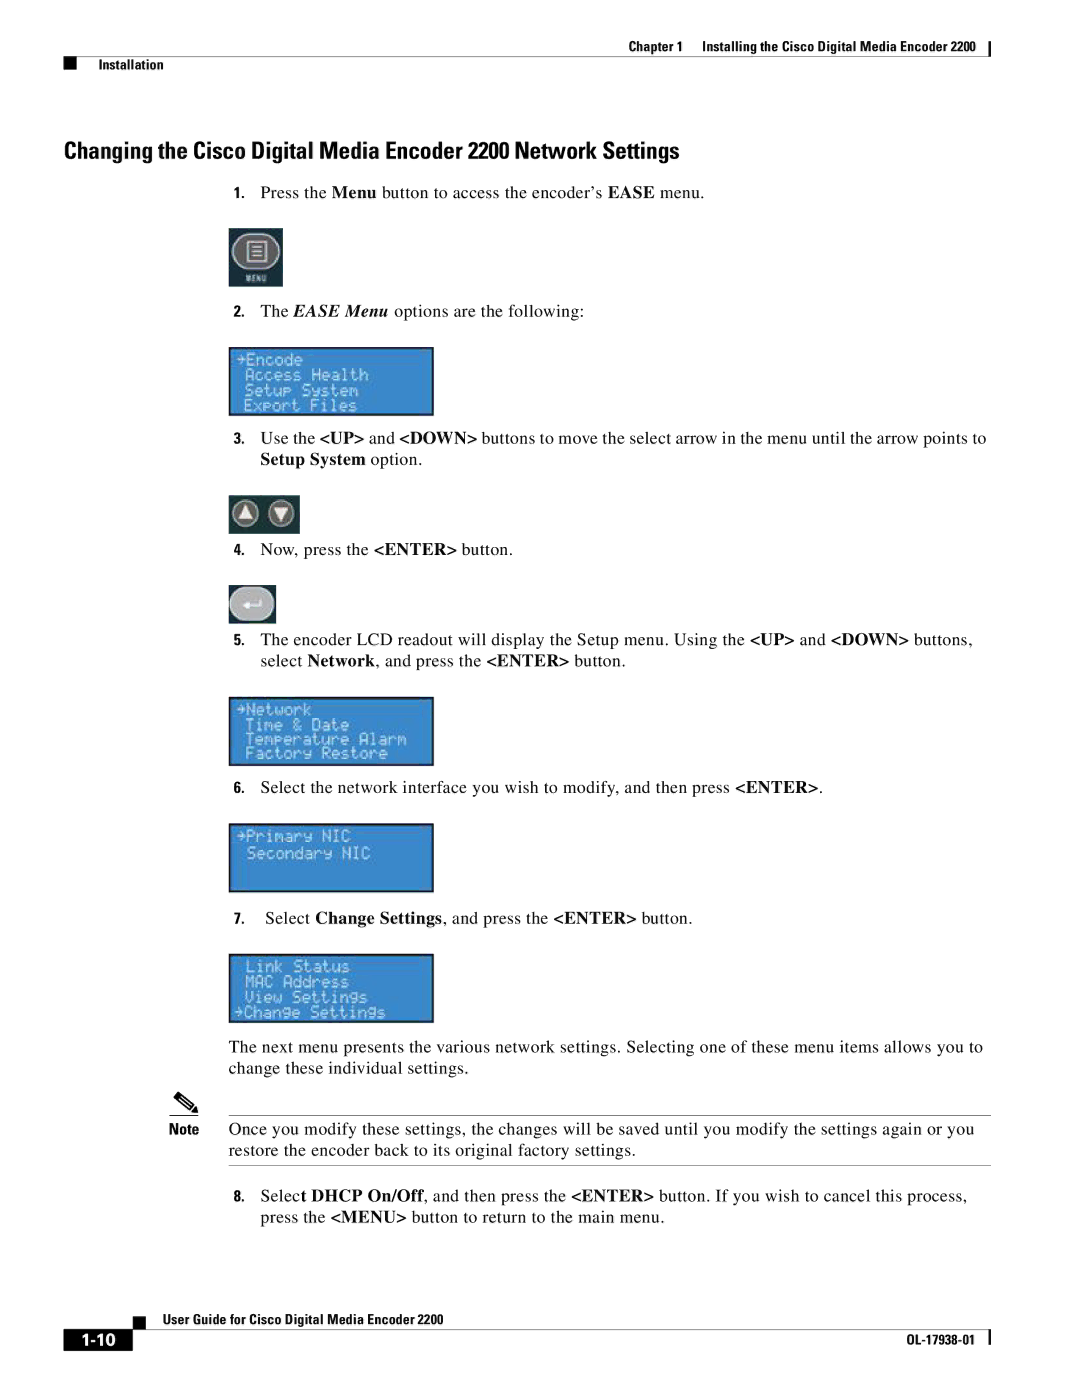
7.Select Change Settings, and press the <ENTER> button.
The next menu presents the various network settings. Selecting one of these menu items allows you to change these individual settings.
Note Once you modify these settings, the changes will be saved until you modify the settings again or you restore the encoder back to its original factory settings.
8.Select DHCP On/Off, and then press the <ENTER> button. If you wish to cancel this process, press the <MENU> button to return to the main menu.
| User Guide for Cisco Digital Media Encoder 2200 |
|