Chapter 1 Installing the Cisco Digital Media Encoder 2200
Installation
Completing First Start Setup
The first time the encoder is powered, the LCD display will present a series of menus that will assist in setting up the system clock, date, and video input format (NTSC [North America/Japan] or PAL).
1.To start the encoder, press the <POWER> button located on the front panel.
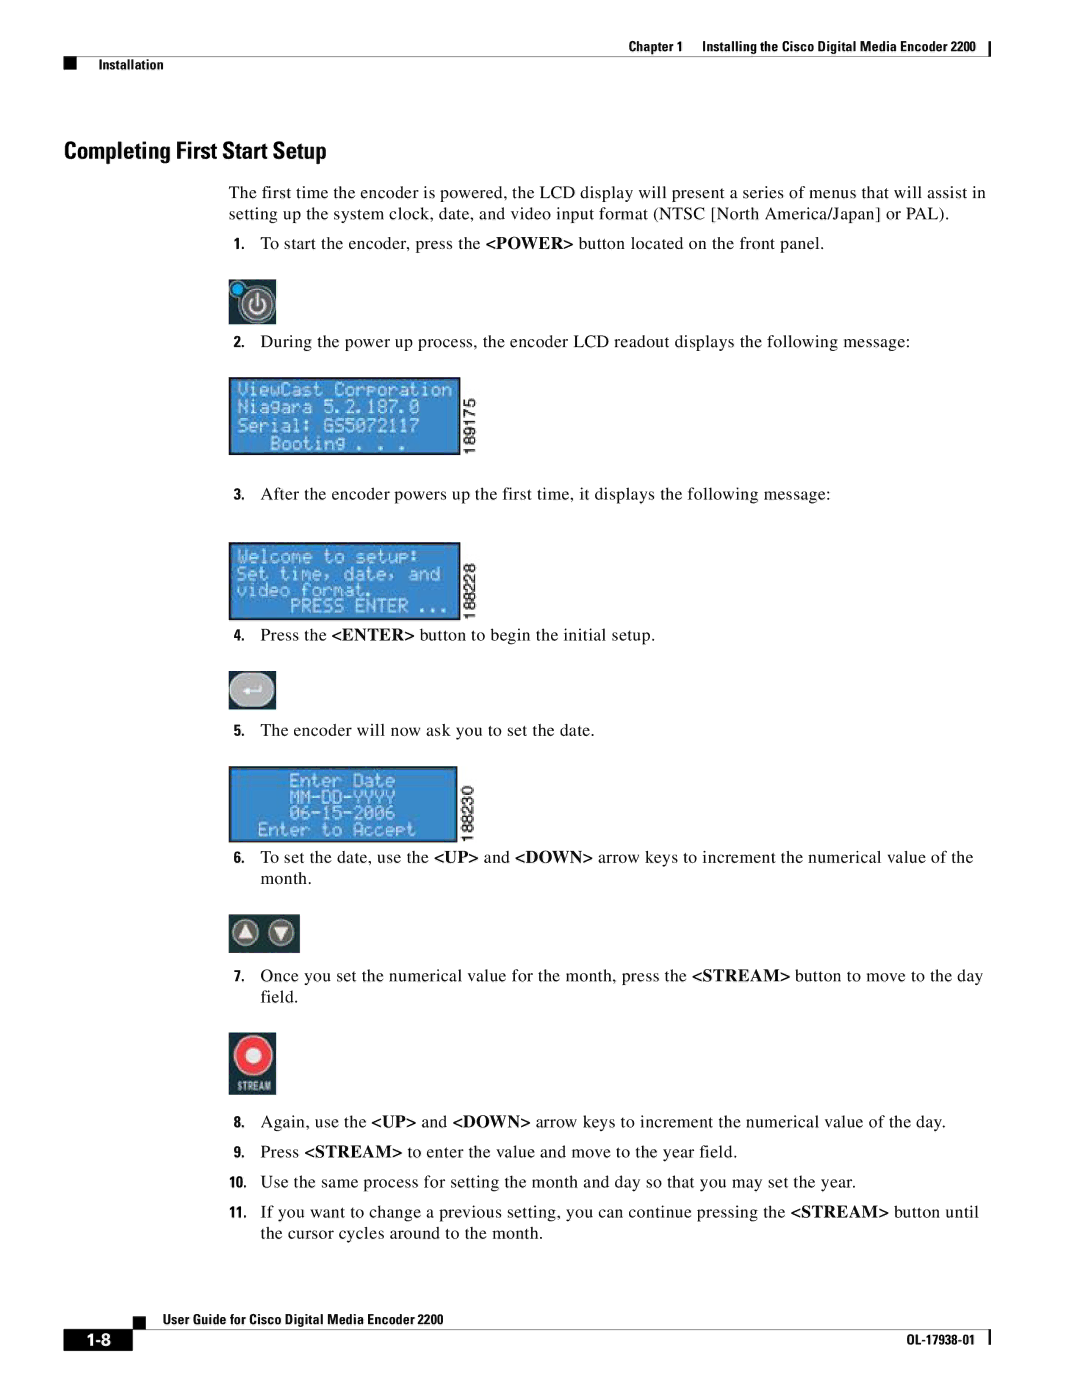
2.During the power up process, the encoder LCD readout displays the following message:
3.After the encoder powers up the first time, it displays the following message:
4.Press the <ENTER> button to begin the initial setup.
5.The encoder will now ask you to set the date.
6.To set the date, use the <UP> and <DOWN> arrow keys to increment the numerical value of the month.
7.Once you set the numerical value for the month, press the <STREAM> button to move to the day field.
8.Again, use the <UP> and <DOWN> arrow keys to increment the numerical value of the day.
9.Press <STREAM> to enter the value and move to the year field.
10.Use the same process for setting the month and day so that you may set the year.
11.If you want to change a previous setting, you can continue pressing the <STREAM> button until the cursor cycles around to the month.
User Guide for Cisco Digital Media Encoder 2200
| ||
|