Chapter 3 Using the Ease Menu and Niagara SCX Web Interface
Niagara SCX Web Interface
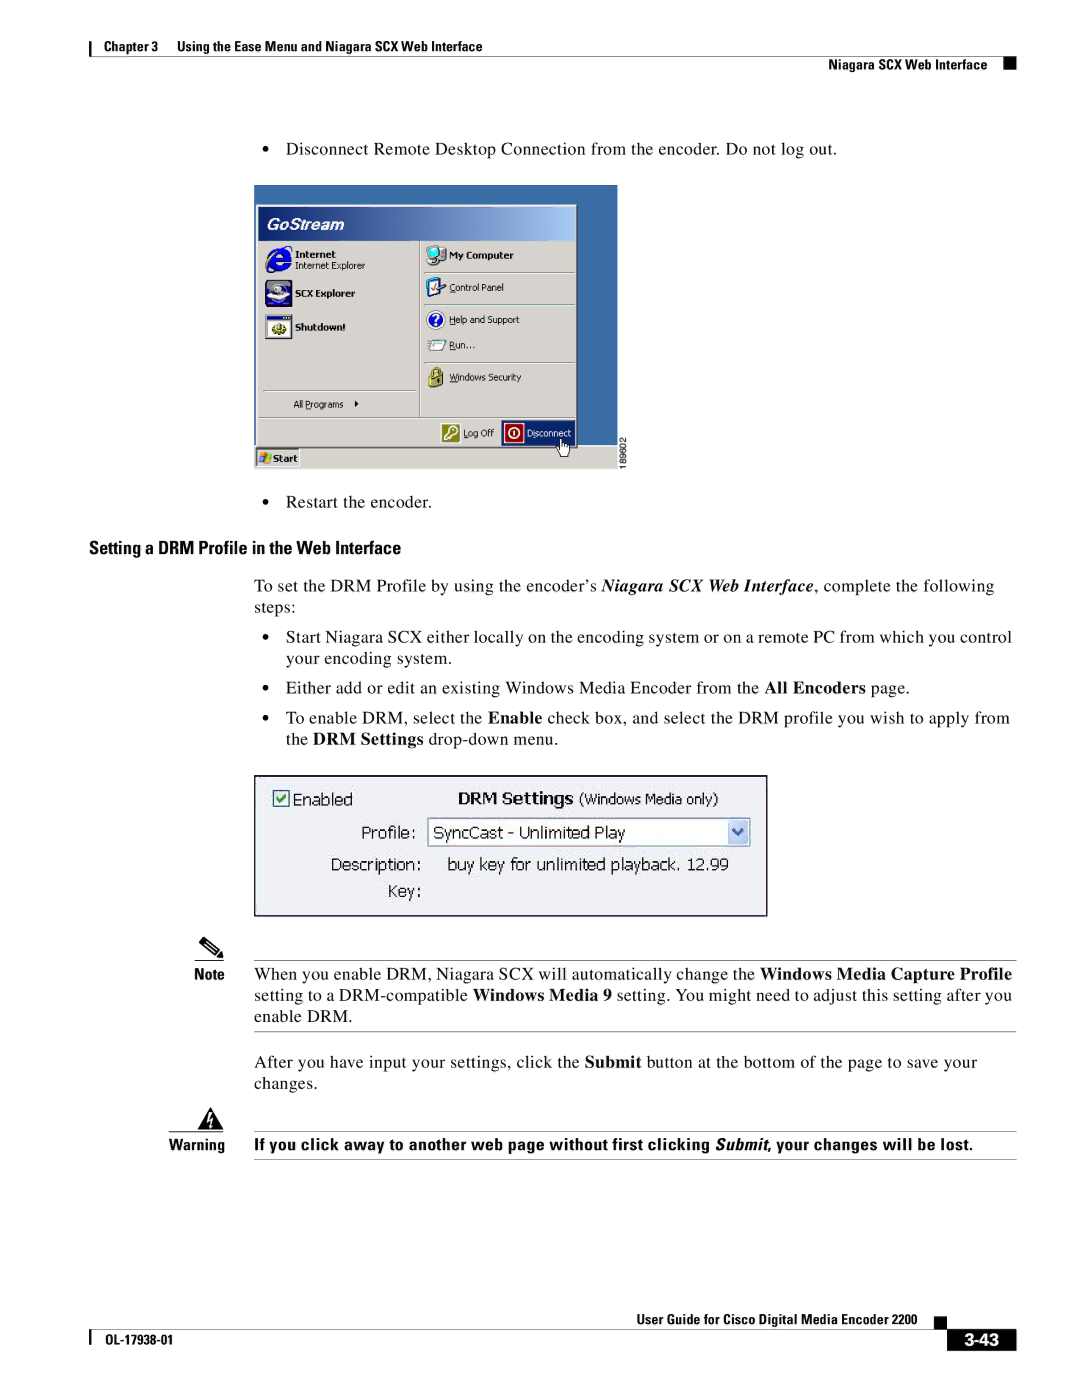
•Disconnect Remote Desktop Connection from the encoder. Do not log out.
•Restart the encoder.
Setting a DRM Profile in the Web Interface
To set the DRM Profile by using the encoder’s Niagara SCX Web Interface, complete the following steps:
•Start Niagara SCX either locally on the encoding system or on a remote PC from which you control your encoding system.
•Either add or edit an existing Windows Media Encoder from the All Encoders page.
•To enable DRM, select the Enable check box, and select the DRM profile you wish to apply from the DRM Settings
Note When you enable DRM, Niagara SCX will automatically change the Windows Media Capture Profile setting to a
After you have input your settings, click the Submit button at the bottom of the page to save your changes.
Warning If you click away to another web page without first clicking Submit, your changes will be lost.
|
| User Guide for Cisco Digital Media Encoder 2200 |
|
| |
|
|
| |||
|
|
|
|
| |
|
|
|
| ||