Clarity Visual Systems
2. | Press the Up/Down | Move the cursor to the Zoom selection. |
| arrow keys |
|
|
|
|
3. | Press ENTER | Displays the Zoom Factor menu. |
|
|
|
4. | Scale the image | Select an edge of the image that needs to be expanded or |
|
| compressed (Left, Right, Up or Down). It is easiest to see |
|
| the effect of Zoom when the image is a some form of |
|
| geometry pattern, one that exactly defines the edges of the |
|
| image. Note: The internal test pattern “Geometry” cannot be |
|
| used for this purpose. |
|
| With Clarity’s Big Picture , the zoom range is very large. |
|
| Without Big Picture, the zoom is limited to ± 10%. |
|
| Selecting the Lock feature causes the image to scale the |
|
| same amount in the opposite direction. If you scale the |
|
| Right, the Left will scale by the same amount. Similarly, Up |
|
| and Down |
|
| The Default feature scales the image back to 800x600 or |
|
| 640x480 pixels, depending on the source, or to some other |
|
| values, depending on the Big Picture scaling. |
|
|
|
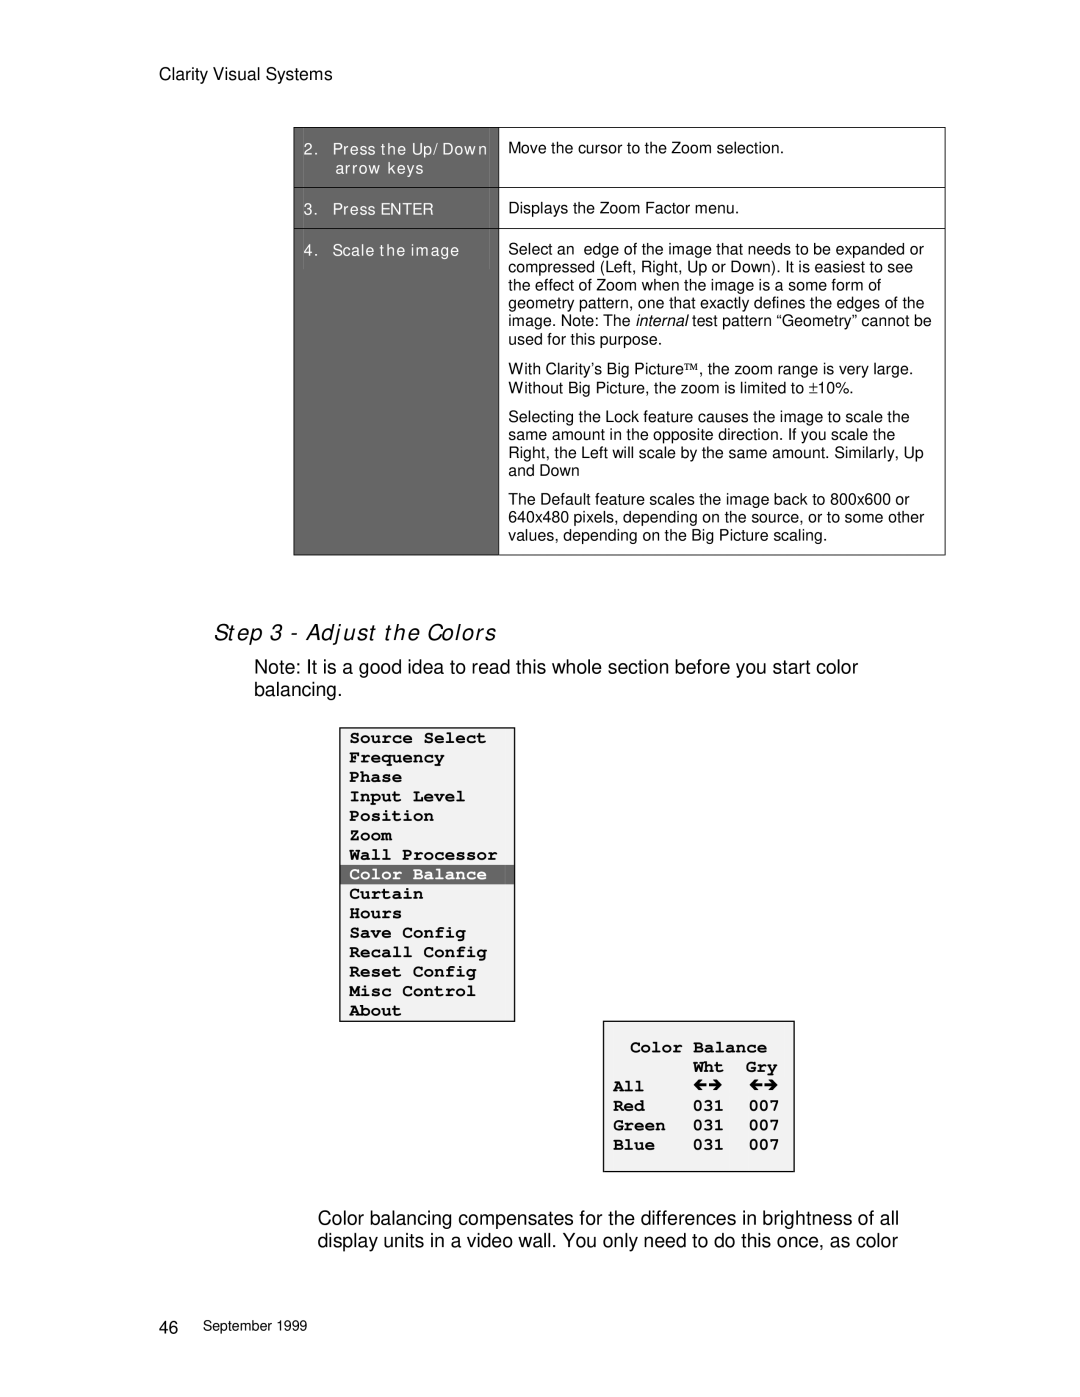
Step 3 - Adjust the Colors
Note: It is a good idea to read this whole section before you start color balancing.
Source Select
Frequency
Phase
Input Level
Position
Zoom
Wall Processor
Color Balance
Curtain
Hours
Save Config
Recall Config
Reset Config
Misc Control
About
Color Balance | ||
| Wht | Gry |
All | #∃ | #∃ |
Red | 031 | 007 |
Green | 031 | 007 |
Blue | 031 | 007 |
Color balancing compensates for the differences in brightness of all display units in a video wall. You only need to do this once, as color
46September 1999