Clarity Visual Systems
Use the PHASE button to adjust the phase of the internal sampling clock relative to the incoming data. Phase noise is usually seen as fine, horizontal lines moving through the image or as flickering edges on the displayed text.
Note: For video inputs, the Phase control does not affect the image.
1. | Display an image | A large checkerboard pattern works best. (See Adjust the |
| containing many | Frequency, Computer Sources, Step 2 on page 43 to make |
| on/off | one in Paint.) With Sharpness on (X), if the PHASE setting |
| transitions | is not correct, the image will have thin horizontal lines |
|
| running or “dancing” through it. |
|
|
|
2. | Press the remote | The PHASE adjustment menu is displayed. |
| control PHASE |
|
| button |
|
|
|
|
3. | Adjust the phase | Use the Left/Right arrow button to adjust for the best image |
| setting | quality with the least amount of noise. There may be two |
|
| places in the Phase number where this happens. If there is |
|
| a large range of numbers where you see no noise, find the |
|
| “ends” of the clean range and set the Phase number |
|
| between these two. |
|
|
|
4. | Exit the PHASE | Press the PREV MENU button to exit the menu. |
| menu |
|
|
|
|
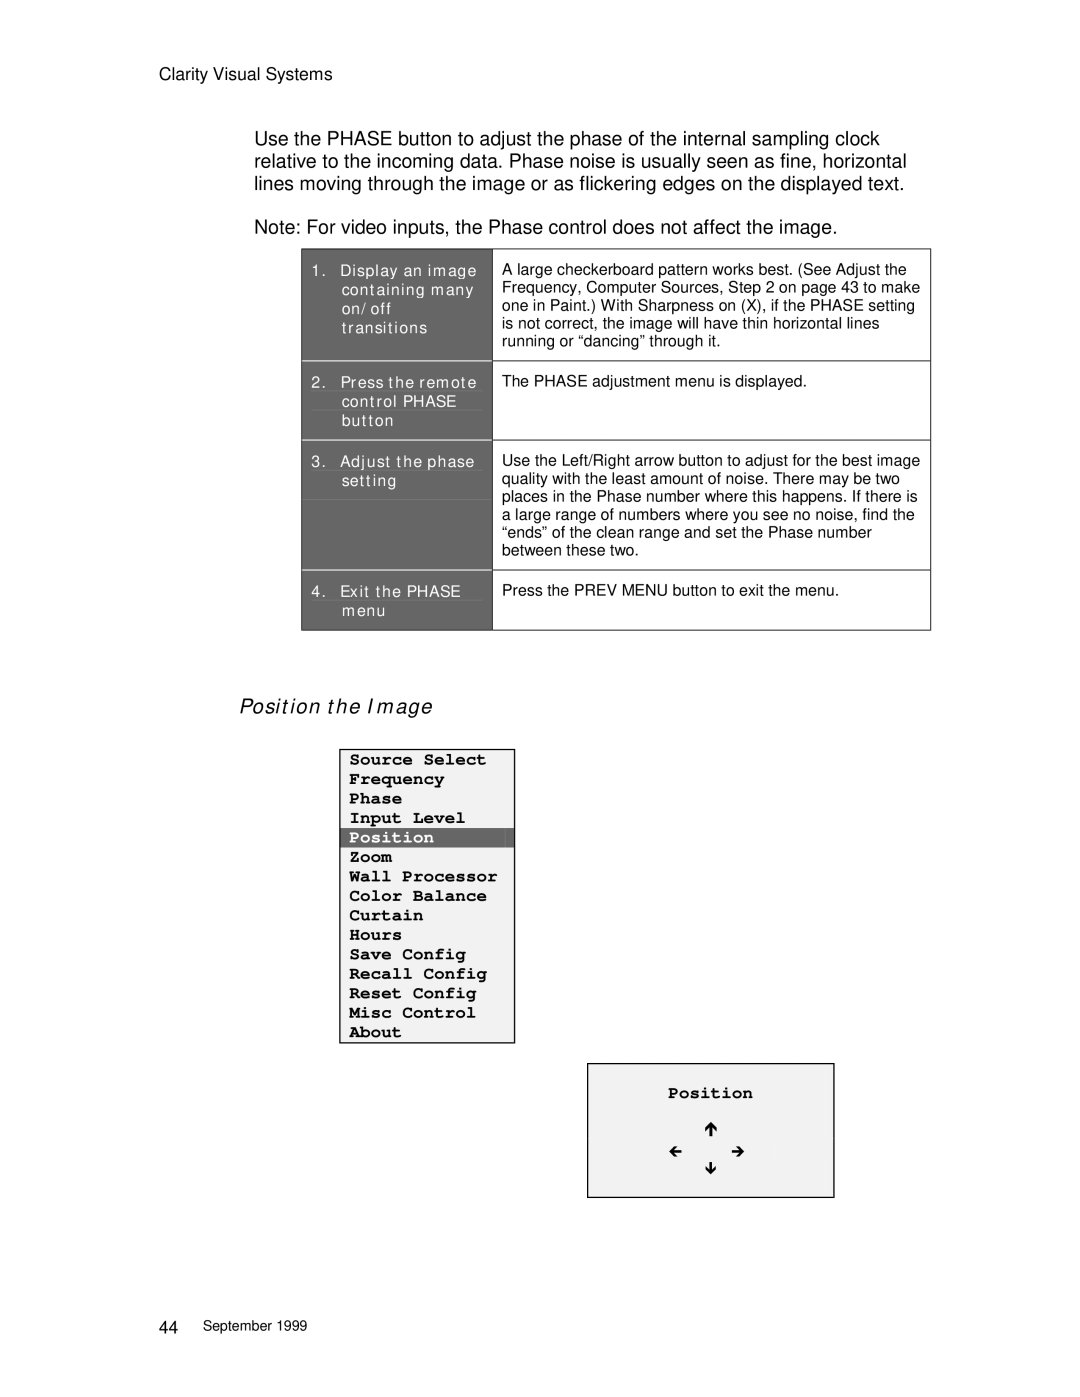
Position the Image
Source Select
Frequency
Phase
Input Level
Position
Zoom
Wall Processor
Color Balance
Curtain
Hours
Save Config
Recall Config
Reset Config
Misc Control
About
Position | |
| % |
# | ∃ |
| & |
44September 1999