6 |
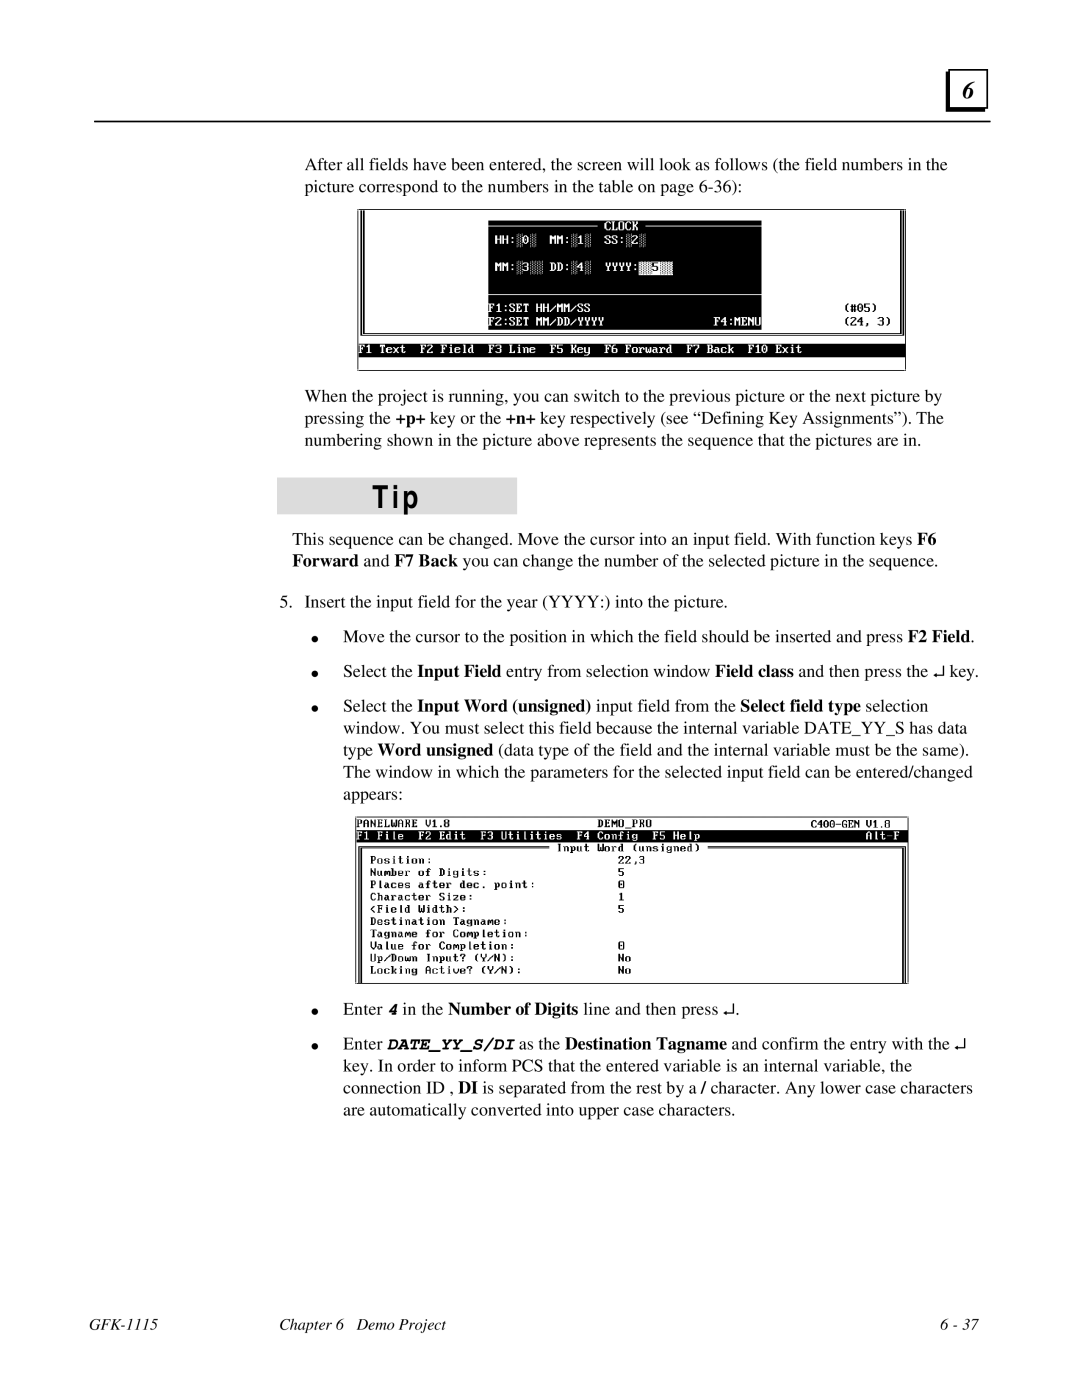
After all fields have been entered, the screen will look as follows (the field numbers in the picture correspond to the numbers in the table on page
When the project is running, you can switch to the previous picture or the next picture by pressing the +p+ key or the +n+ key respectively (see “Defining Key Assignments”). The numbering shown in the picture above represents the sequence that the pictures are in.
T i p
This sequence can be changed. Move the cursor into an input field. With function keys F6 Forward and F7 Back you can change the number of the selected picture in the sequence.
5. Insert the input field for the year (YYYY:) into the picture.
●
●
●
●
●
Move the cursor to the position in which the field should be inserted and press F2 Field.
Select the Input Field entry from selection window Field class and then press the ↵ key.
Select the Input Word (unsigned) input field from the Select field type selection window. You must select this field because the internal variable DATE_YY_S has data type Word unsigned (data type of the field and the internal variable must be the same). The window in which the parameters for the selected input field can be entered/changed appears:
Enter 4 in the Number of Digits line and then press ↵.
Enter DATE_YY_S/DI as the Destination Tagname and confirm the entry with the ↵ key. In order to inform PCS that the entered variable is an internal variable, the connection ID , DI is separated from the rest by a / character. Any lower case characters are automatically converted into upper case characters.
| Chapter 6 Demo Project | 6 - 37 |
