6 |
●Enter the following parameters for the password input field:
Character Size: | 2 |
Number of Digits: | 6 |
Destination Tagname: | PASSWORD |
Tagname for Completion: | COMPLETE |
Value for Completion: | 100 |
Echo Character: | * |
Number of Password Levels: | 4 |
Password for Level #1: | 7748 |
Password for Level #2: | 6586 |
Password for Level #3: | 612674 |
For Number of Password Levels, 0 also counts as a level. (0= no/wrong password.)
T i p
Instead of defining a number combination, as was used in the demo project, you can define a password from any combination of letters, numbers and/or other characters.
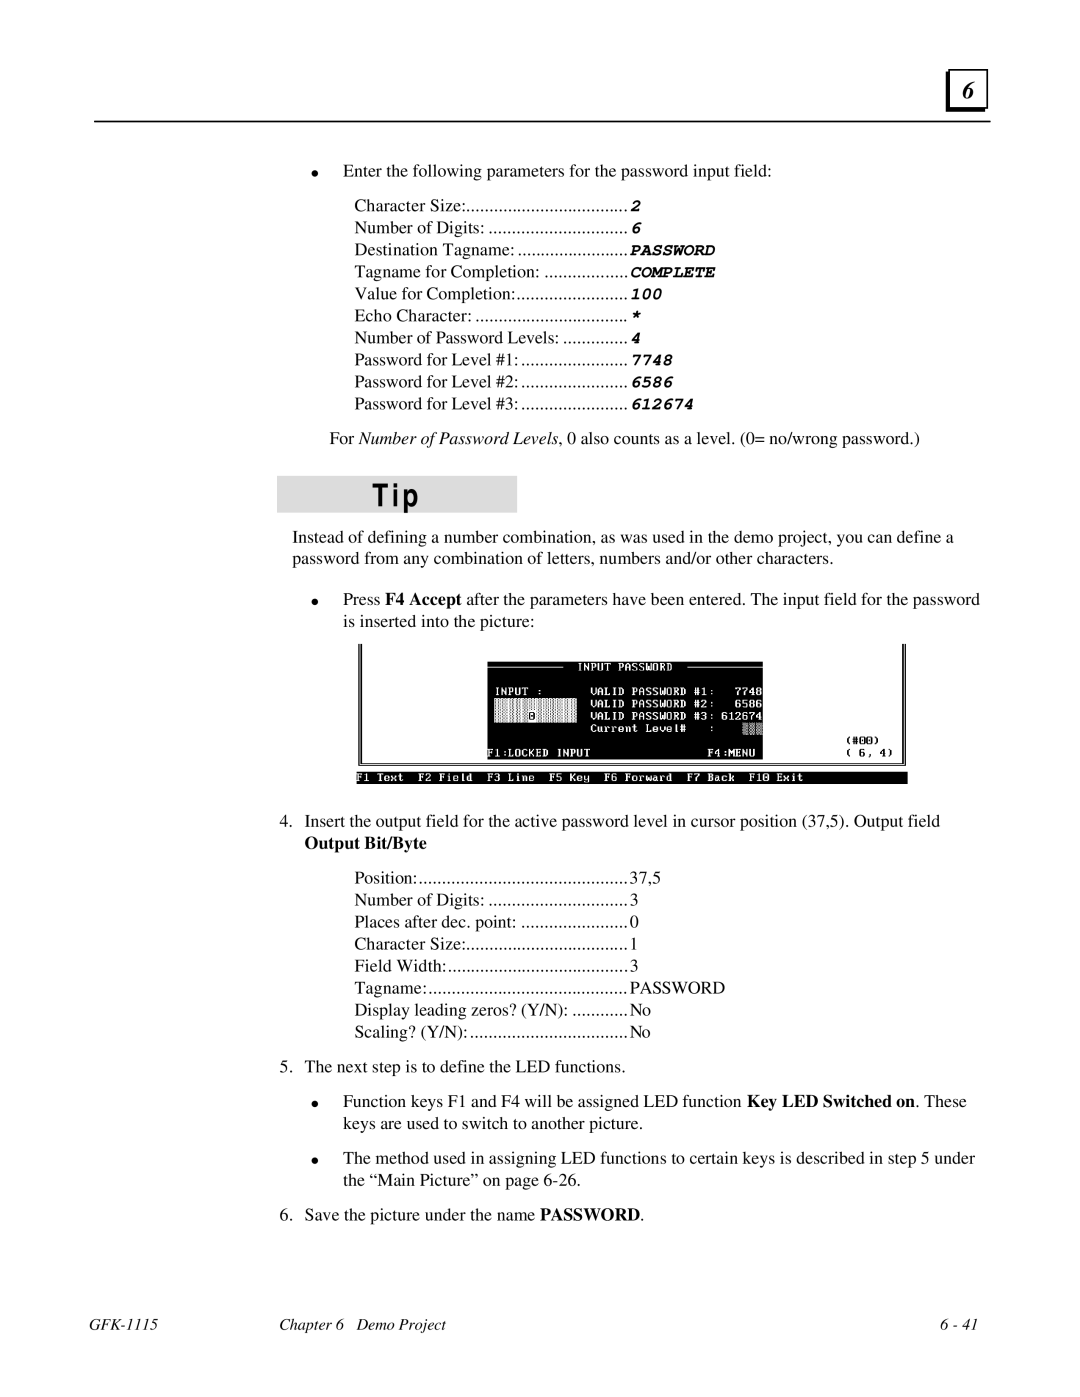
●Press F4 Accept after the parameters have been entered. The input field for the password is inserted into the picture:
4.Insert the output field for the active password level in cursor position (37,5). Output field
Output Bit/Byte
Position: | 37,5 |
Number of Digits: | 3 |
Places after dec. point: | 0 |
Character Size: | 1 |
Field Width: | 3 |
Tagname: | PASSWORD |
Display leading zeros? (Y/N): | No |
Scaling? (Y/N): | No |
5. The next step is to define the LED functions.
●
●
Function keys F1 and F4 will be assigned LED function Key LED Switched on. These keys are used to switch to another picture.
The method used in assigning LED functions to certain keys is described in step 5 under the “Main Picture” on page
6. Save the picture under the name PASSWORD.
| Chapter 6 Demo Project | 6 - 41 |
