3 |
Picture Binding Overview
Binding a picture into the project means that all possible branches (picture changes) that the picture can have are defined. A picture change can be made using the Next, Previous or optional function keys2.
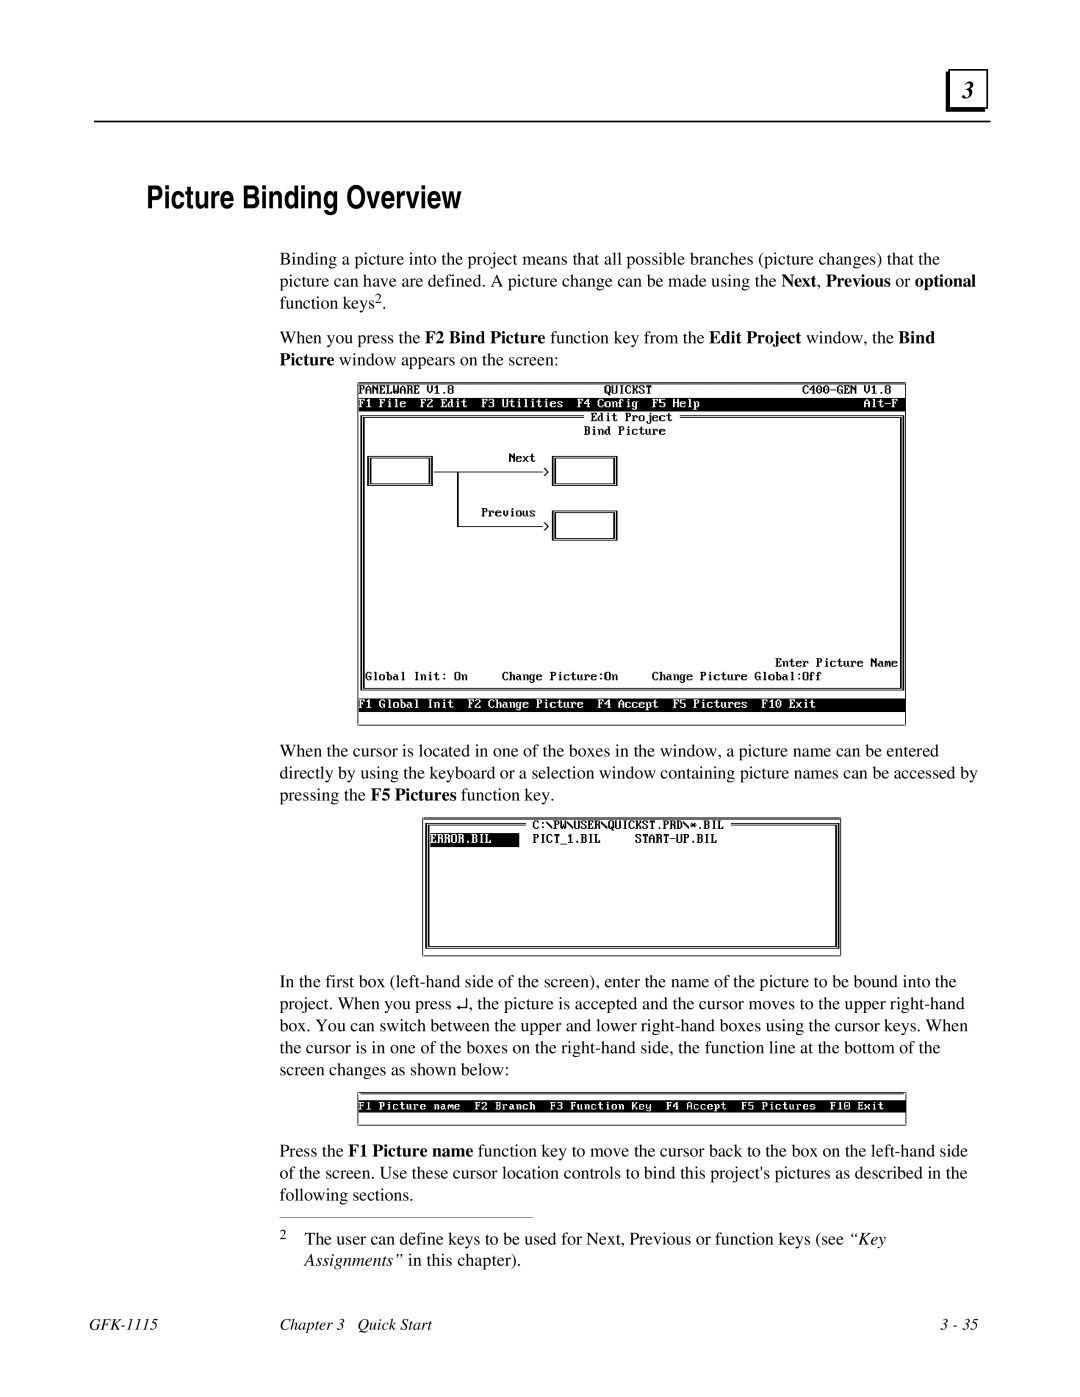
When you press the F2 Bind Picture function key from the Edit Project window, the Bind Picture window appears on the screen:
When the cursor is located in one of the boxes in the window, a picture name can be entered directly by using the keyboard or a selection window containing picture names can be accessed by pressing the F5 Pictures function key.
In the first box
Press the F1 Picture name function key to move the cursor back to the box on the
2The user can define keys to be used for Next, Previous or function keys (see “Key Assignments” in this chapter).
| Chapter 3 Quick Start | 3 - 35 |
