3 |
Screen Configuration
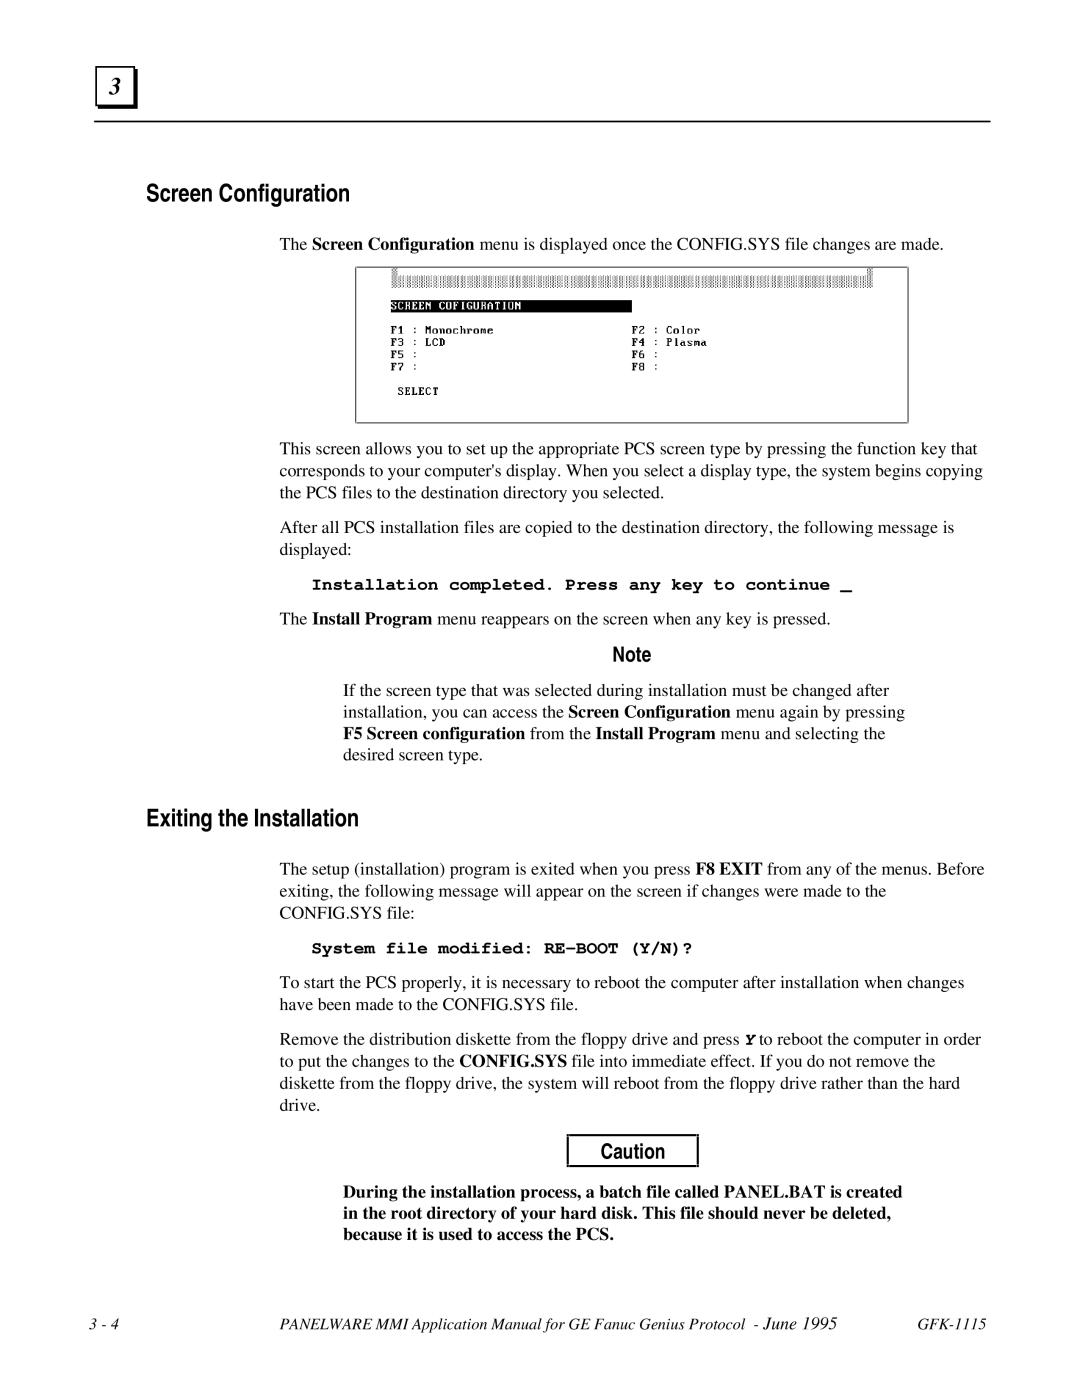
The Screen Configuration menu is displayed once the CONFIG.SYS file changes are made.
This screen allows you to set up the appropriate PCS screen type by pressing the function key that corresponds to your computer's display. When you select a display type, the system begins copying the PCS files to the destination directory you selected.
After all PCS installation files are copied to the destination directory, the following message is displayed:
Installation completed. Press any key to continue _
The Install Program menu reappears on the screen when any key is pressed.
Note
If the screen type that was selected during installation must be changed after installation, you can access the Screen Configuration menu again by pressing F5 Screen configuration from the Install Program menu and selecting the desired screen type.
Exiting the Installation
The setup (installation) program is exited when you press F8 EXIT from any of the menus. Before exiting, the following message will appear on the screen if changes were made to the CONFIG.SYS file:
System file modified: RE-BOOT (Y/N)?
To start the PCS properly, it is necessary to reboot the computer after installation when changes have been made to the CONFIG.SYS file.
Remove the distribution diskette from the floppy drive and press Y to reboot the computer in order to put the changes to the CONFIG.SYS file into immediate effect. If you do not remove the diskette from the floppy drive, the system will reboot from the floppy drive rather than the hard drive.
Caution
During the installation process, a batch file called PANEL.BAT is created in the root directory of your hard disk. This file should never be deleted, because it is used to access the PCS.
3 - 4 | PANELWARE MMI Application Manual for GE Fanuc Genius Protocol - June 1995 |
