6 |
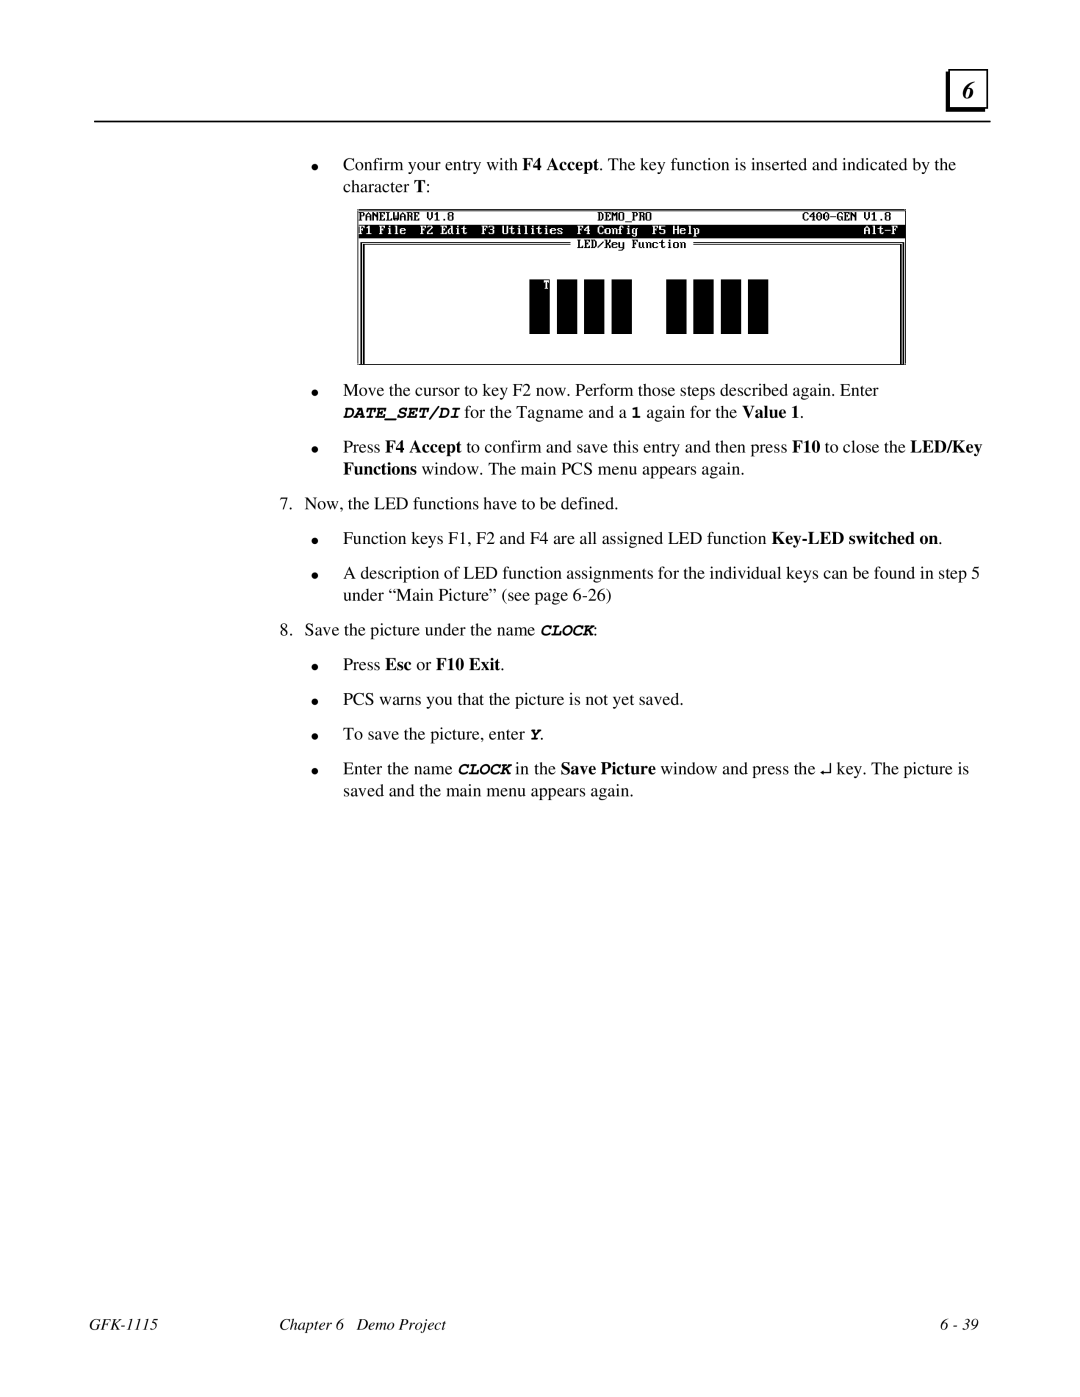
●Confirm your entry with F4 Accept. The key function is inserted and indicated by the character T:
●
●
Move the cursor to key F2 now. Perform those steps described again. Enter DATE_SET/DI for the Tagname and a 1 again for the Value 1.
Press F4 Accept to confirm and save this entry and then press F10 to close the LED/Key Functions window. The main PCS menu appears again.
7. Now, the LED functions have to be defined.
●
●
Function keys F1, F2 and F4 are all assigned LED function
A description of LED function assignments for the individual keys can be found in step 5 under “Main Picture” (see page
8. Save the picture under the name CLOCK:
●
●
●
●
Press Esc or F10 Exit.
PCS warns you that the picture is not yet saved.
To save the picture, enter Y.
Enter the name CLOCK in the Save Picture window and press the ↵ key. The picture is saved and the main menu appears again.
| Chapter 6 Demo Project | 6 - 39 |