You can also set optional parameters, such as the port number and username. If you omit these parameters, the command will take the default values.
4.To perform a health check of you environment on the local host, run the following command:
omnidbsmis -ompasswd -check
5.To create and set the disk group pairs configuration file or edit it, carry out the steps provided below on the application or backup system:
a)To create a template disk group pairs configuration file or overwrite an old one with the template, execute the following command:
omnidbsmis -dgrules -init
b)To get the file for editing and to save it as “c:\tmp\dgrules.txt”, execute the following command:
omnidbsmis -dgrules -get c:\tmp\dgrules.txt
The command reads the disk group pairs configuration file from the SMISDB and saves it in the “c:\tmp” directory on a local system under “dgrules.txt”.
c)Edit the “dgrules.txt” file residing in the “c:\tmp” directory and save it. Note that the order of defining disk group names is ignored. This means that if a source volume is found in “disk group 1”, its snapclone will be created in “disk group 2”, and vice versa. Note that a certain disk group can be a member of only one disk group pair.
d)To upload the “dgrules.txt” file to the server, execute the following command:
omnidbsmis -dgrules -put c:\tmp\dgrules.txt
The command reads the contents of the file, checks its syntax, and copies the file to its location on the Cell Manager.
6.To get the information on the disk group that is the pair of a disk group named original_disk_group configured on EVA storage system named EVA1, execute the following command:
omnidbsmis -dgrules -check EVA1 original_disk_group
The following is the output of the command:
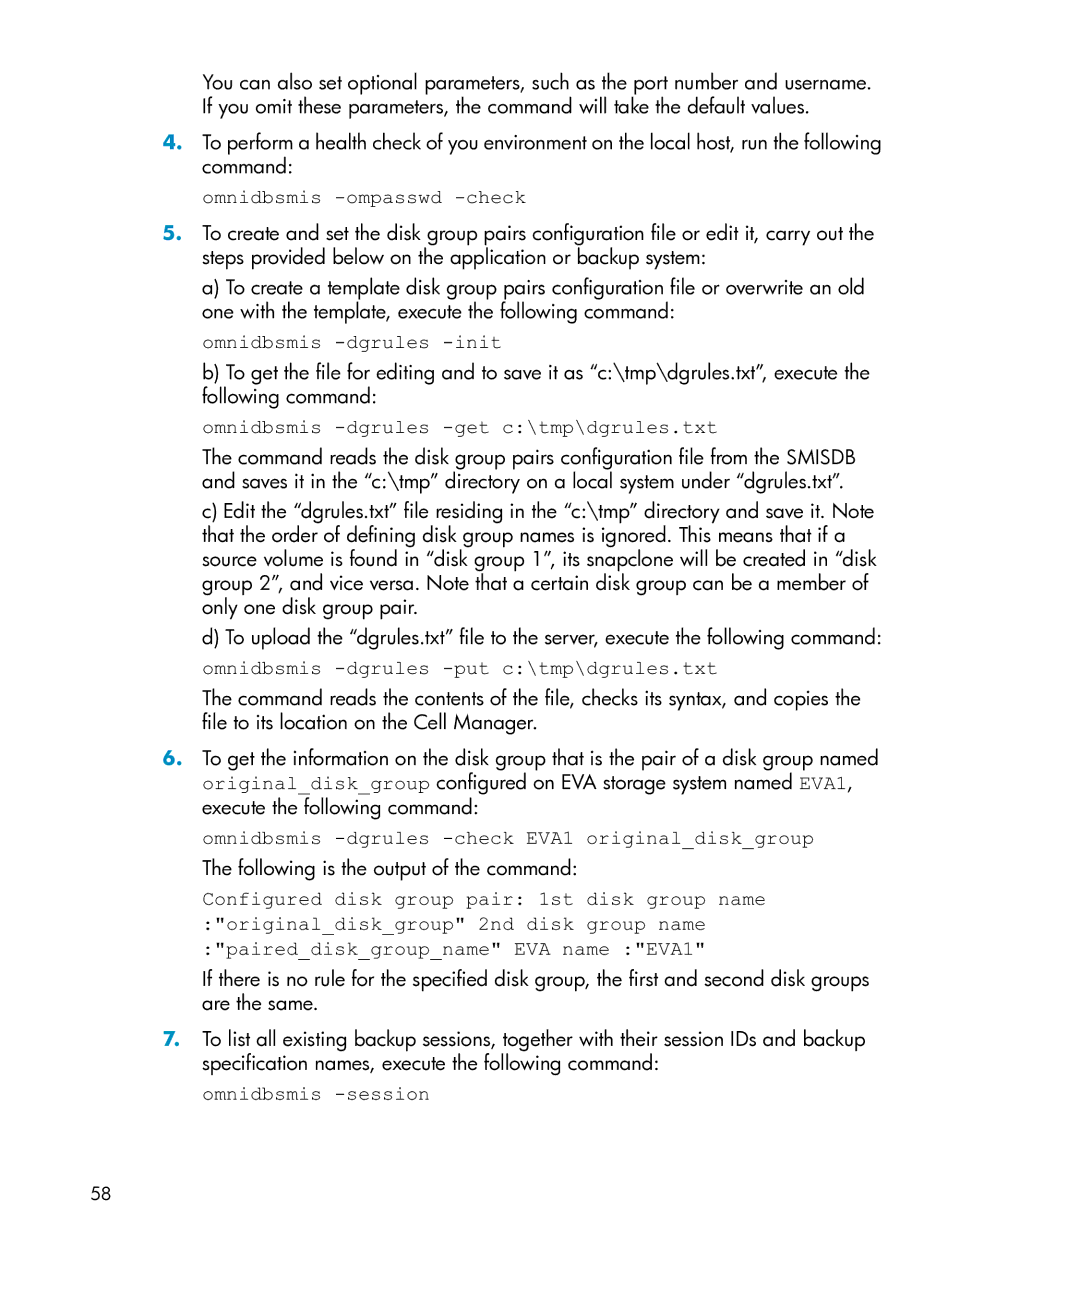
Configured disk group pair: 1st disk group name :"original_disk_group" 2nd disk group name :"paired_disk_group_name" EVA name :"EVA1"
If there is no rule for the specified disk group, the first and second disk groups are the same.
7.To list all existing backup sessions, together with their session IDs and backup specification names, execute the following command:
omnidbsmis -session
58
