Setting Up the Plotter
Task 7: Connect the Plotter to Your Computer
If You Are Connecting the Plotter Directly to Your Computer
1Decide whether to use the parallel or serial interface.
If your computer and your application software support it, use the parallel interface, as it is faster. You can connect both the parallel and the serial interface simultaneously if you wish: the plotter uses the interface that first receives data.
2Choose an interface cable.
A list of recommended HP cables for various computers starts on page
IMPORTANT To achieve the best performance from your plotter, we recommend you only use genuine
3Switch OFF the plotter and then the computer.
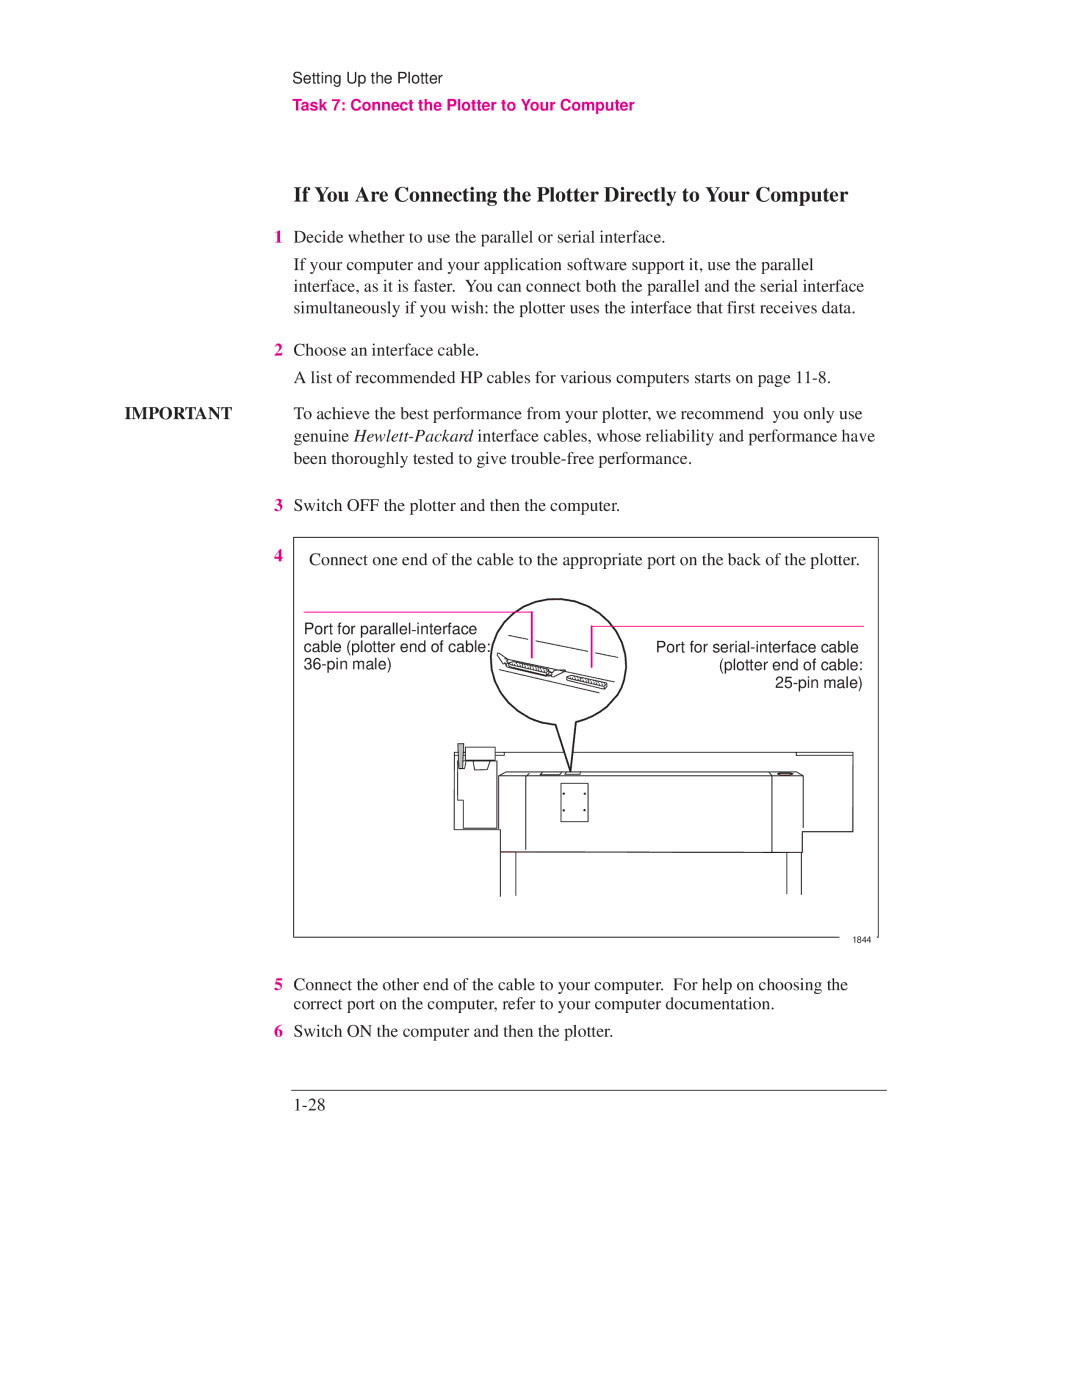
4
Connect one end of the cable to the appropriate port on the back of the plotter.
Port for |
|
cable (plotter end of cable: | Port for |
(plotter end of cable: | |
|
1844
5Connect the other end of the cable to your computer. For help on choosing the correct port on the computer, refer to your computer documentation.
6Switch ON the computer and then the plotter.