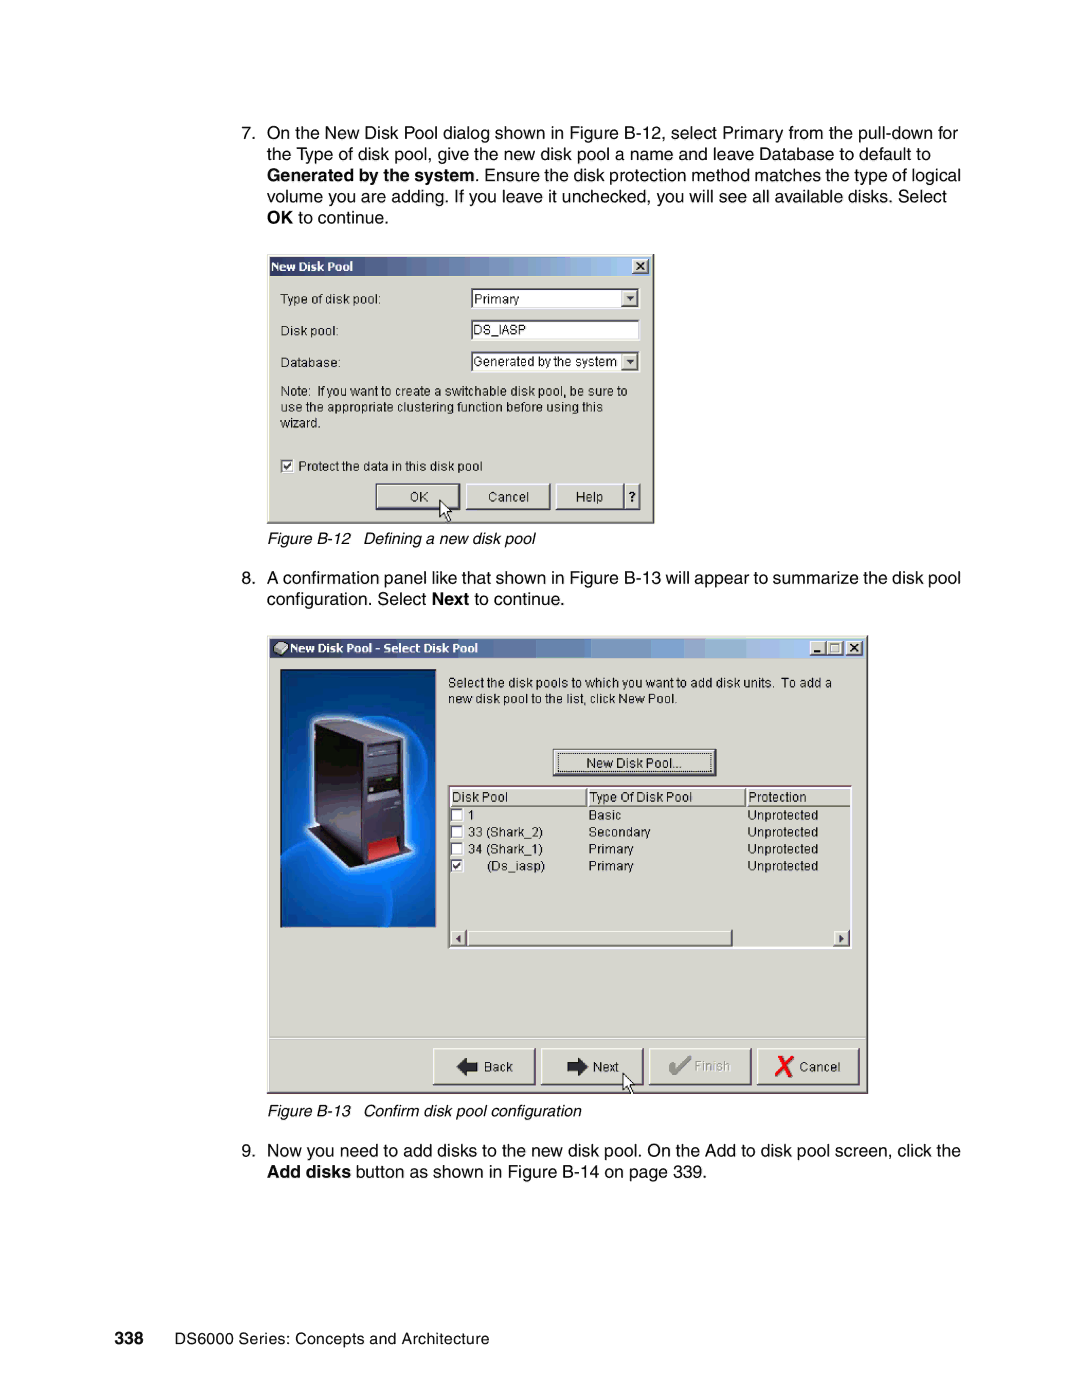
7.On the New Disk Pool dialog shown in Figure B-12,select Primary from the pull-down for the Type of disk pool, give the new disk pool a name and leave Database to default to Generated by the system. Ensure the disk protection method matches the type of logical volume you are adding. If you leave it unchecked, you will see all available disks. Select OK to continue.

Figure B-12 Defining a new disk pool

8.A confirmation panel like that shown in Figure B-13will appear to summarize the disk pool configuration. Select Next to continue.

Figure B-13 Confirm disk pool configuration

9.Now you need to add disks to the new disk pool. On the Add to disk pool screen, click the Add disks button as shown in Figure B-14 on page 339.

338DS6000 Series: Concepts and Architecture

Page 362
Image 362
IBM DS6000 Series manual Figure B-12 Defining a new disk pool