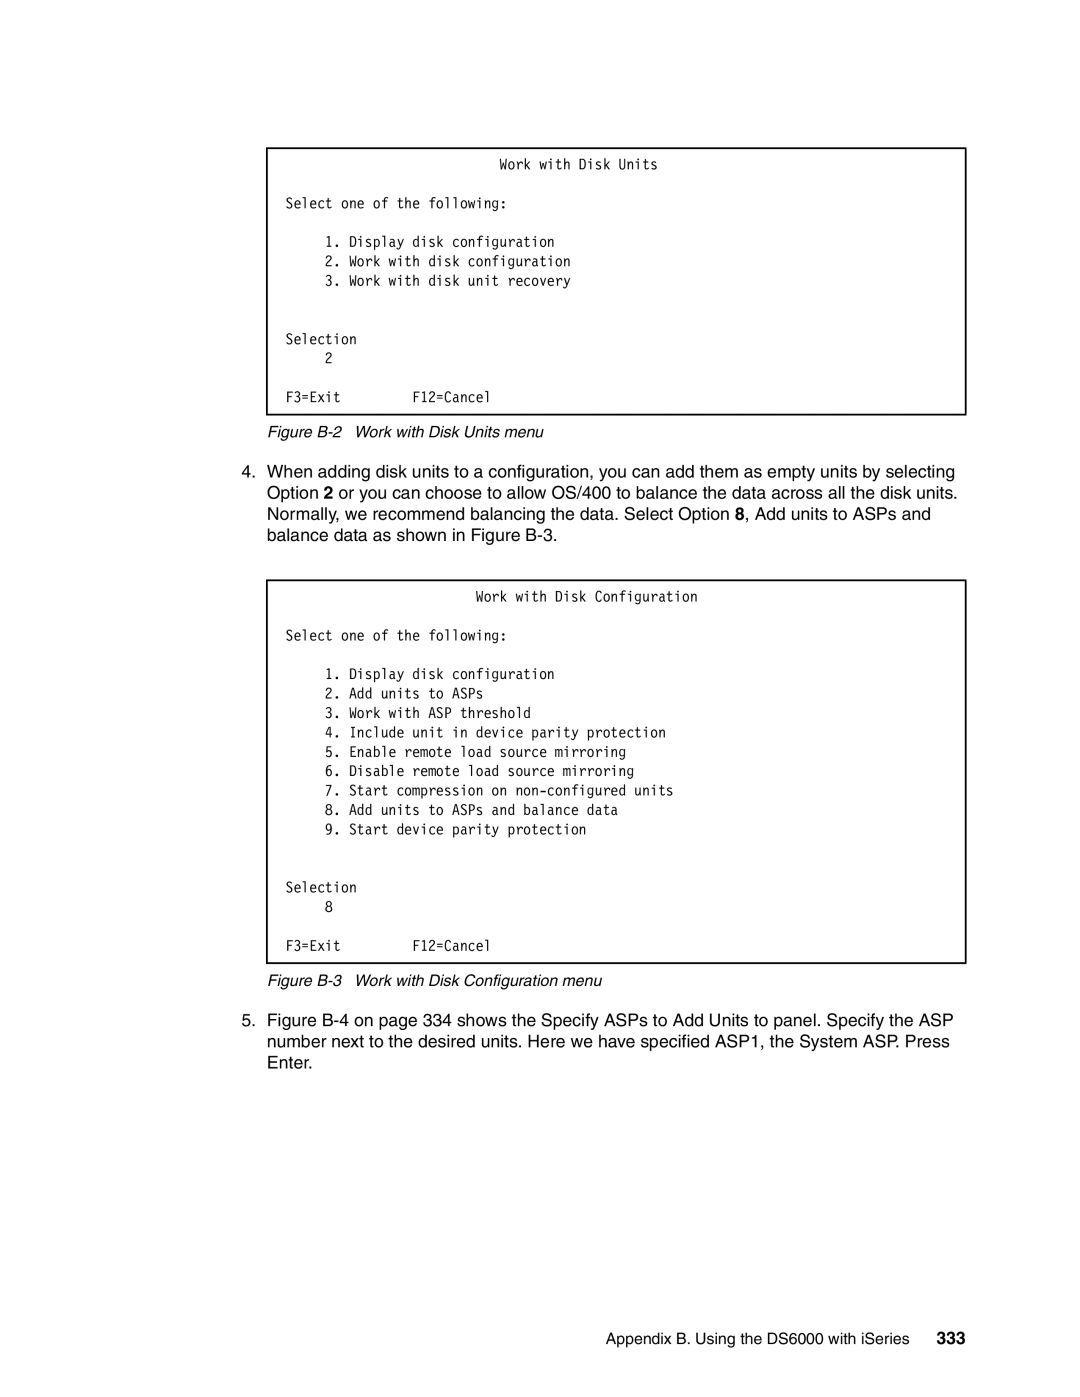
Work with Disk Units
Select one of the following:
1.Display disk configuration
2.Work with disk configuration
3.Work with disk unit recovery
Selection 2
F3=Exit F12=Cancel
Figure B-2 Work with Disk Units menu
4.When adding disk units to a configuration, you can add them as empty units by selecting Option 2 or you can choose to allow OS/400 to balance the data across all the disk units. Normally, we recommend balancing the data. Select Option 8, Add units to ASPs and balance data as shown in Figure
| Work with Disk Configuration |
Select one of the following: | |
1. | Display disk configuration |
2. | Add units to ASPs |
3. | Work with ASP threshold |
4. | Include unit in device parity protection |
5. | Enable remote load source mirroring |
6. | Disable remote load source mirroring |
7. | Start compression on |
8. | Add units to ASPs and balance data |
9. | Start device parity protection |
Selection | |
8 |
|
F3=Exit | F12=Cancel |
|
|
Figure B-3 Work with Disk Configuration menu
5.Figure B-4 on page 334 shows the Specify ASPs to Add Units to panel. Specify the ASP number next to the desired units. Here we have specified ASP1, the System ASP. Press Enter.
Appendix B. Using the DS6000 with iSeries 333