Starting the command-line interface
The
Note Make sure your terminal is set to emulate a VT100 terminal when you are communicating with the appliance through a serial interface.
Starting the appliance the first time
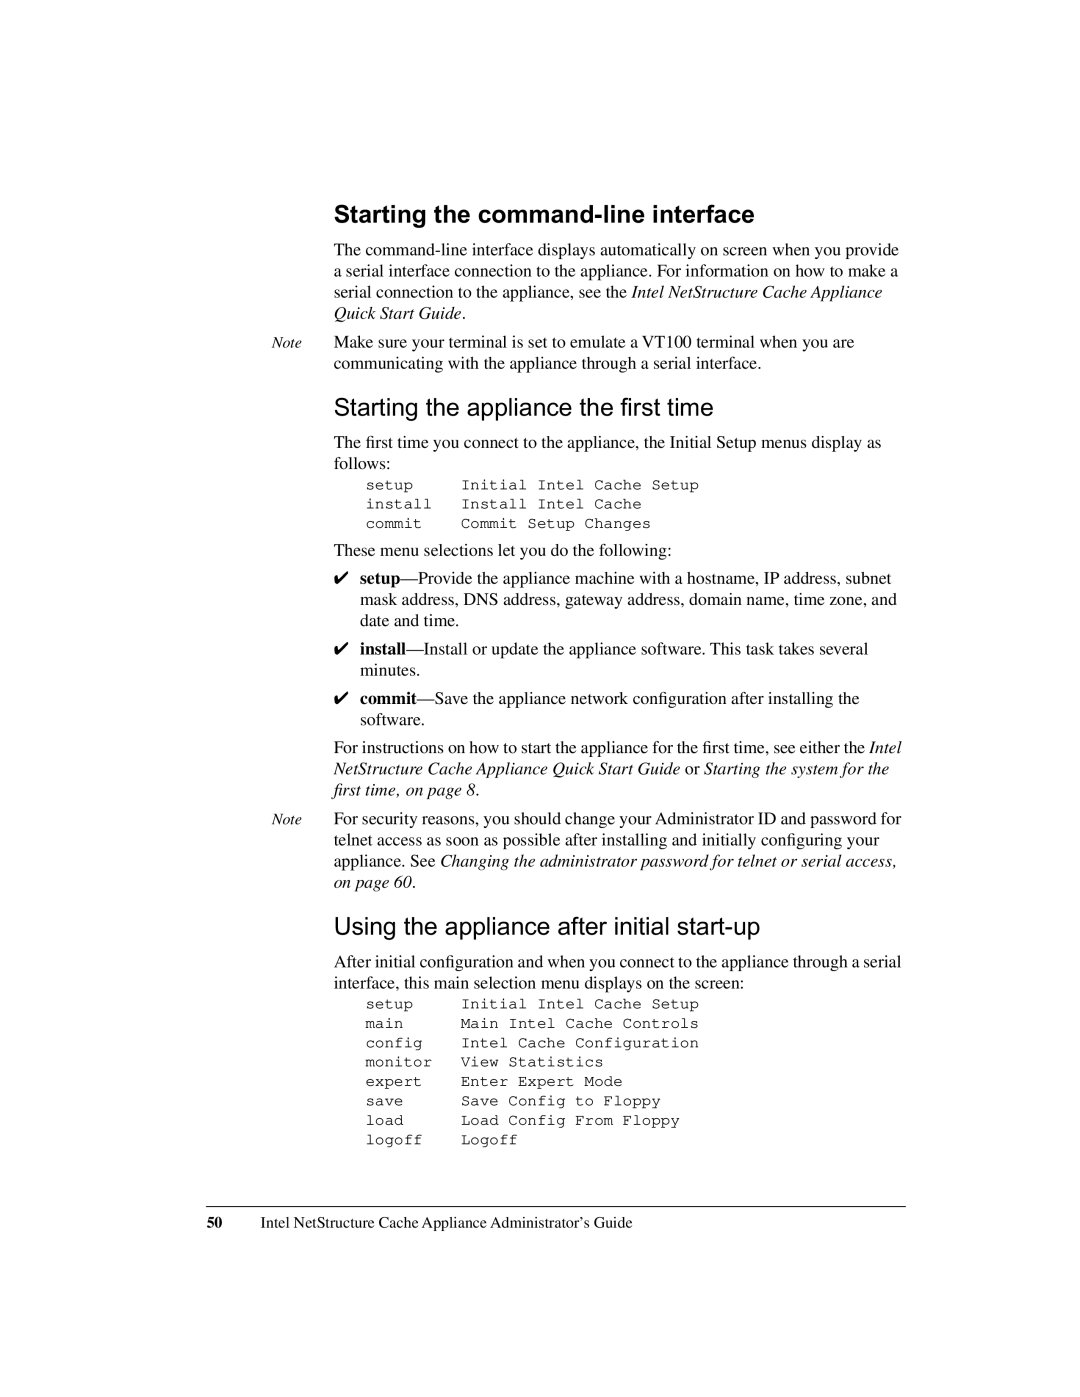
The first time you connect to the appliance, the Initial Setup menus display as follows:
setup | Initial Intel Cache | Setup |
install | Install Intel Cache |
|
commit | Commit Setup Changes | |
These menu selections let you do the following:
✔
✔
✔
For instructions on how to start the appliance for the first time, see either the Intel NetStructure Cache Appliance Quick Start Guide or Starting the system for the first time‚ on page 8.
Note For security reasons, you should change your Administrator ID and password for telnet access as soon as possible after installing and initially configuring your appliance. See Changing the administrator password for telnet or serial access‚ on page 60.
Using the appliance after initial start-up
After initial configuration and when you connect to the appliance through a serial interface, this main selection menu displays on the screen:
setup | Initial Intel Cache Setup |
main | Main Intel Cache Controls |
config | Intel Cache Configuration |
monitor | View Statistics |
expert | Enter Expert Mode |
save | Save Config to Floppy |
load | Load Config From Floppy |
logoff | Logoff |
50Intel NetStructure Cache Appliance Administrator’s Guide
